My experience
I contribute to the team in carrying out the tests on the card, look for the appropriate electronic devices, sensors, motors, look for card information, its advantages and disadvantages, according to this I give my contribution for the initial design.
In the same way, look for the systems to interact properly with the user or users.
Work together with my partner Quiliro regarding the interface.
This is new
Personally I have never built a machine of this style but it is a very good challenge to learn from the concept part, design, work with a user interface that is communicated by network is great.
From my part I can say that also contribute in creating the group page where the union of all the partners is shown, their individual contributions, as well as the group design that we like the most.
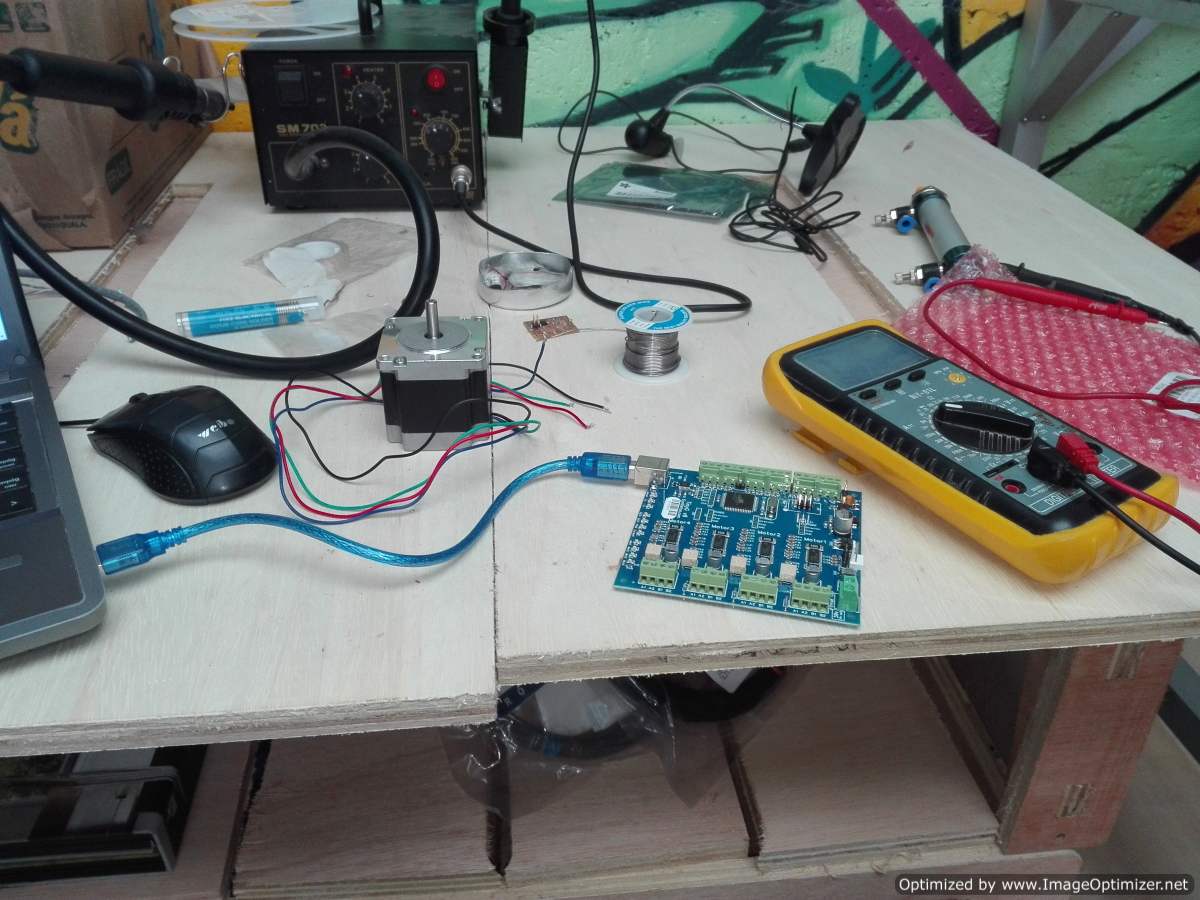
In the first week we try to advance more with the test of the board and the other components that we have at this moment.We have the Tiny-G card and several sources but especially we have 12v motorcycle batteries
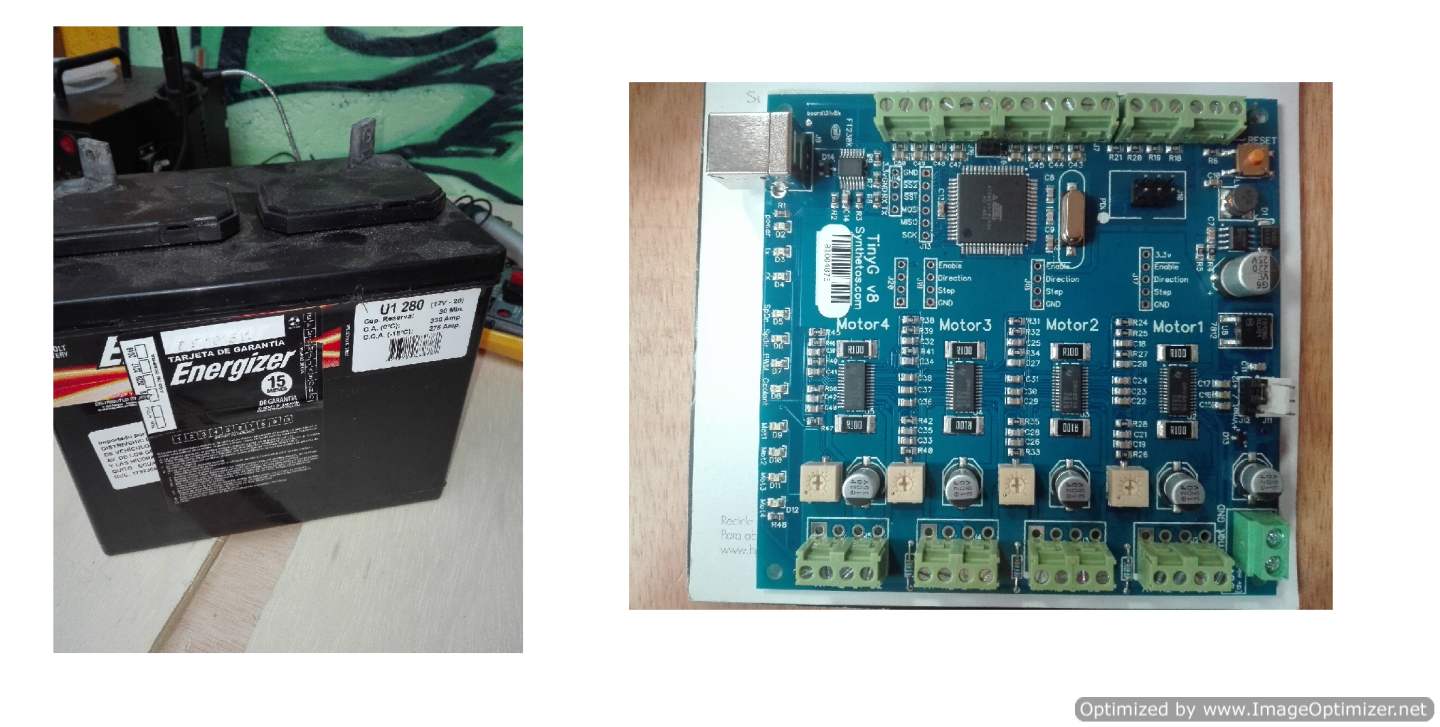
Tiny-G
The TinyG project is a multi-axis motion control system. It is designed for CNC applications and other applications that require highly precise motion control. TinyG is meant to be a complete embedded solution for small/medium motor control. Here are some of the main features of the v8 hardware. Information obtained from https://synthetos.myshopify.com/products/tinyg
When connecting the board to the computer it recognizes me as a serial device.
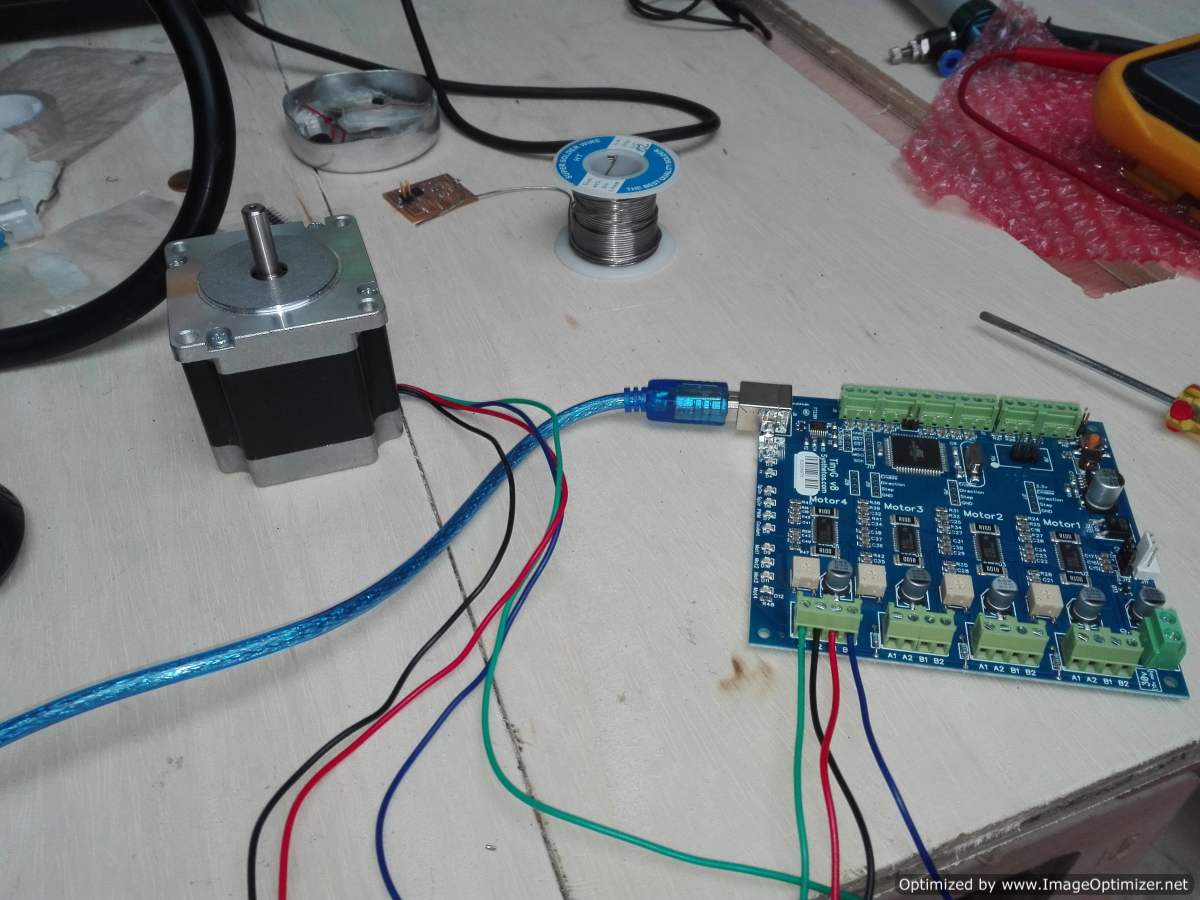
I identify the motor coils step by step, according to their colors they remain like this:
a1 -> green
a2 -> black
b1 -> red
b2 -> blue
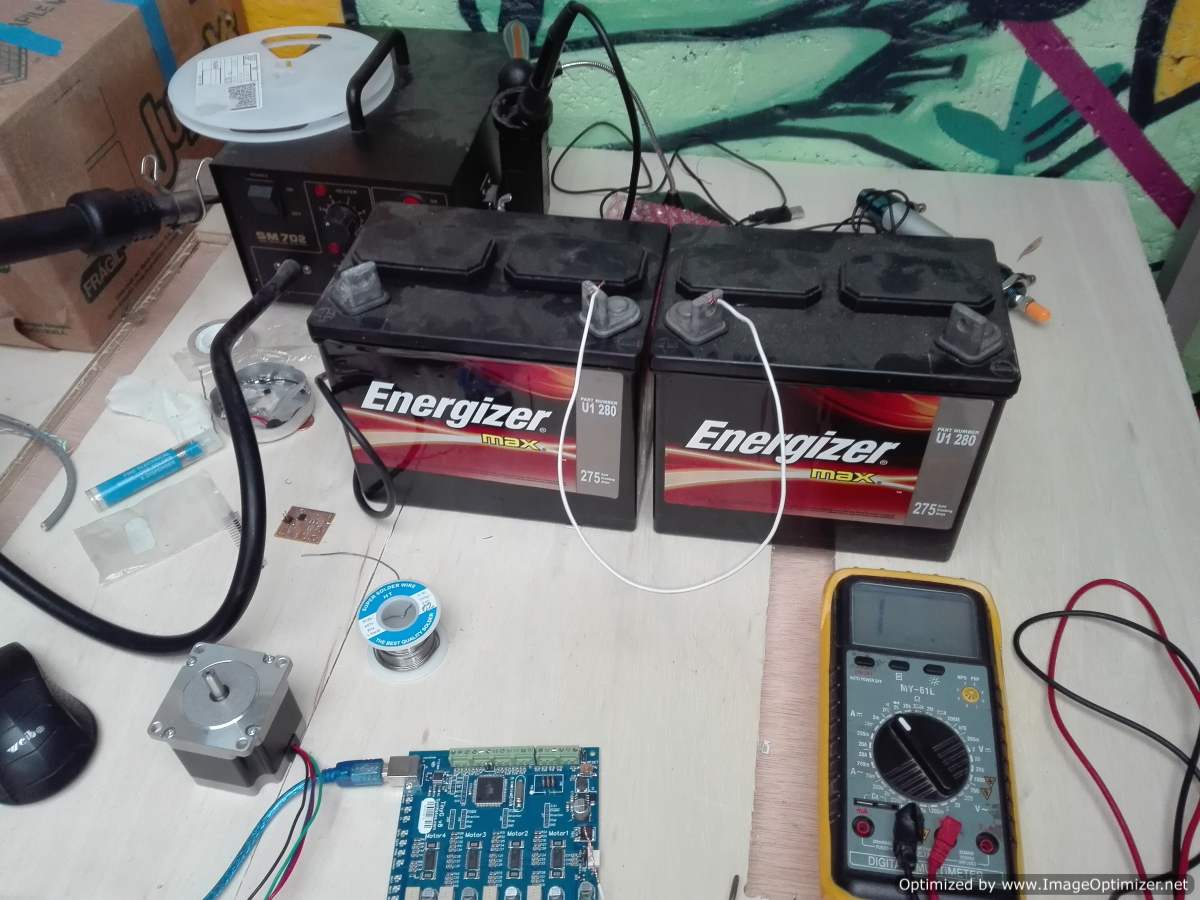
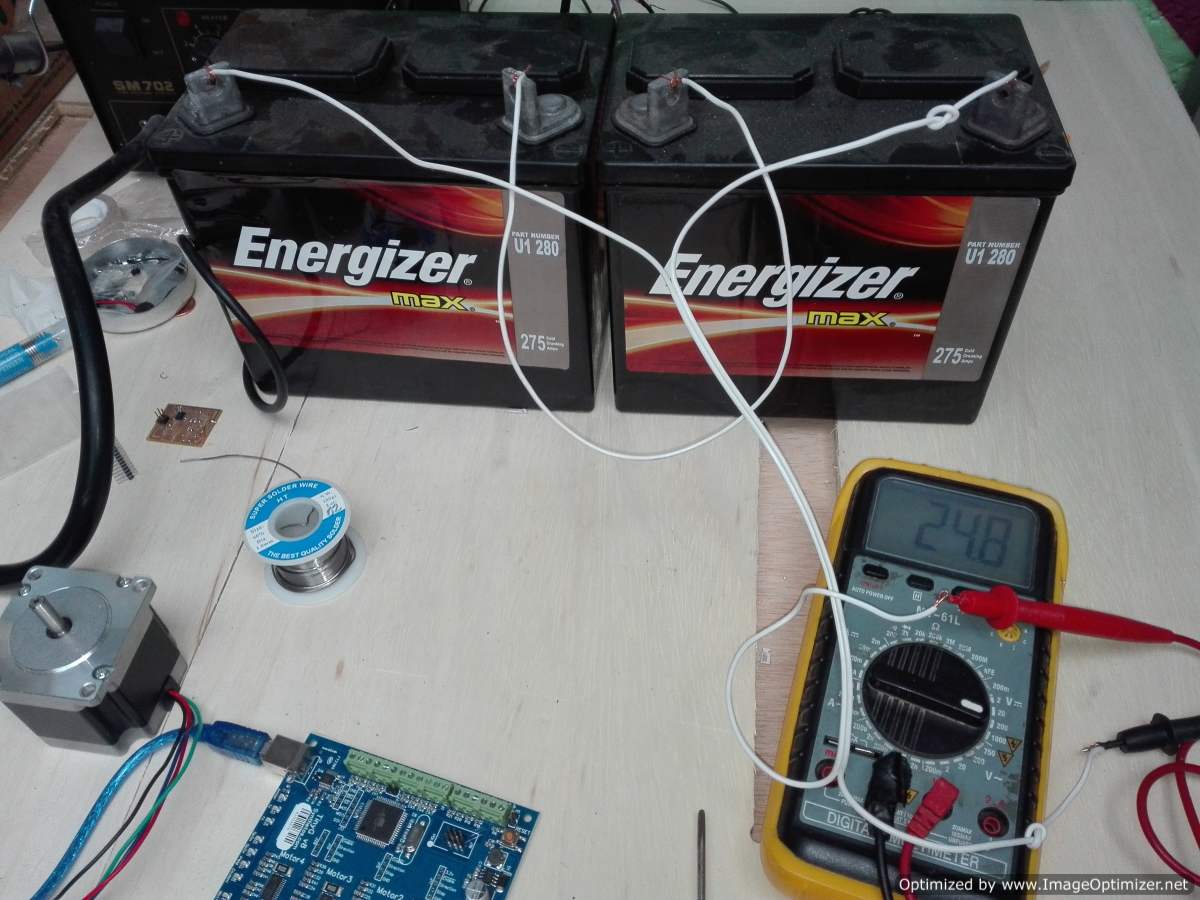
Now according to the data sheet of the tiny-g mentions that the source should not exceed 30 v, but it works at 24 V, so I combine 2 batteries of 12 v in series in this way I have 24 v.
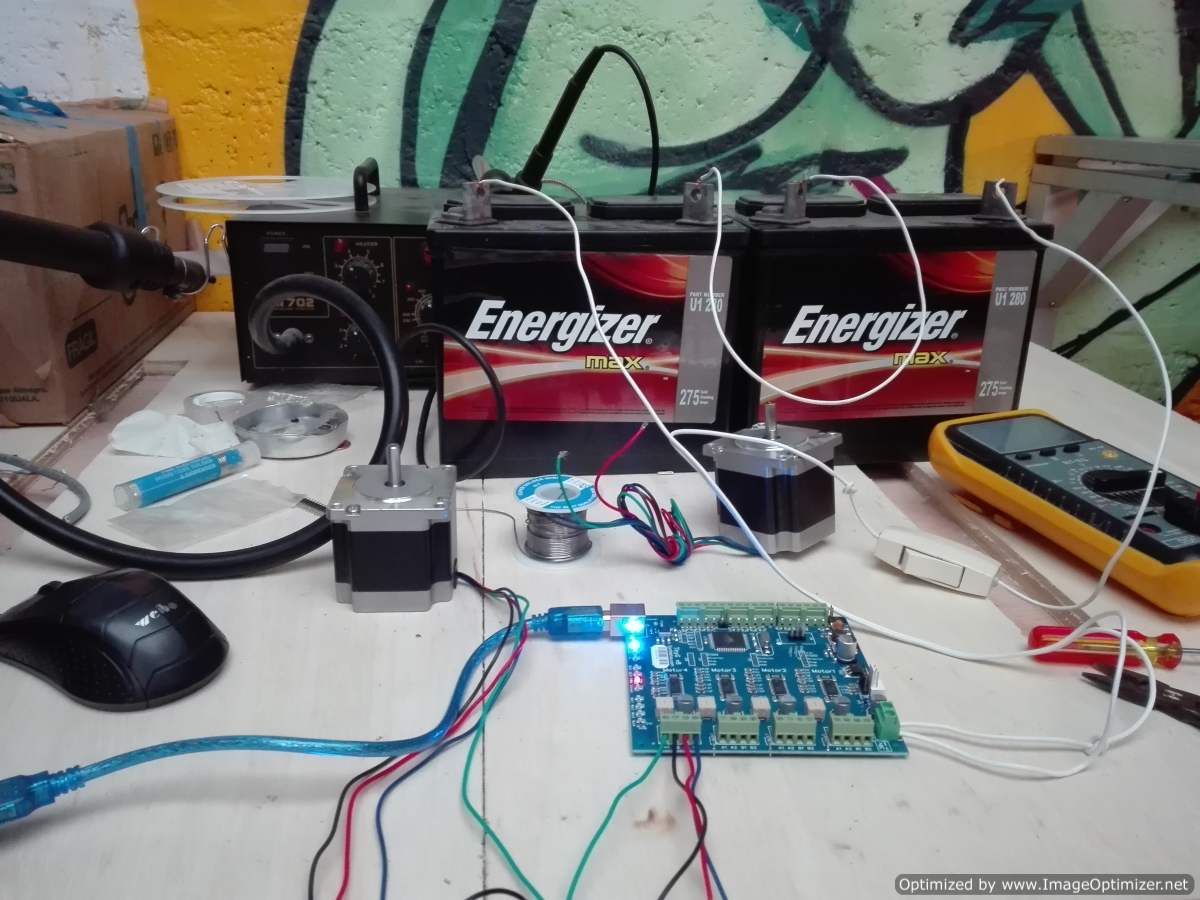
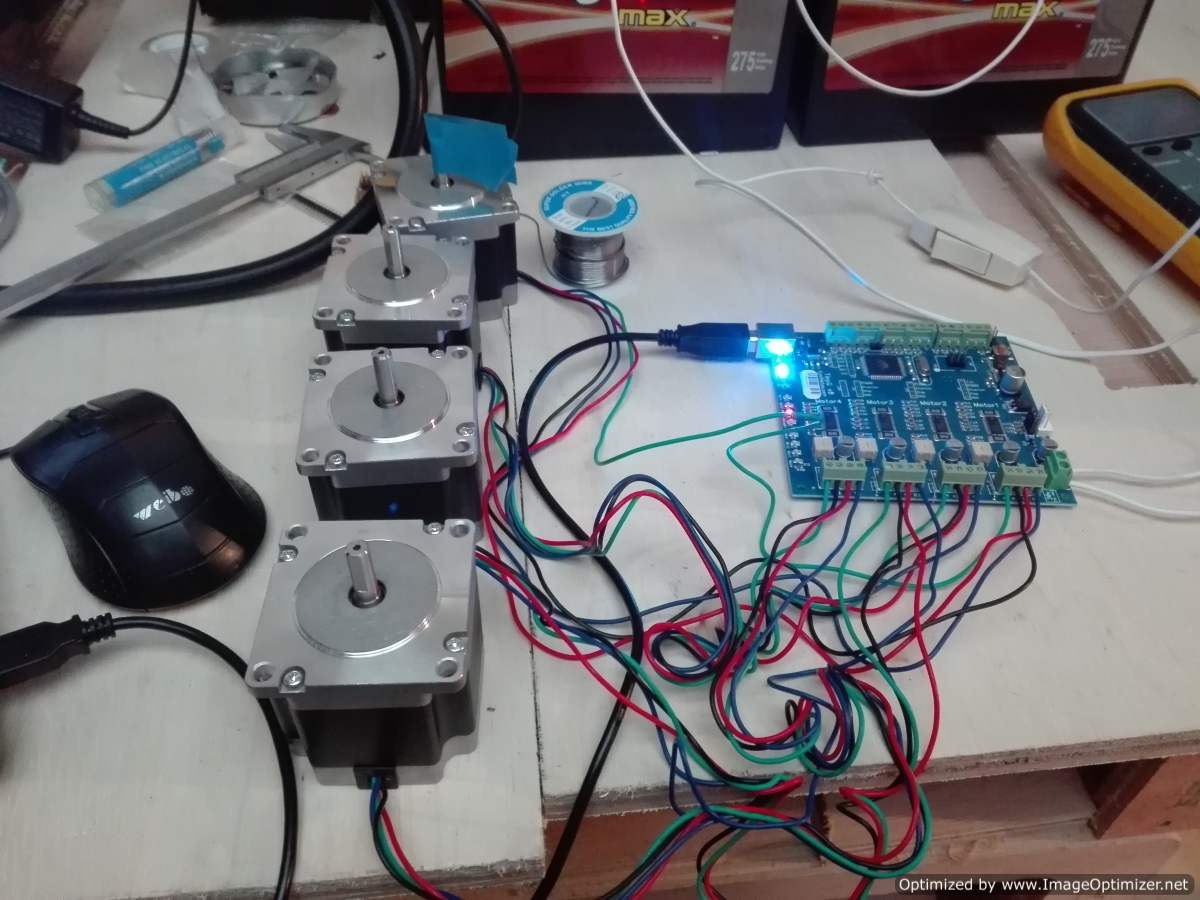
Already with the source ready and all the cables of the engine connecting correctly started with the testing process, I hope I have no problem although I try to do everything possible so that the board is working well. The first review start with one motor. With the previous process ready I decided to continue and try all the engines we continue advancing. Slowly but surely.
The board communicates as a serial port, so I decided to connect it with the Arduino. Ide when I connect to his port he gives me a series of text.
The first image shows me that the system is correct, in the second image I send a G code to move an engine, in the third image I move the motor x with a fead reate of 100.
In this test I move the X, Y, Z and A motors with a fead rate of 100.In this test I tell the board to return to its starting point. In the last test I disconnect and connect the tiny-g and move all the engines to position 10.
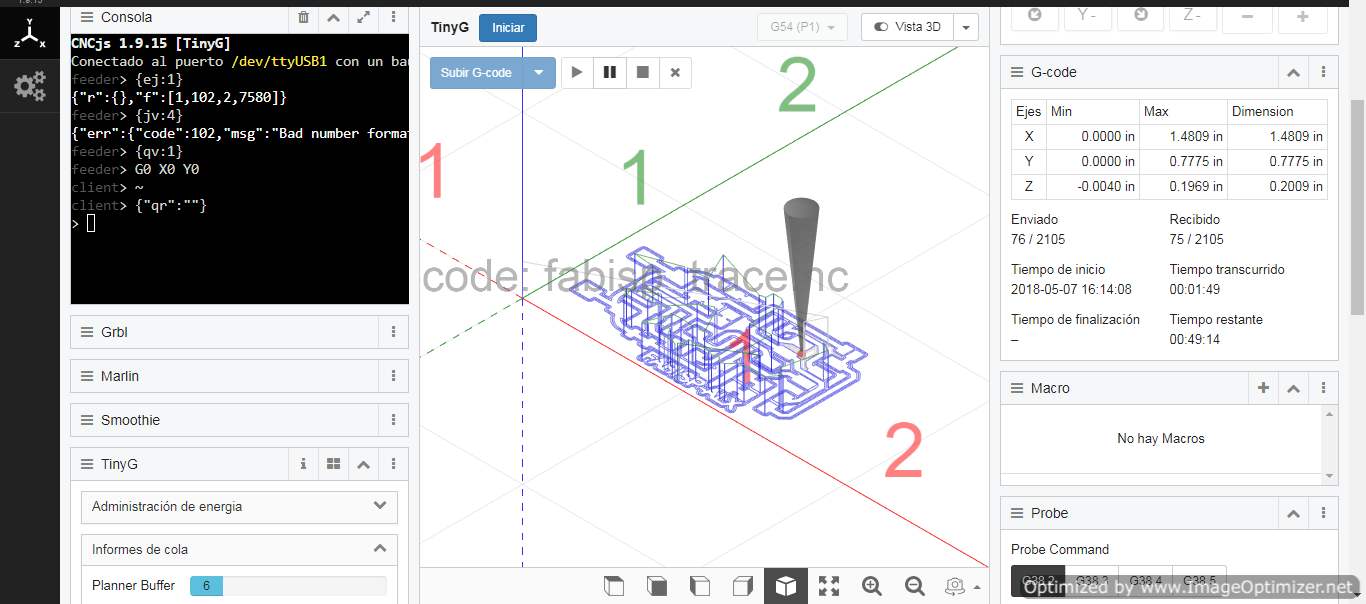
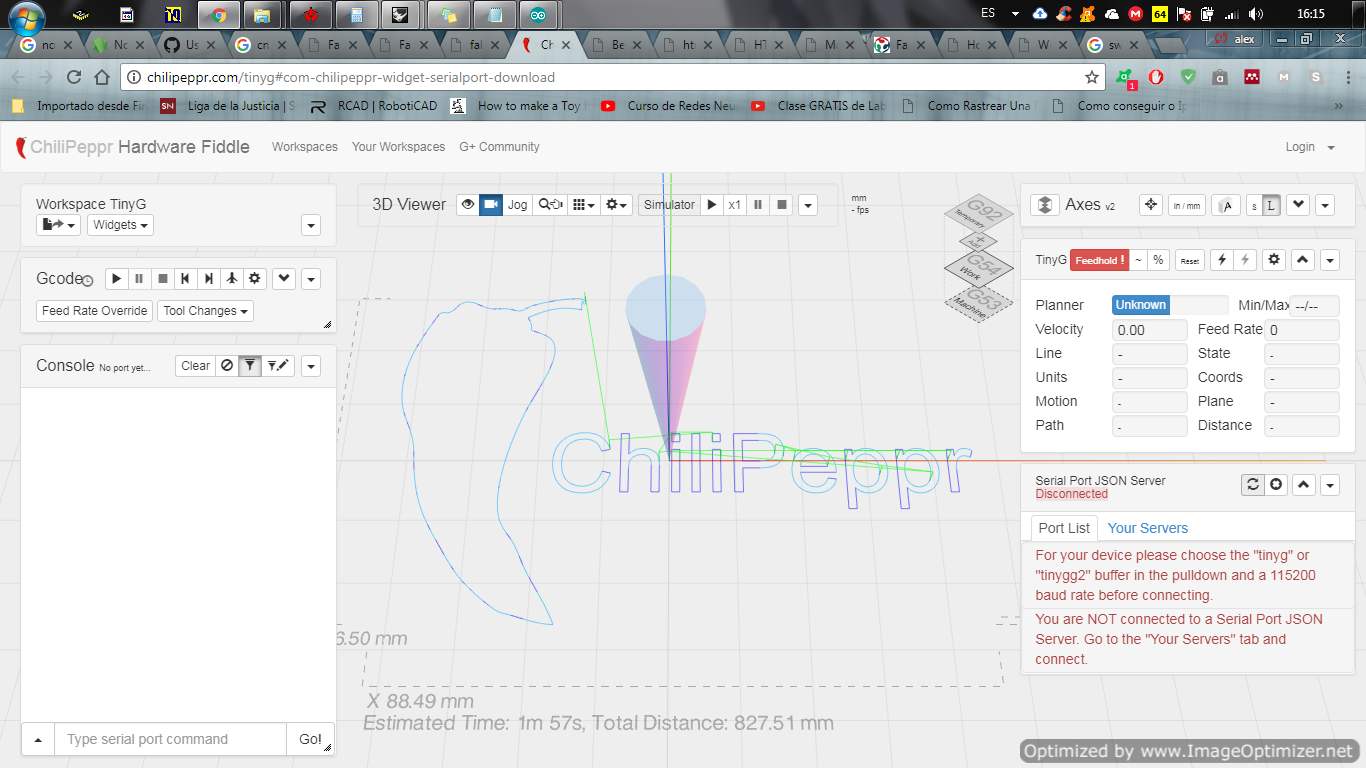
In addition to this look for an interface and I was surprised that there is a very good one called ChiliPeppr, here you can modify values of steps the origin how many axes will work 3 or 4, it allows me to load G codes directly, besides that it presents a very friendly screen
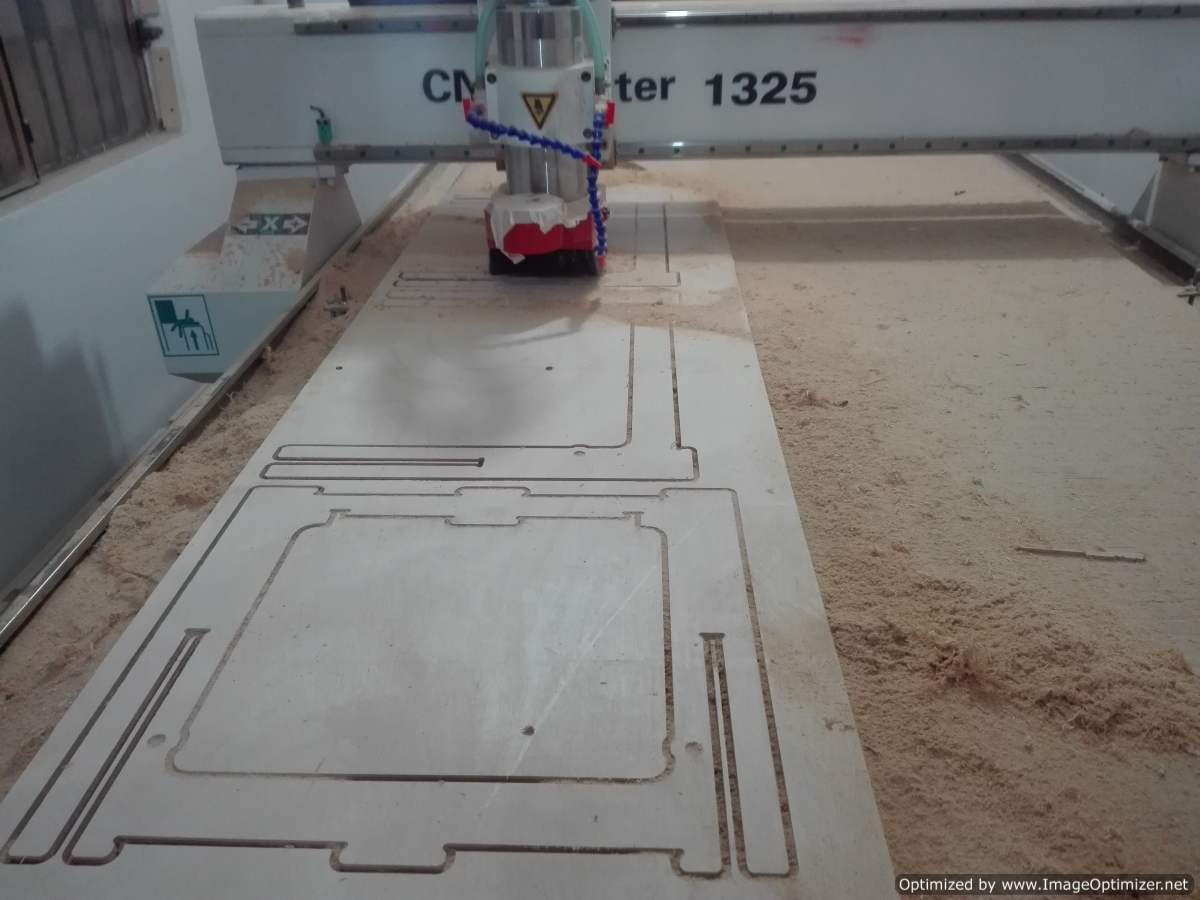
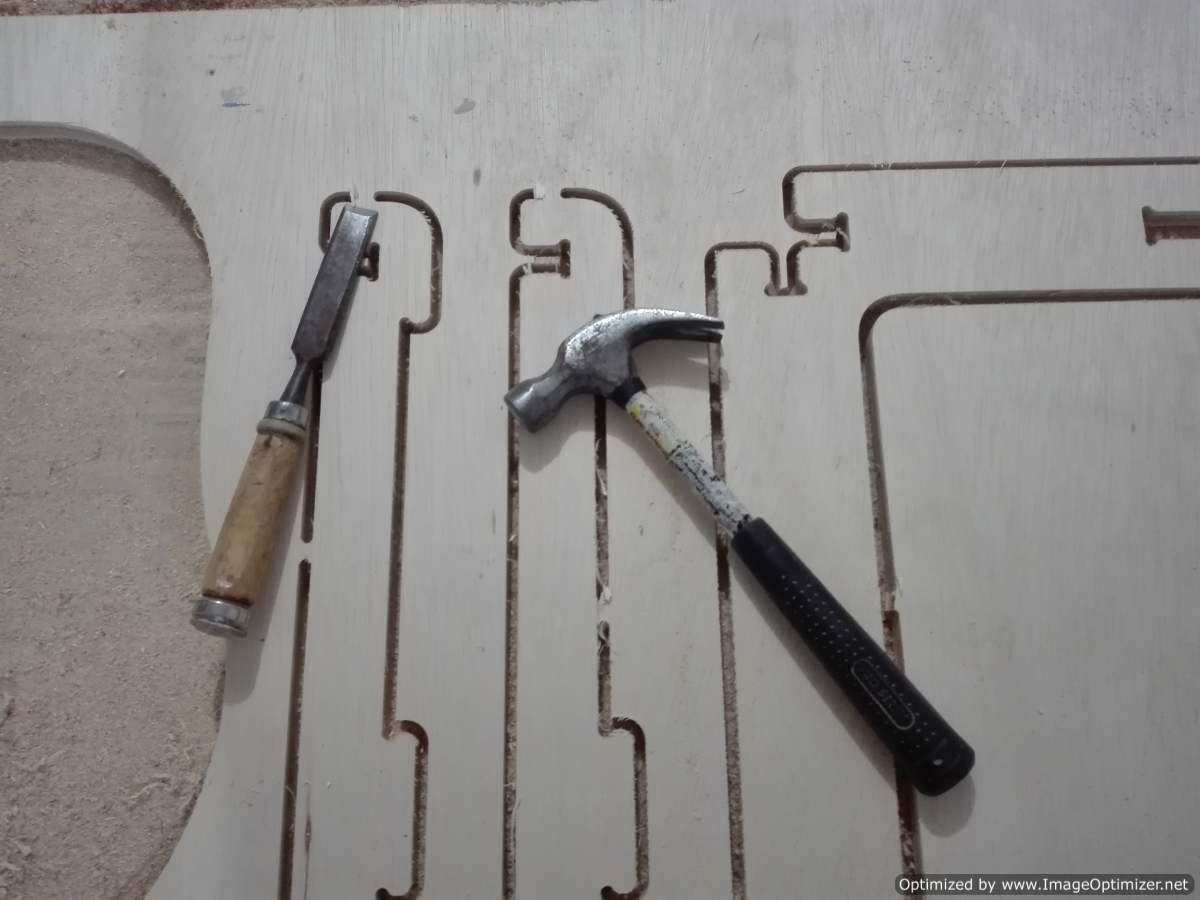
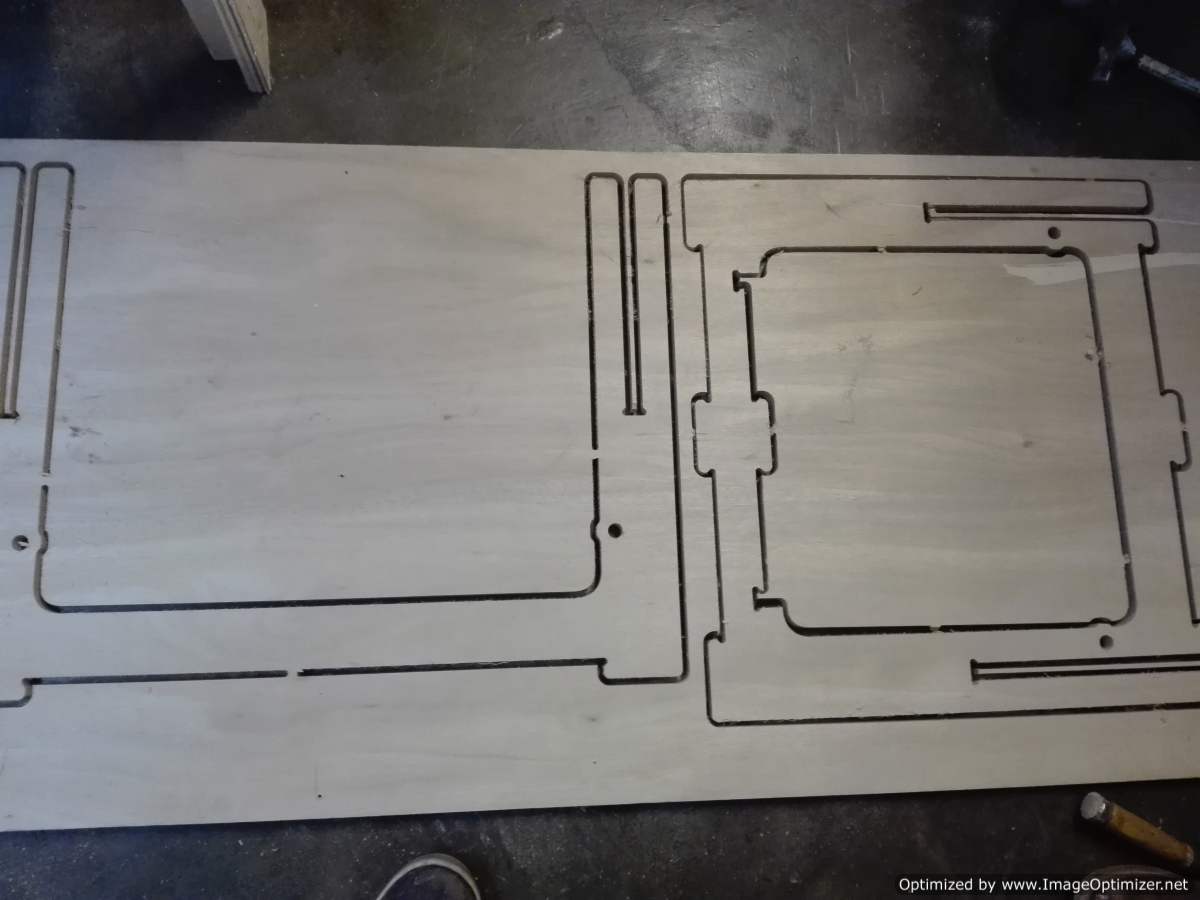
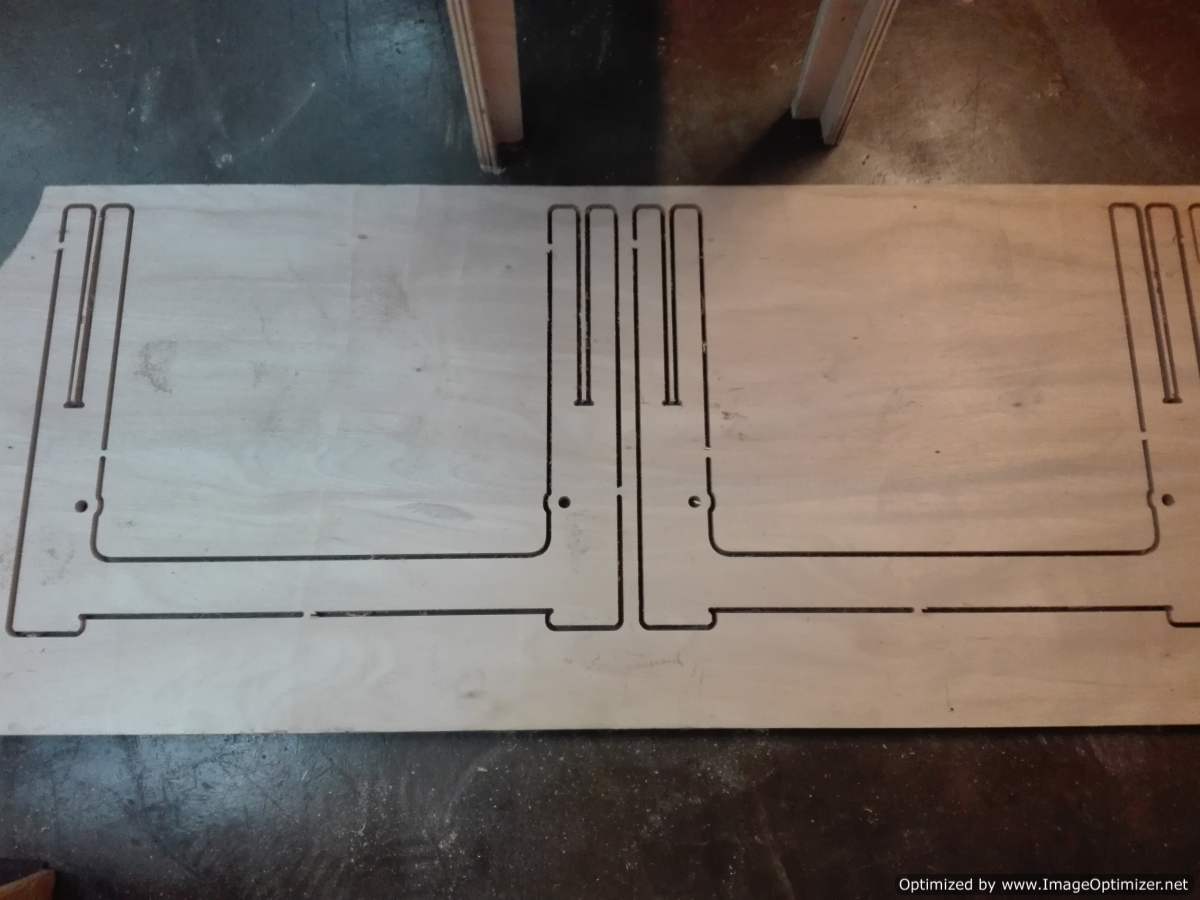
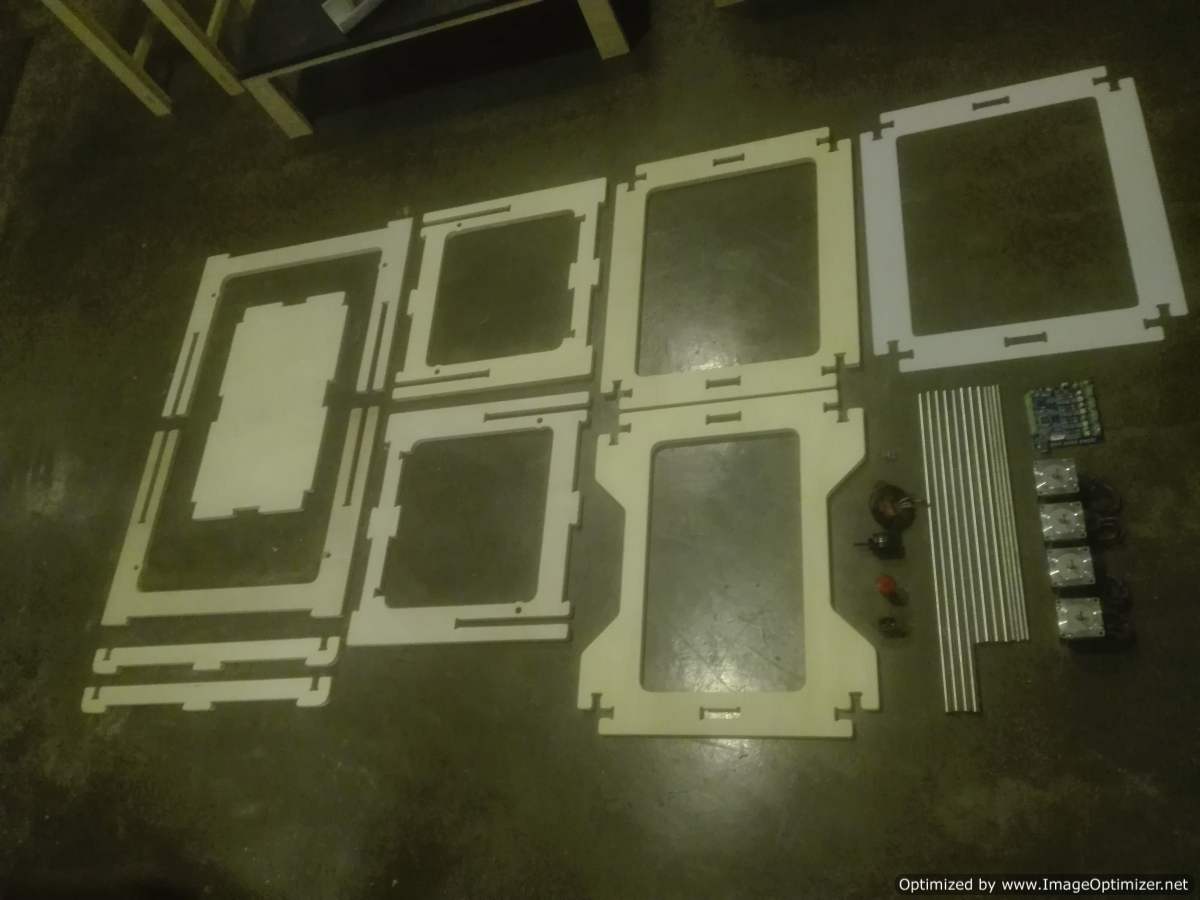
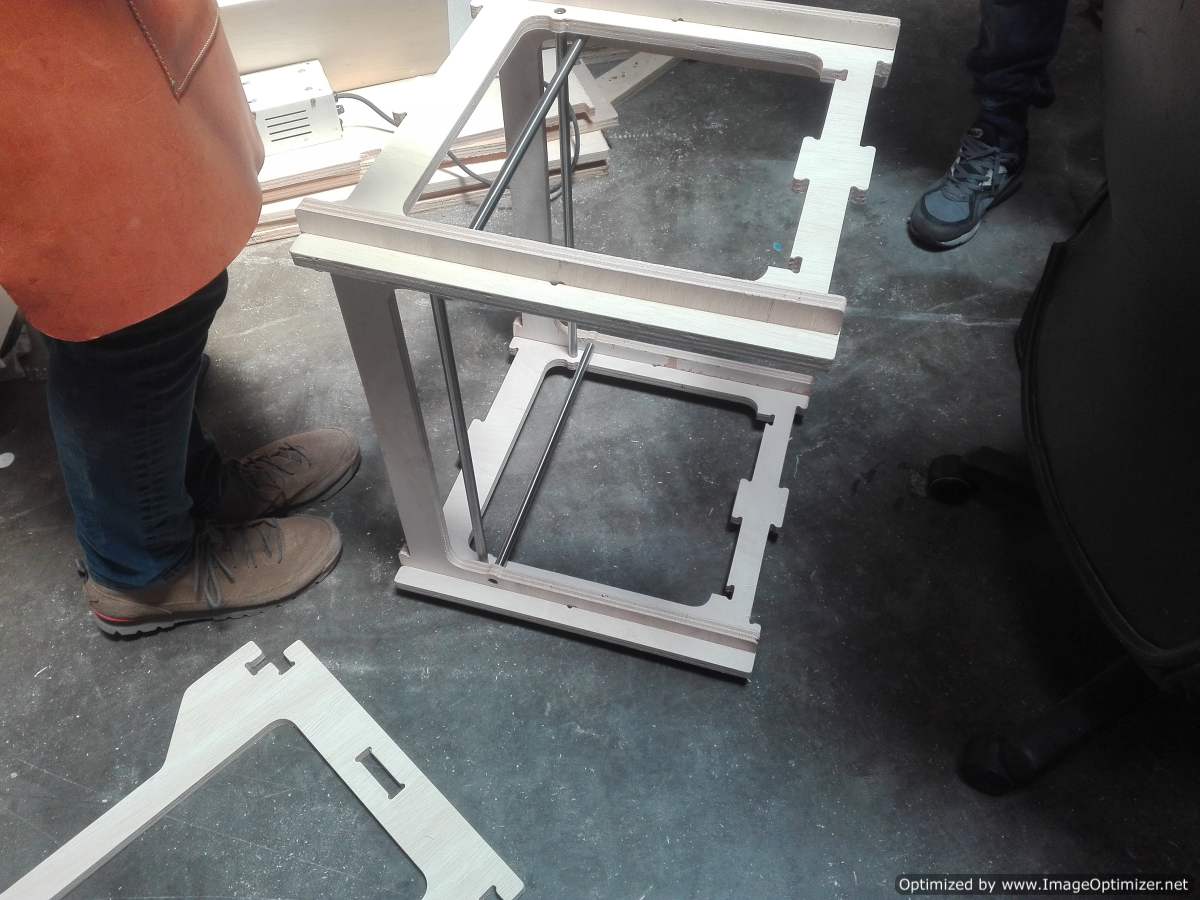
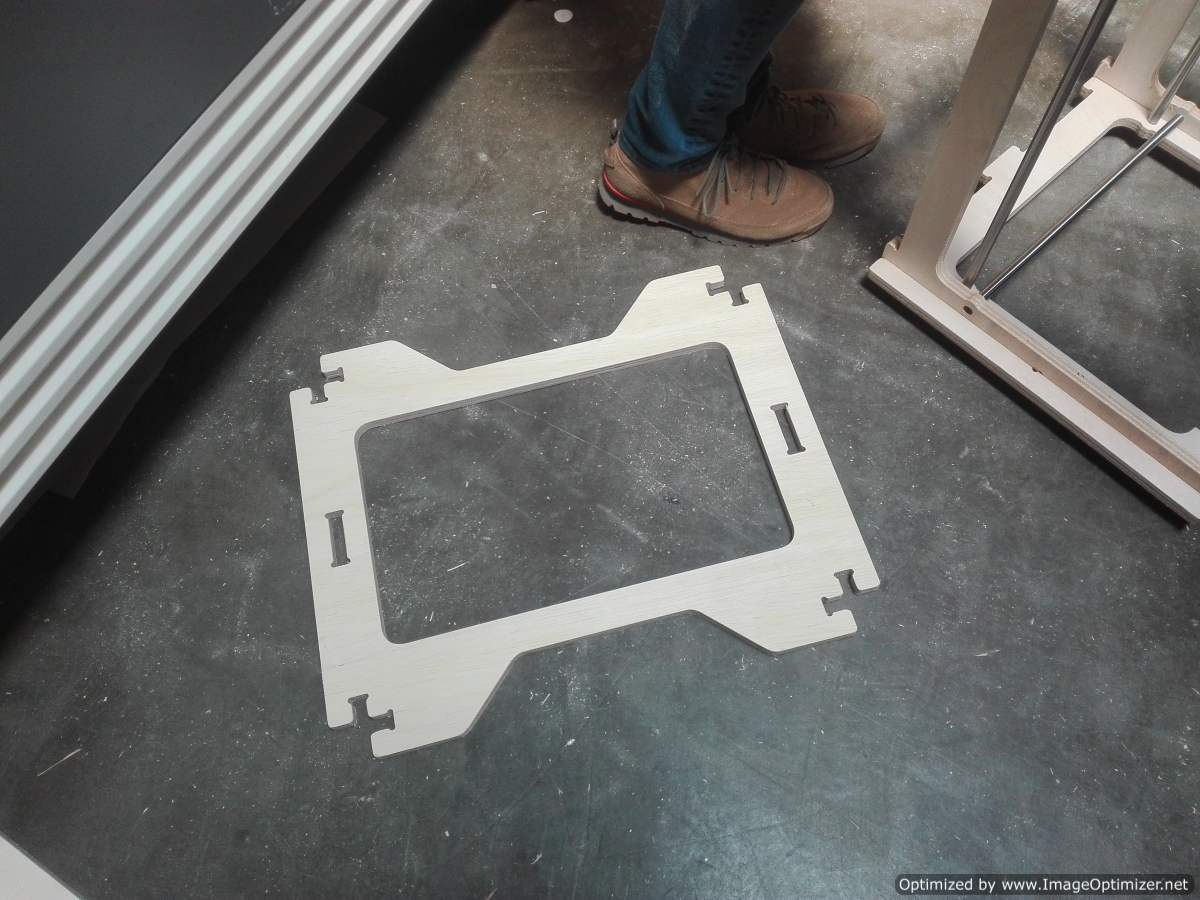
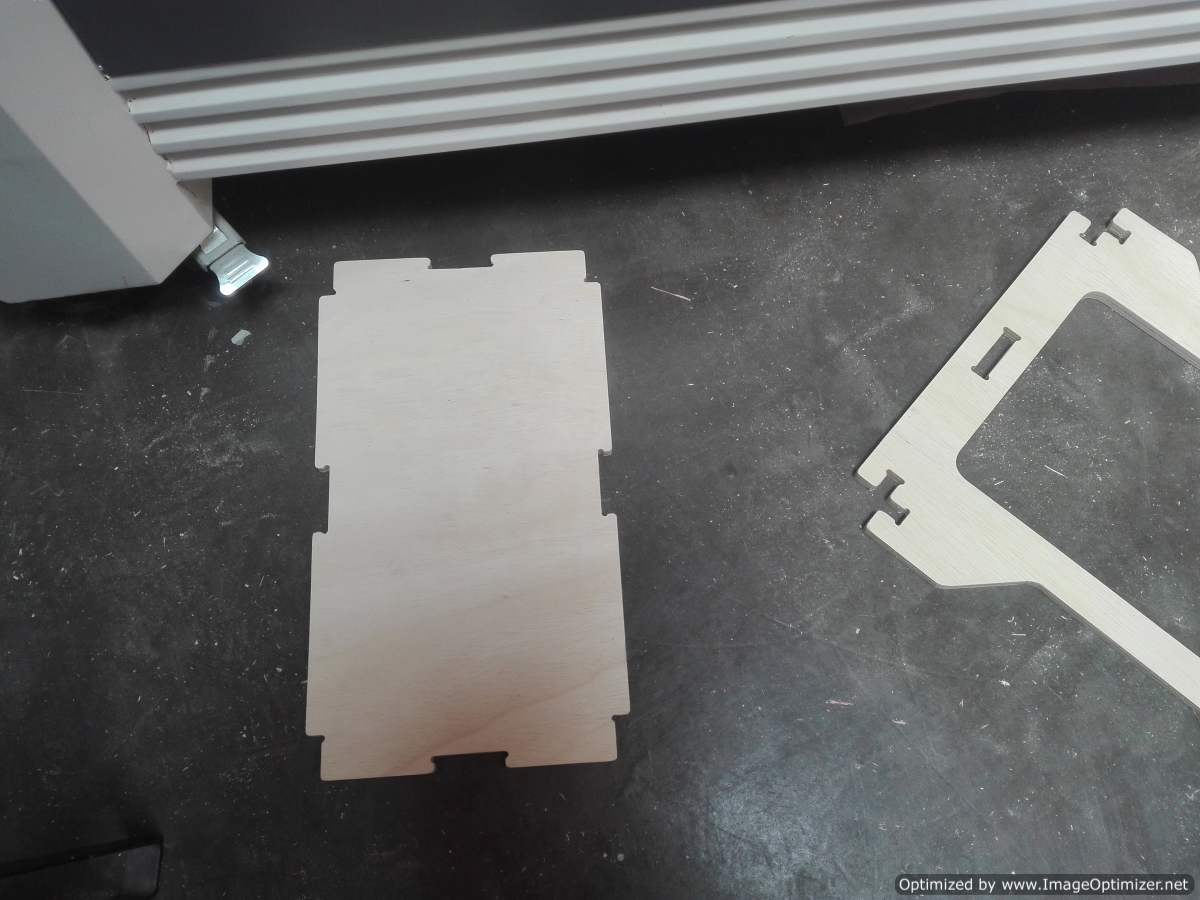
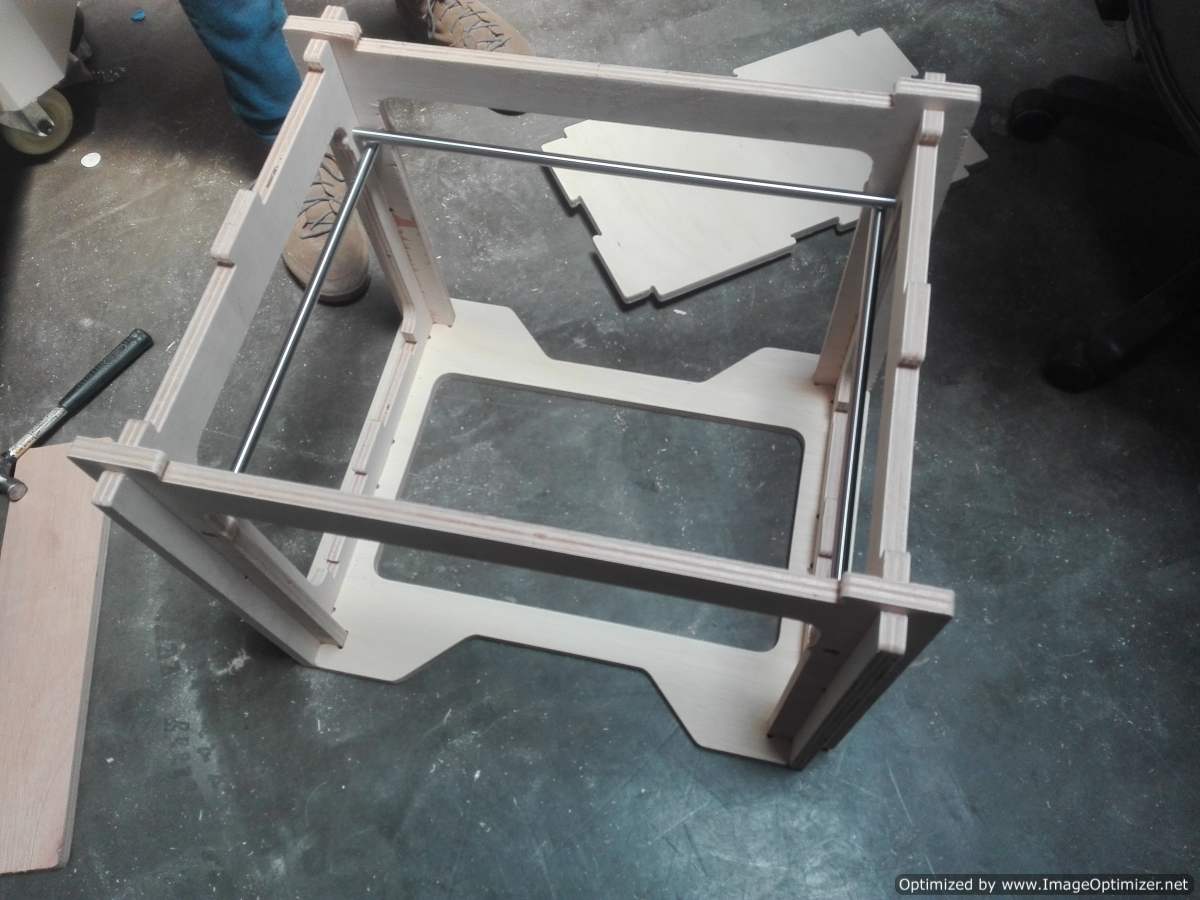
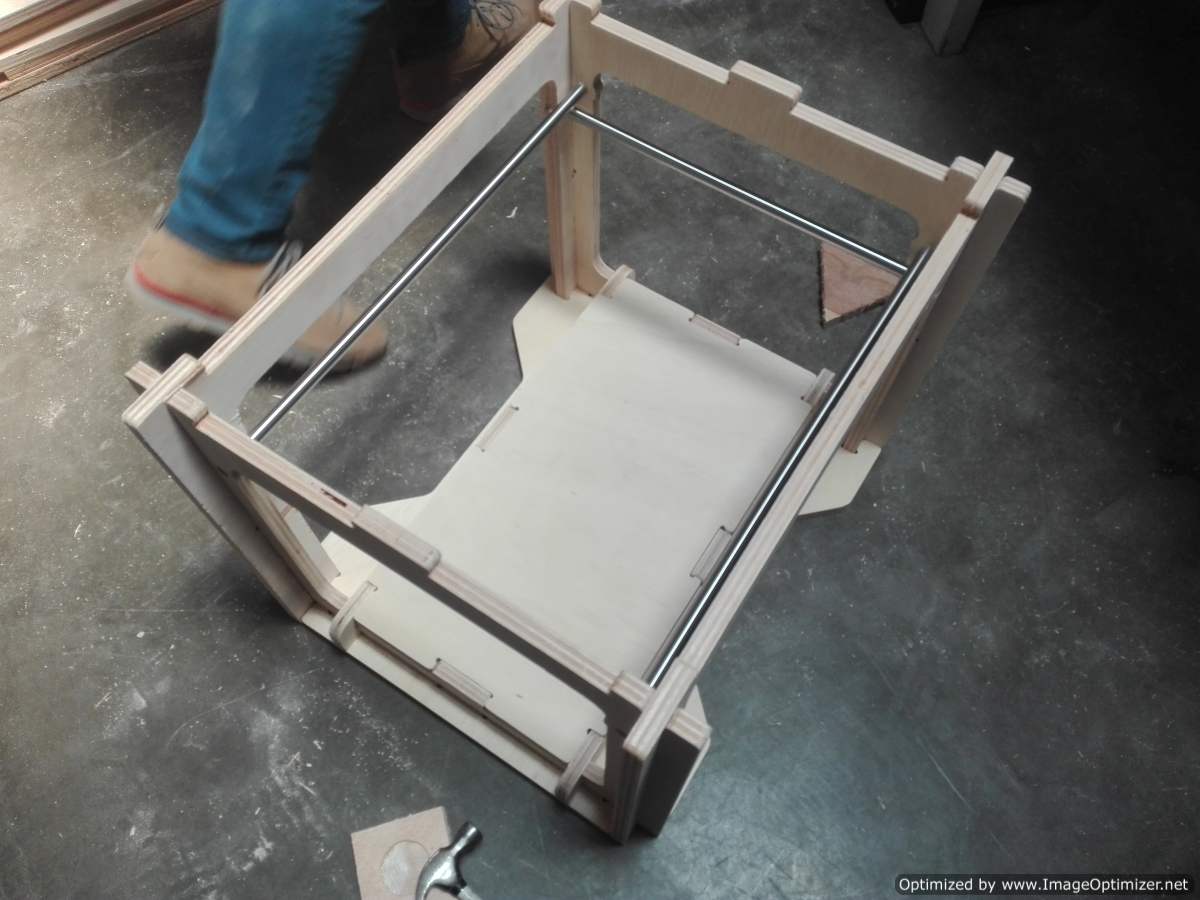
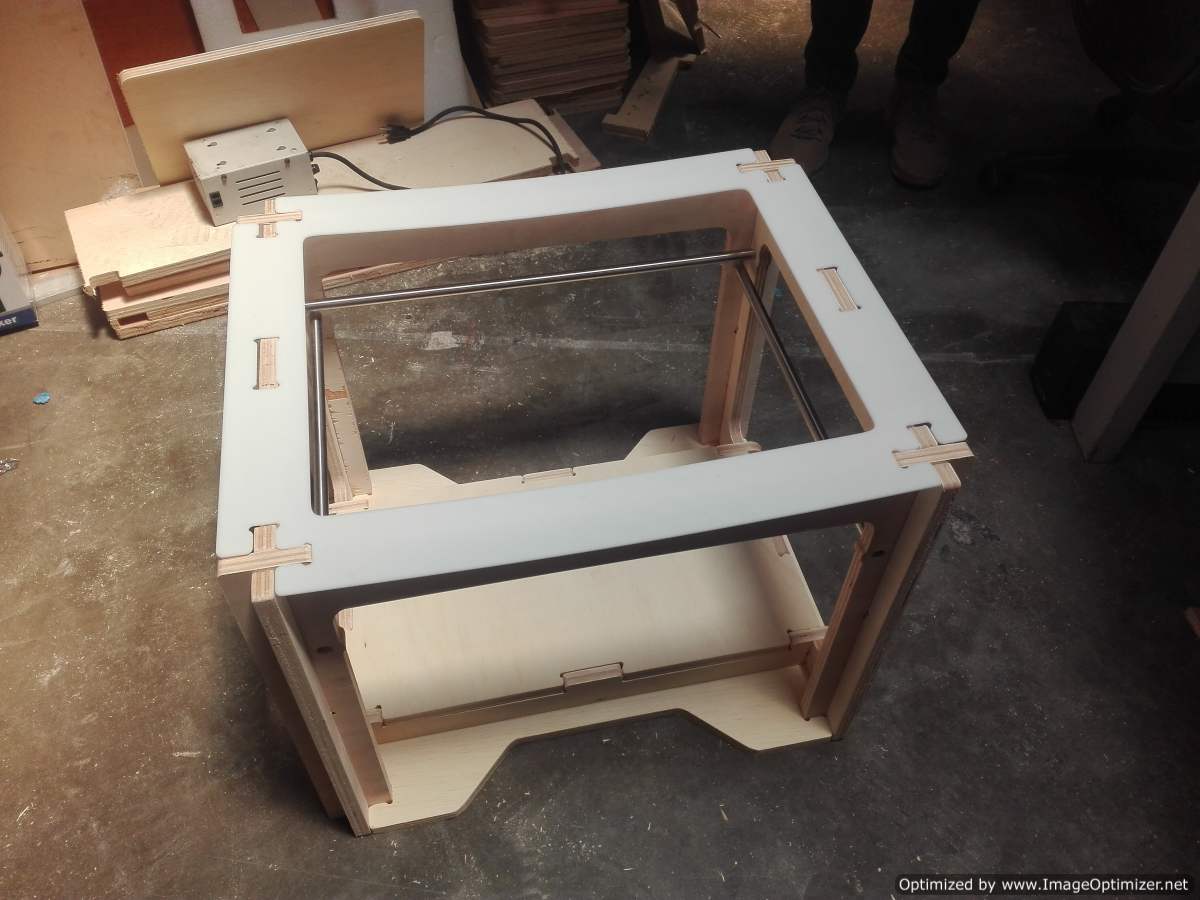
With these 2 tests I decided to wait and support my colleagues in the mechanical part. In the week of collaboration with my colleagues we decided to choose the movement system and the structure. The structure we are going to make in wood, don designs in the form of snap fit. The movement is going to be done with normal threaded bushings and rods.
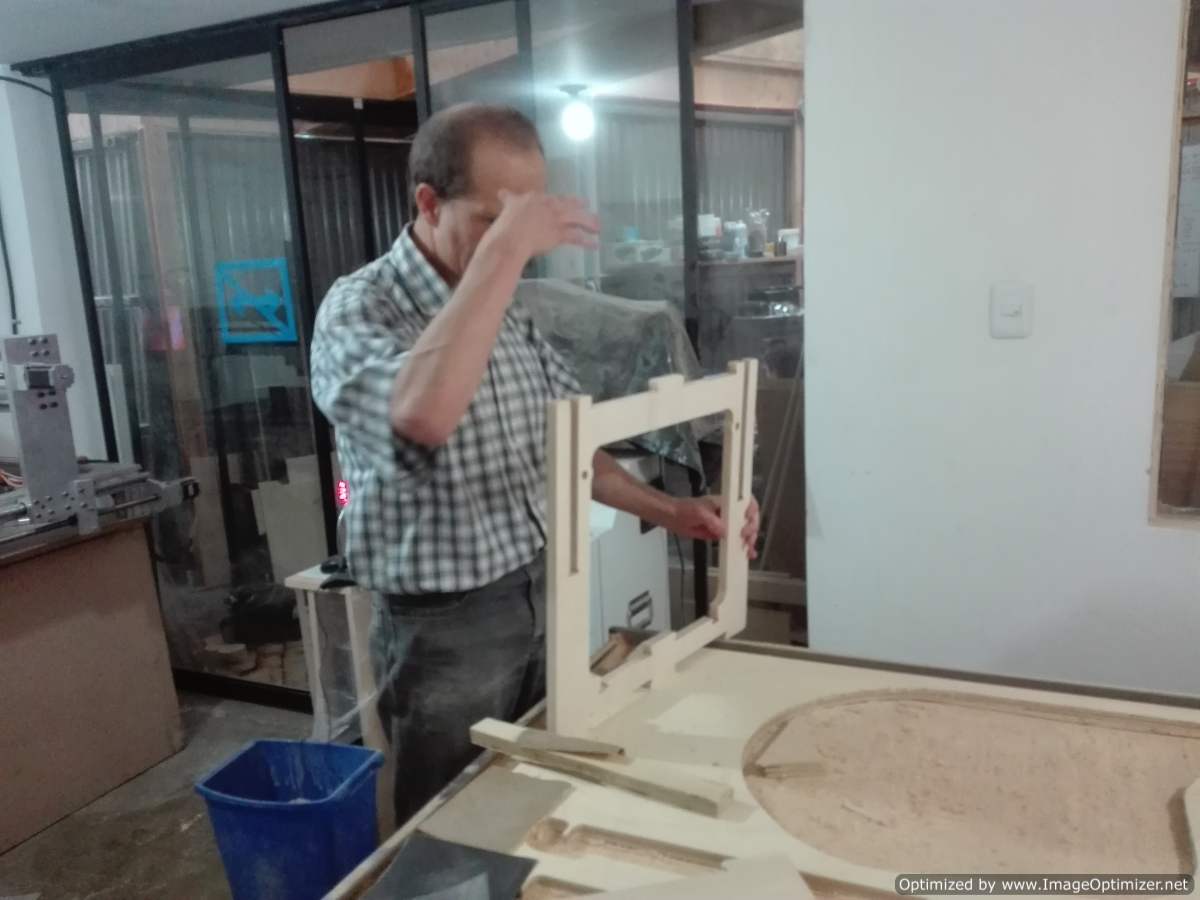
This week my colleagues managed to create the wooden structure and I helped them to assemble it together with my partner Quiliro.
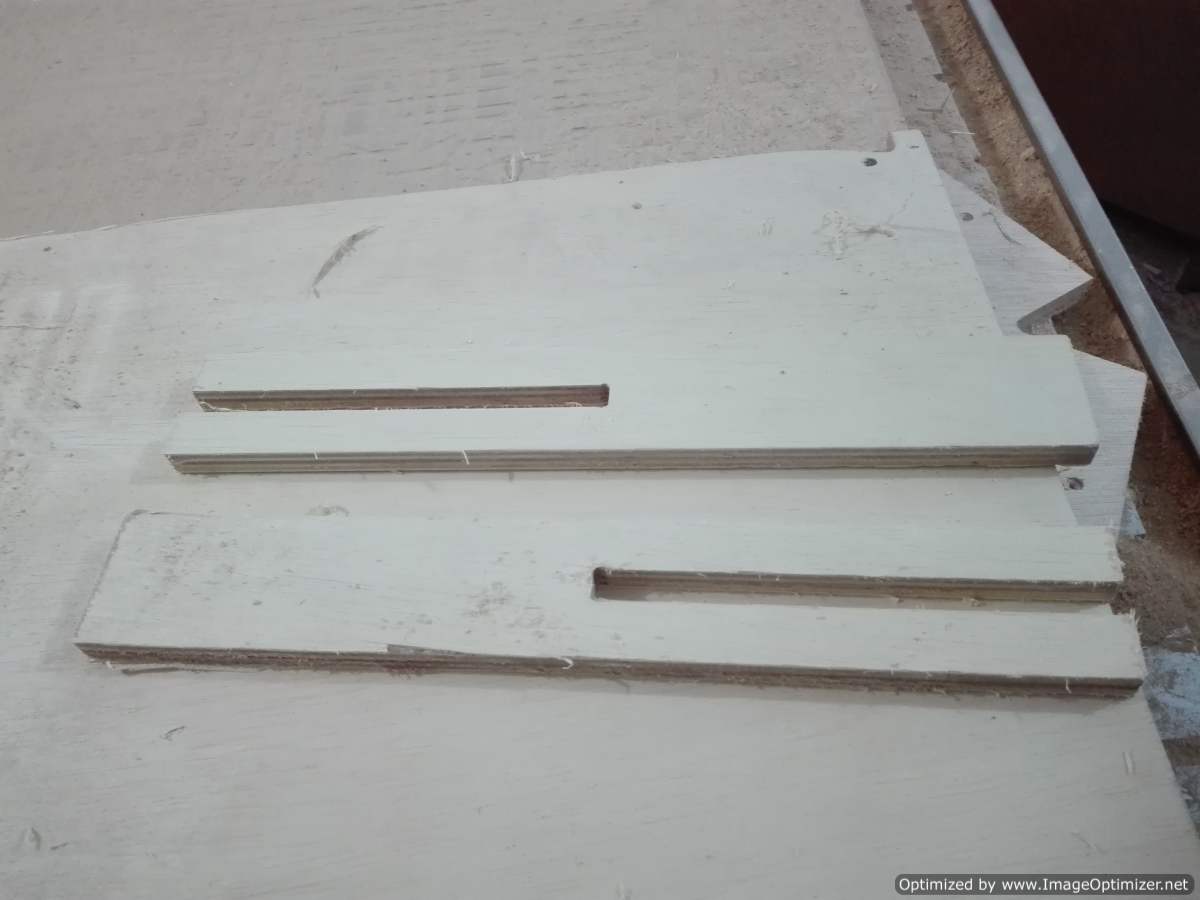
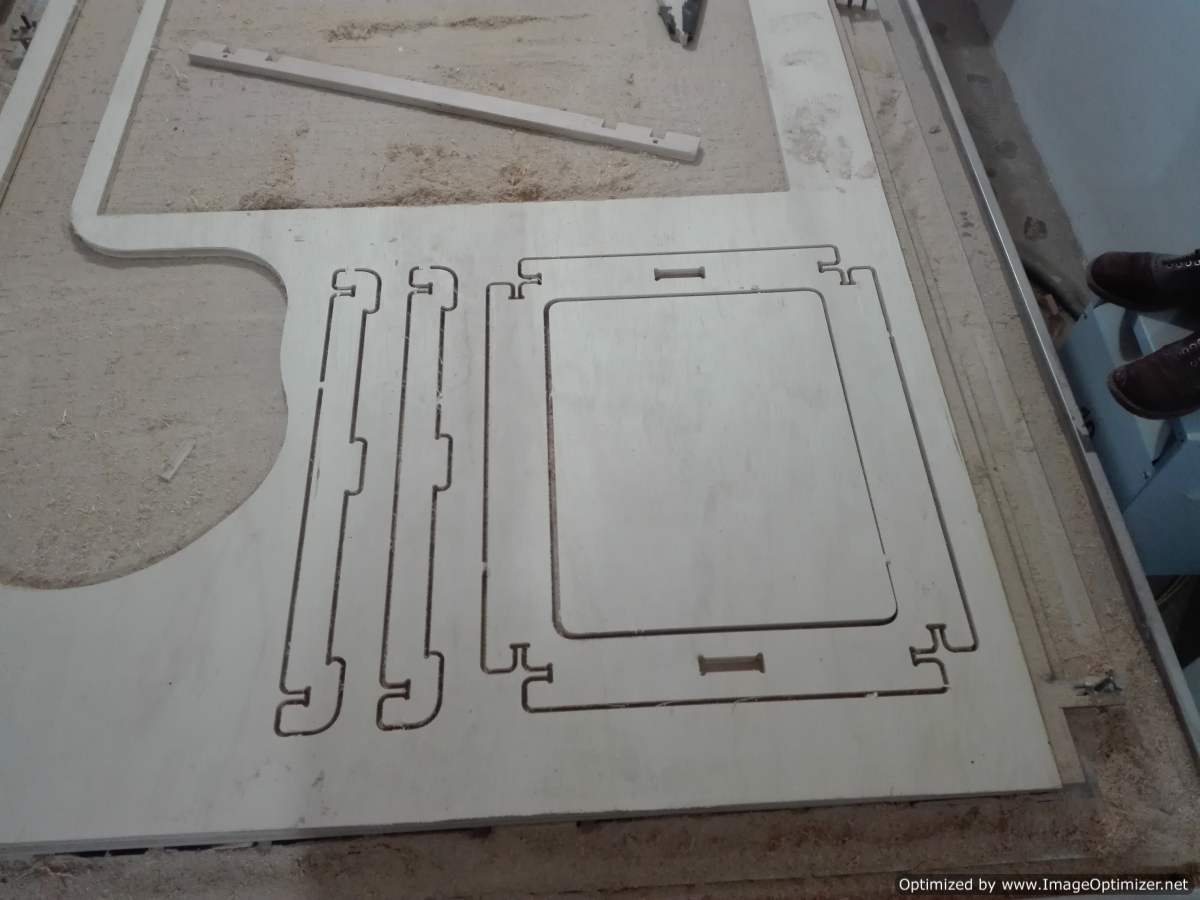
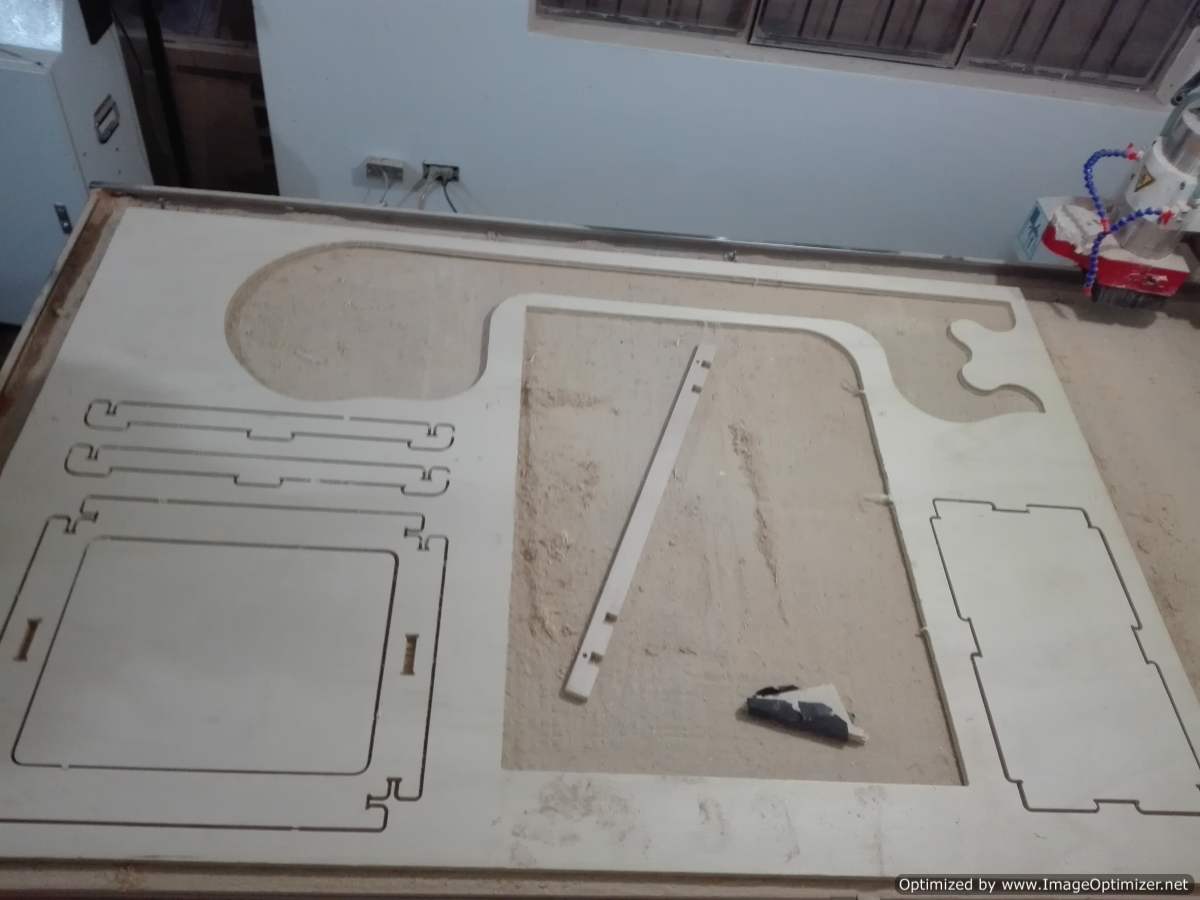
After a long day we got good results, all the pieces are cut, the next day we started the assembly. We still lack a very important part the centerpiece where the engines and other components go. For this Fabio is an expert told us that he already had the design ready and that he only needed several days to cut in the laser.
We came to another weekend and I traveled to my town in this day They managed to make the central device.
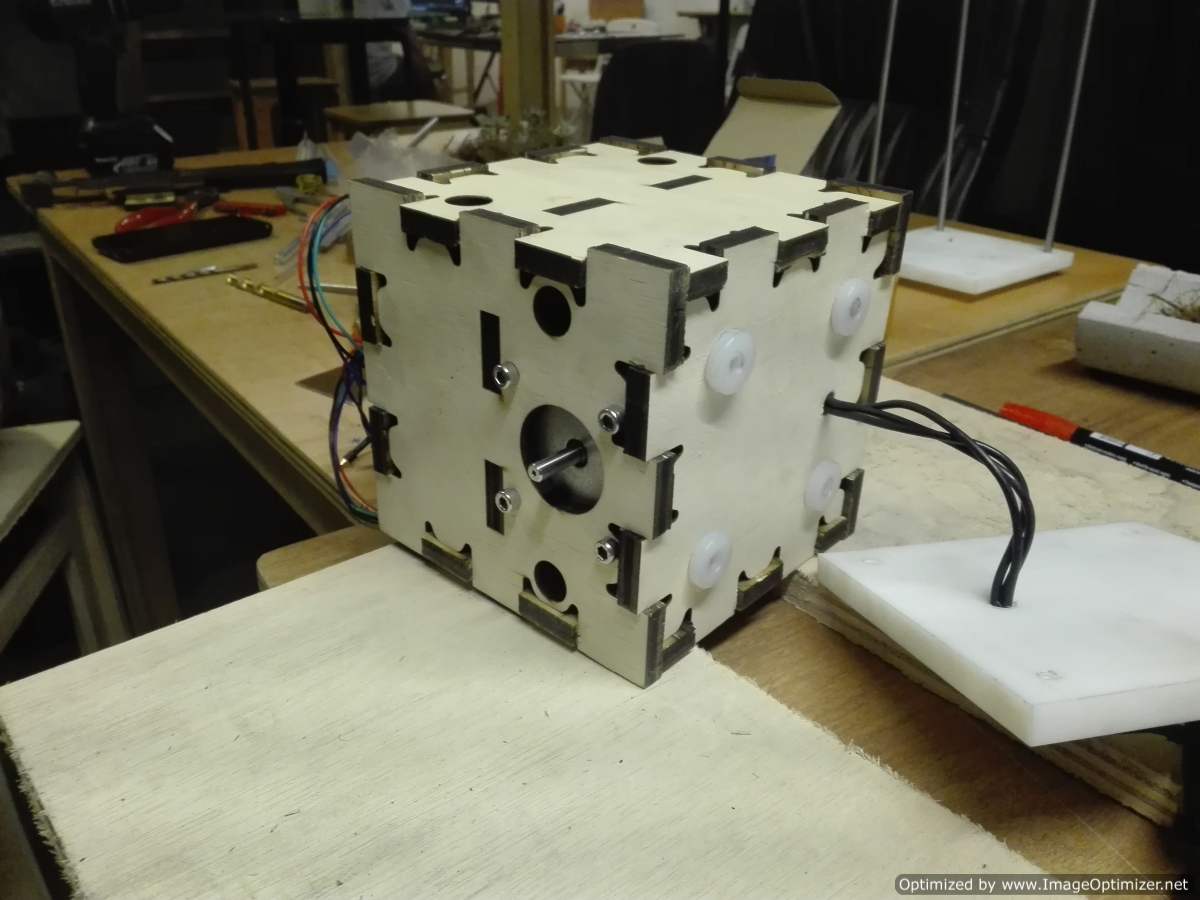
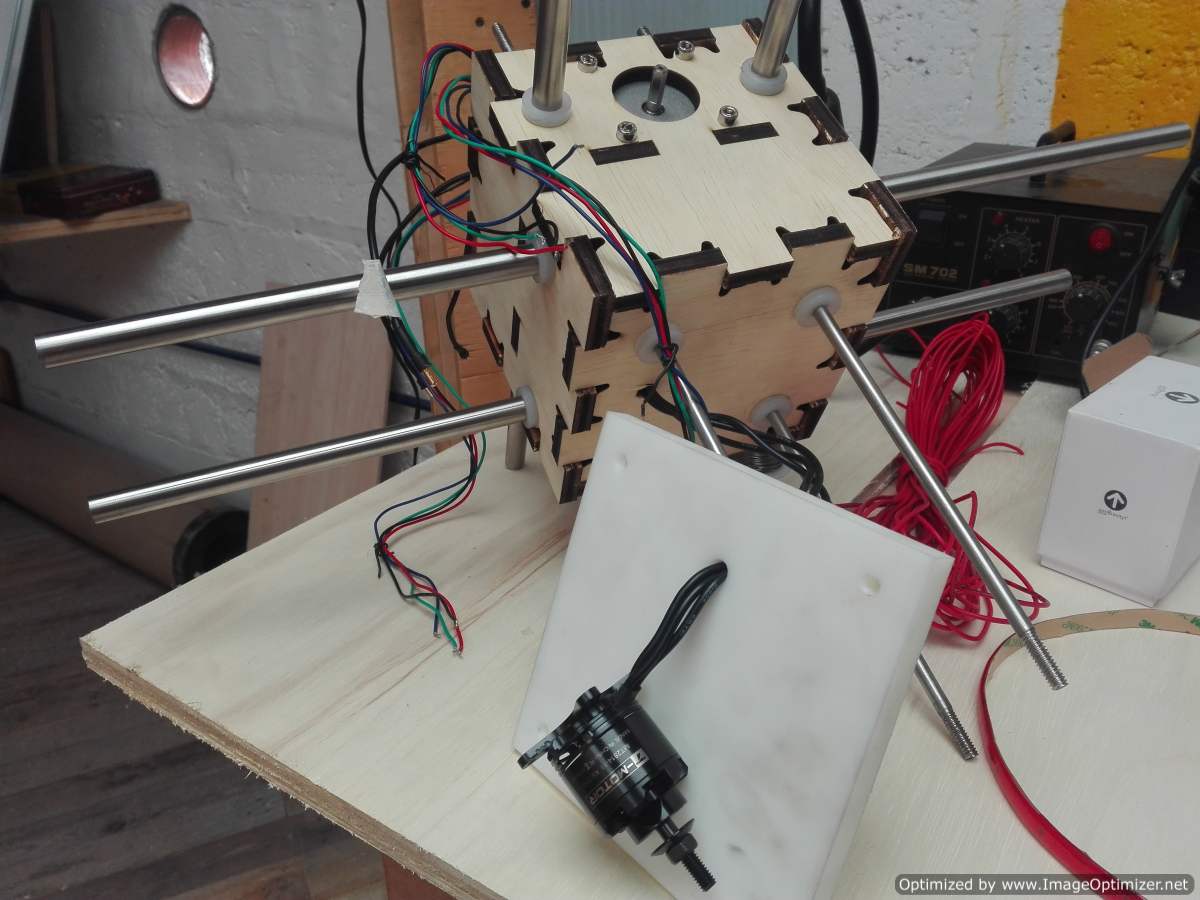
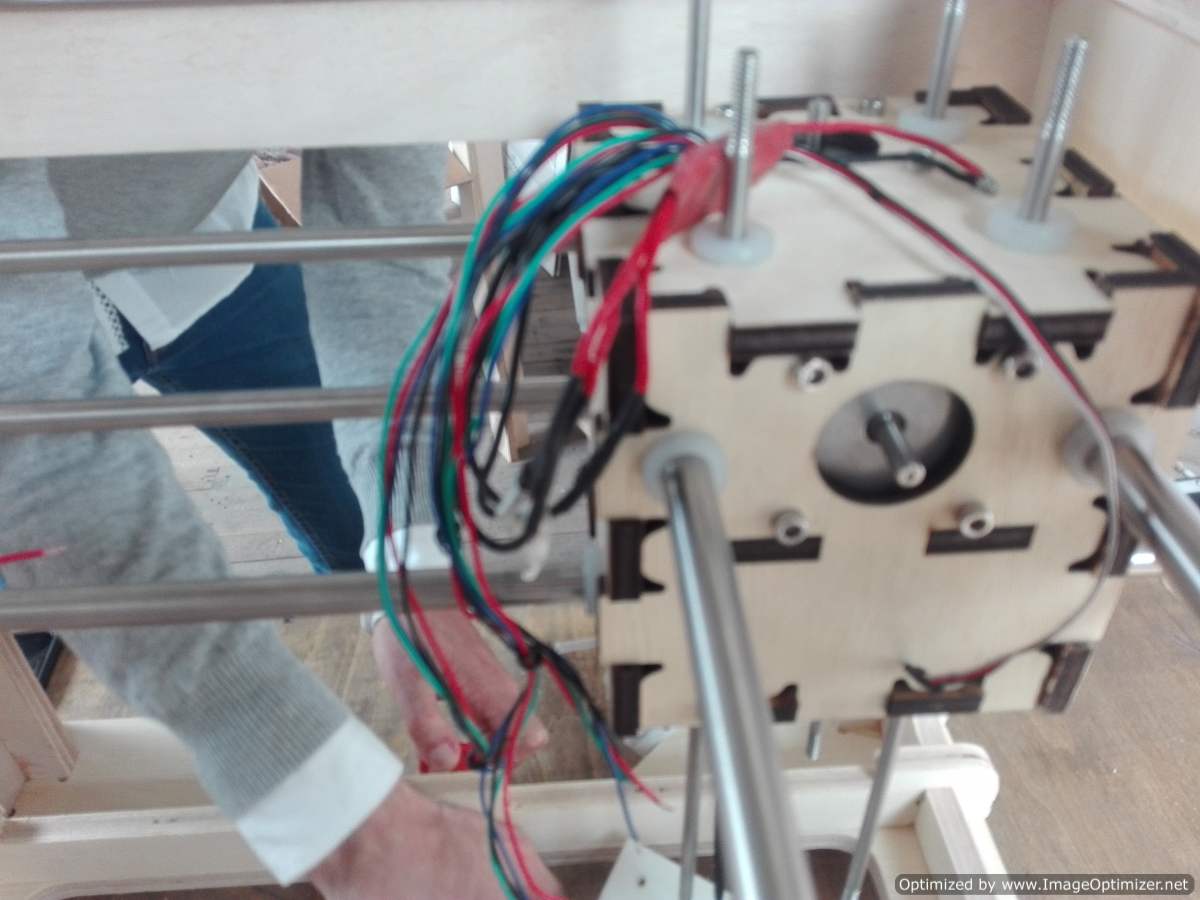
Here is the most important part of the system, why? This small hub contains 3 engines and end of carriage that are attached to the screws and allow the displacement of the work tool, in our case the mill cutter.
In this device are the bushings that allow easy travel, in itself the most important structural part from my point of view.
.png)
.png)
.png)



.png)
.png)
.png)
.png)
.png)
.png)
.png)
