My main contribution is to setup the software that controls the machine. I have also mounted the gitlab infrastructure for team collaboration and helped with general activities such as shopping for parts, sanding and assembly. These tasks are described on this web page.
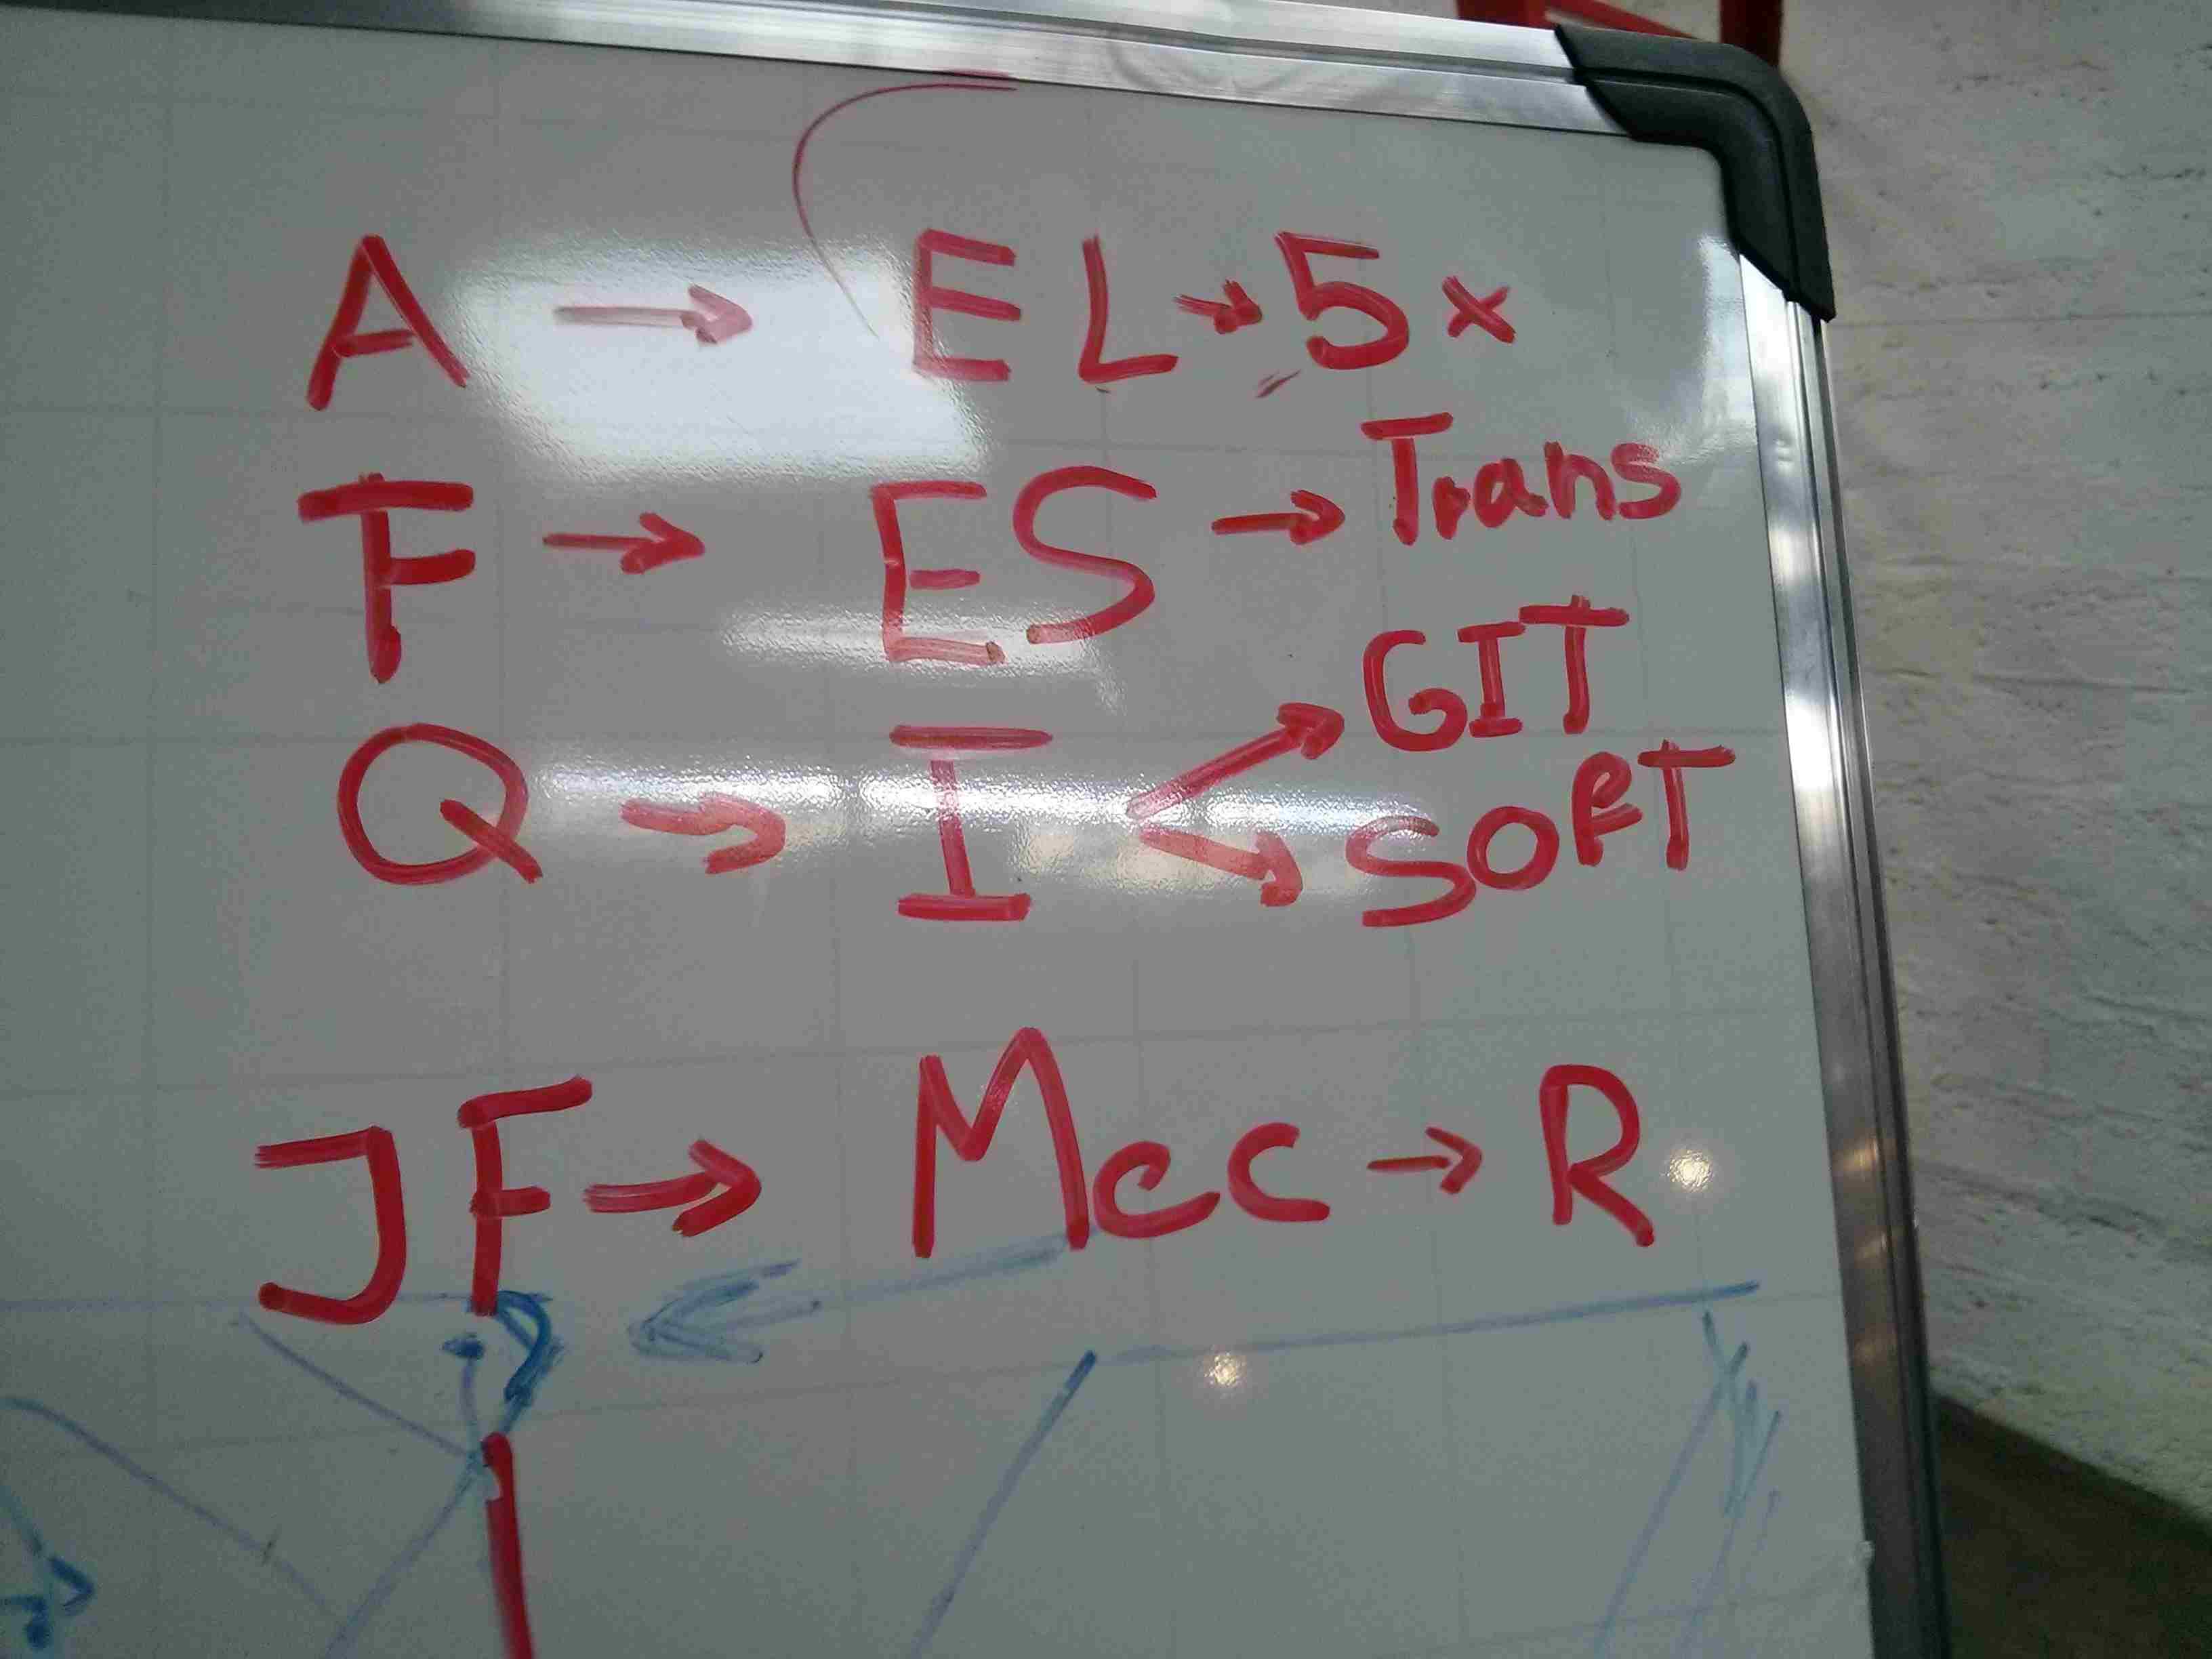
We have listed, organized and distributed the tasks in order to use the best the abilities of each member.
| Plan | CAD | Completion | Electronics | Completion | Software | Completion | Provision | Completion |
|---|---|---|---|---|---|---|---|---|
| Wed 2 | Concept | Tiny G theory | Investigation complete | Define stack | Stack defined | |||
| Thu 3 | Design | First design draft | Control Tiny G | Move 3 Axis | Git | Git project created | ||
| Fri 4 | Cut parts | First CAD draft | 3 axis control | Control 4 axis | Test board | Board works w/interface | Buy joints | |
| Mon 7 | Ensemble parts | Concept Design | Integration | Integration | Integration | |||
| Tue 8 | Concept complete | 5 axis control | Tests and doc | Tests and doc | ||||
| Wed 9 | Detailed design | |||||||
| Thu 10 | CAD complete | |||||||
| Fri 11 | Pressfit test | |||||||
| Mon 14 | Parts cut | |||||||
| Tue 15 | Joints ordered |
New schedule:
Juan Felipe: electronic integration, cable, illumination (schematic integration Wed 16, perforations) Thu 17, video script Thu 17, Infographics Fri 18
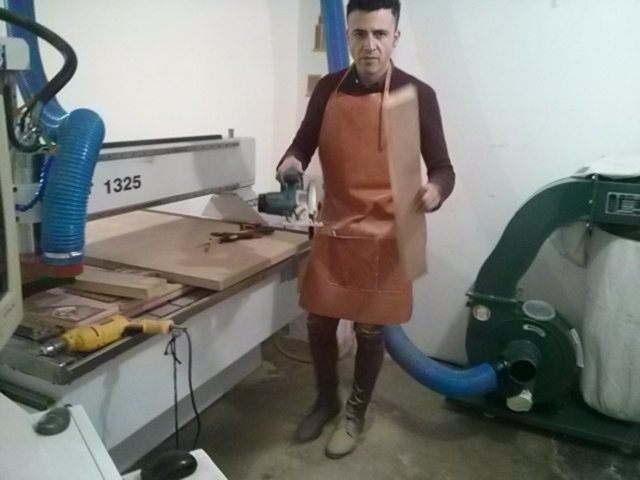
Fabio: central head assembly, spindle and motor attachment Wed 16, sideways head assembly Thu 17
Alex: Electronic integration Fri 18
Quiliro: Shopping list, Motor and shopping list purchase, Control software Fri 18
Juan Felipe: 8 individual LEDs o 4 LED strips
Fabio: 20 bolts with nut, washer and pressure washer for motors; 4 elevation bolts 10mm long for a motor; 50 bolts 2mm x 12mm, round head, hexagon wedge, with nut and washer; 20 nets with washer for 1/4 in. rod, 10 prisoner bolts; 2 continuous thread bolt with 10 nuts; 4 bolts, 18mm long with nut, washer and pressure washer for spindle.
Alex: 3 lever end sensors, 20 meters flexible cable 22-18 AWG, Emergency button
I have created a git repository for the project files and documentation as Zero CNC version 2. I include the general proceedure on the group project website and on my own website a link in order to avoid repetition.
The git files then get rendered by way of the Pages function on GitLab. This is our own URL. But you can do the same on your page by adding pages to your git project. It will guide you to make your git website rendered as a web page.
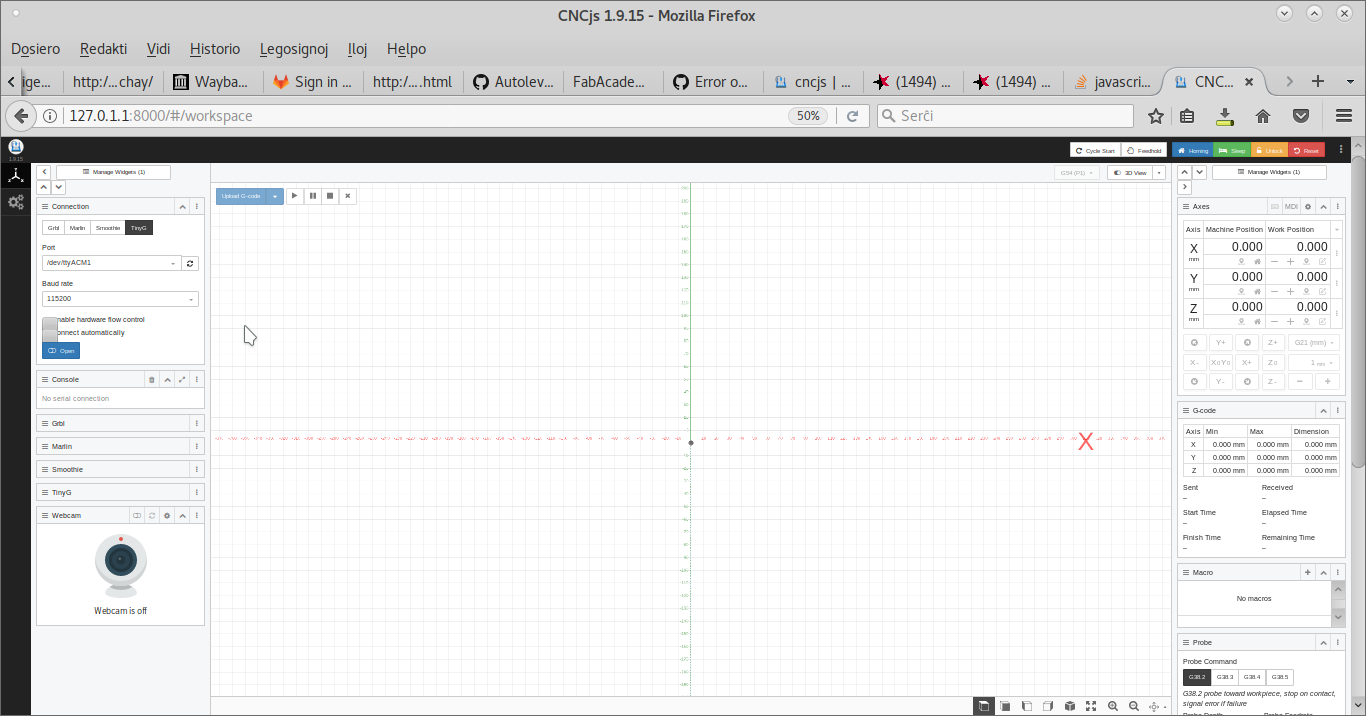
In order for the user to send files to the CNC machine, we need a user interface. A web interface is ideal because the user does not need to be physically connected to the machine. She can even control it via a remote location.
I found CNC JS. It has an MIT licence which works "requiring preservation of copyright and license notices. Licensed works, modifications, and larger works may be distributed under different terms and without source code". So it is libre software!
In order to install CNC JS, Node JS must be installed. Node Version Manager is Node JS installer.
	$ git clone https://github.com/creationix/nvm.git ~/.nvm
	Cloning into '/home/fablabo/.nvm'...
	remote: Counting objects: 7039, done.
	remote: Compressing objects: 100% (28/28), done.
	remote: Total 7039 (delta 33), reused 53 (delta 32), pack-reused 6979
	Receiving objects: 100% (7039/7039), 2.21 MiB | 1.88 MiB/s, done.
	Resolving deltas: 100% (4408/4408), done.
$ cd ~/.nvm
	$ git checkout `git describe --abbrev=0 --tags`
	Note: checking out 'v0.33.11'.

	You are in 'detached HEAD' state. You can look around, make experimental
	changes and commit them, and you can discard any commits you make in this
	state without impacting any branches by performing another checkout.

	If you want to create a new branch to retain commits you create, you may
	do so (now or later) by using -b with the checkout command again. Example:

	git checkout -b new-branch-name

	  HEAD is now at 93990ab... v0.33.11
$ cd ..
$ . ~/.nvm/nvm.sh
$ nano ~/.bashrc
Inserted these lines at the end of that file.
	export NVM_DIR="$HOME/.nvm"
	[ -s "$NVM_DIR/nvm.sh" ] && . "$NVM_DIR/nvm.sh" # This loads nvm
	$ nvm install 6
	Downloading and installing node v6.14.2...
	Downloading https://nodejs.org/dist/v6.14.2/node-v6.14.2-linux-x86.tar.xz...
	######################################################################## 100,0%
	Computing checksum with sha256sum
	Checksums matched!
	Now using node v6.14.2 (npm v3.10.10)
	Creating default alias: default - 6 (- v6.14.2)
	$ nvm use 6
	Now using node v6.14.2 (npm v3.10.10)
$ npm install npm@latest -g
command output
	$ npm install npm@latest -g
	/home/fablabo/.nvm/versions/node/v6.14.2/bin/npm - /home/fablabo/.nvm/versions/node/v6.14.2/lib/node_modules/npm/bin/npm-cli.js
	/home/fablabo/.nvm/versions/node/v6.14.2/bin/npx - /home/fablabo/.nvm/versions/node/v6.14.2/lib/node_modules/npm/bin/npx-cli.js
	+ npm@6.0.0
	updated 2 packages in 113.798s
$ npm install -g cncjs
	/home/fablabo/.nvm/versions/node/v6.14.2/bin/cnc - /home/fablabo/.nvm/versions/node/v6.14.2/lib/node_modules/cncjs/bin/cnc
	/home/fablabo/.nvm/versions/node/v6.14.2/bin/cncjs - /home/fablabo/.nvm/versions/node/v6.14.2/lib/node_modules/cncjs/bin/cnc
	/home/fablabo/.nvm/versions/node/v6.14.2/bin/cncjs-server - /home/fablabo/.nvm/versions/node/v6.14.2/lib/node_modules/cncjs/bin/cnc

	 serialport@6.1.1 install /home/fablabo/cncjs/node_modules/serialport
	 prebuild-install || node-gyp rebuild

	npm WARN react-grid-system@3.1.3 requires a peer of react@^16.0.0 but none is installed. You must install peer dependencies yourself.

	+ cncjs@1.9.15
	added 747 packages from 523 contributors in 234.007s
But since I have an error on running as described in the Using CNC JS section of this page, I could solve the error by updating NPM as follows.
$ npm install npm@latest -g
command output
I had an error.
	$ cncjs
	module.js:478
	throw err;
	^

	Error: Cannot find module '../dist/cnc/cnc'
	at Function.Module._resolveFilename (module.js:476:15)
	at Function.Module._load (module.js:424:25)
	at Module.require (module.js:504:17)
	at require (internal/module.js:20:19)
	at Object.<-anonymous> (/home/fablabo/cncjs/bin/cnc:10:11)
	at Module._compile (module.js:577:32)
	at Object.Module._extensions..js (module.js:586:10)
	at Module.load (module.js:494:32)
	at tryModuleLoad (module.js:453:12)
	at Function.Module._load (module.js:445:3)
After fixing the error as described on the Installation section, everything works.
The web server is started via the command cncjs on the terminal
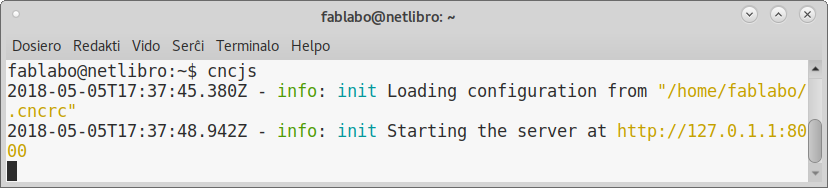
So it works and sends Gcode instructions to the TinyG
Another computer was able to connect to the web server via the local wireless network too by replacing localhost or 127.0.0.1 with the host computer's IP on the web browser.

These are the server messages when connecting remotely. It even shows the errors the user makes!

CNC JS is designed to use Gcode. But if you do not have Gcode, you can generate it for CNC JS with JS CUT.
Sean Hickey, a FabAcademy student, has a TinyG module for Mods. He describes how it works in his machine design page. It would be interesting to use it to control our machine. The developer sent me the source file for the TinyG mod. When I was reviewing the source file to check for the bugs that the developer disclosed it had, the TinyG beard was damaged. So we are no longer going to use that interface.
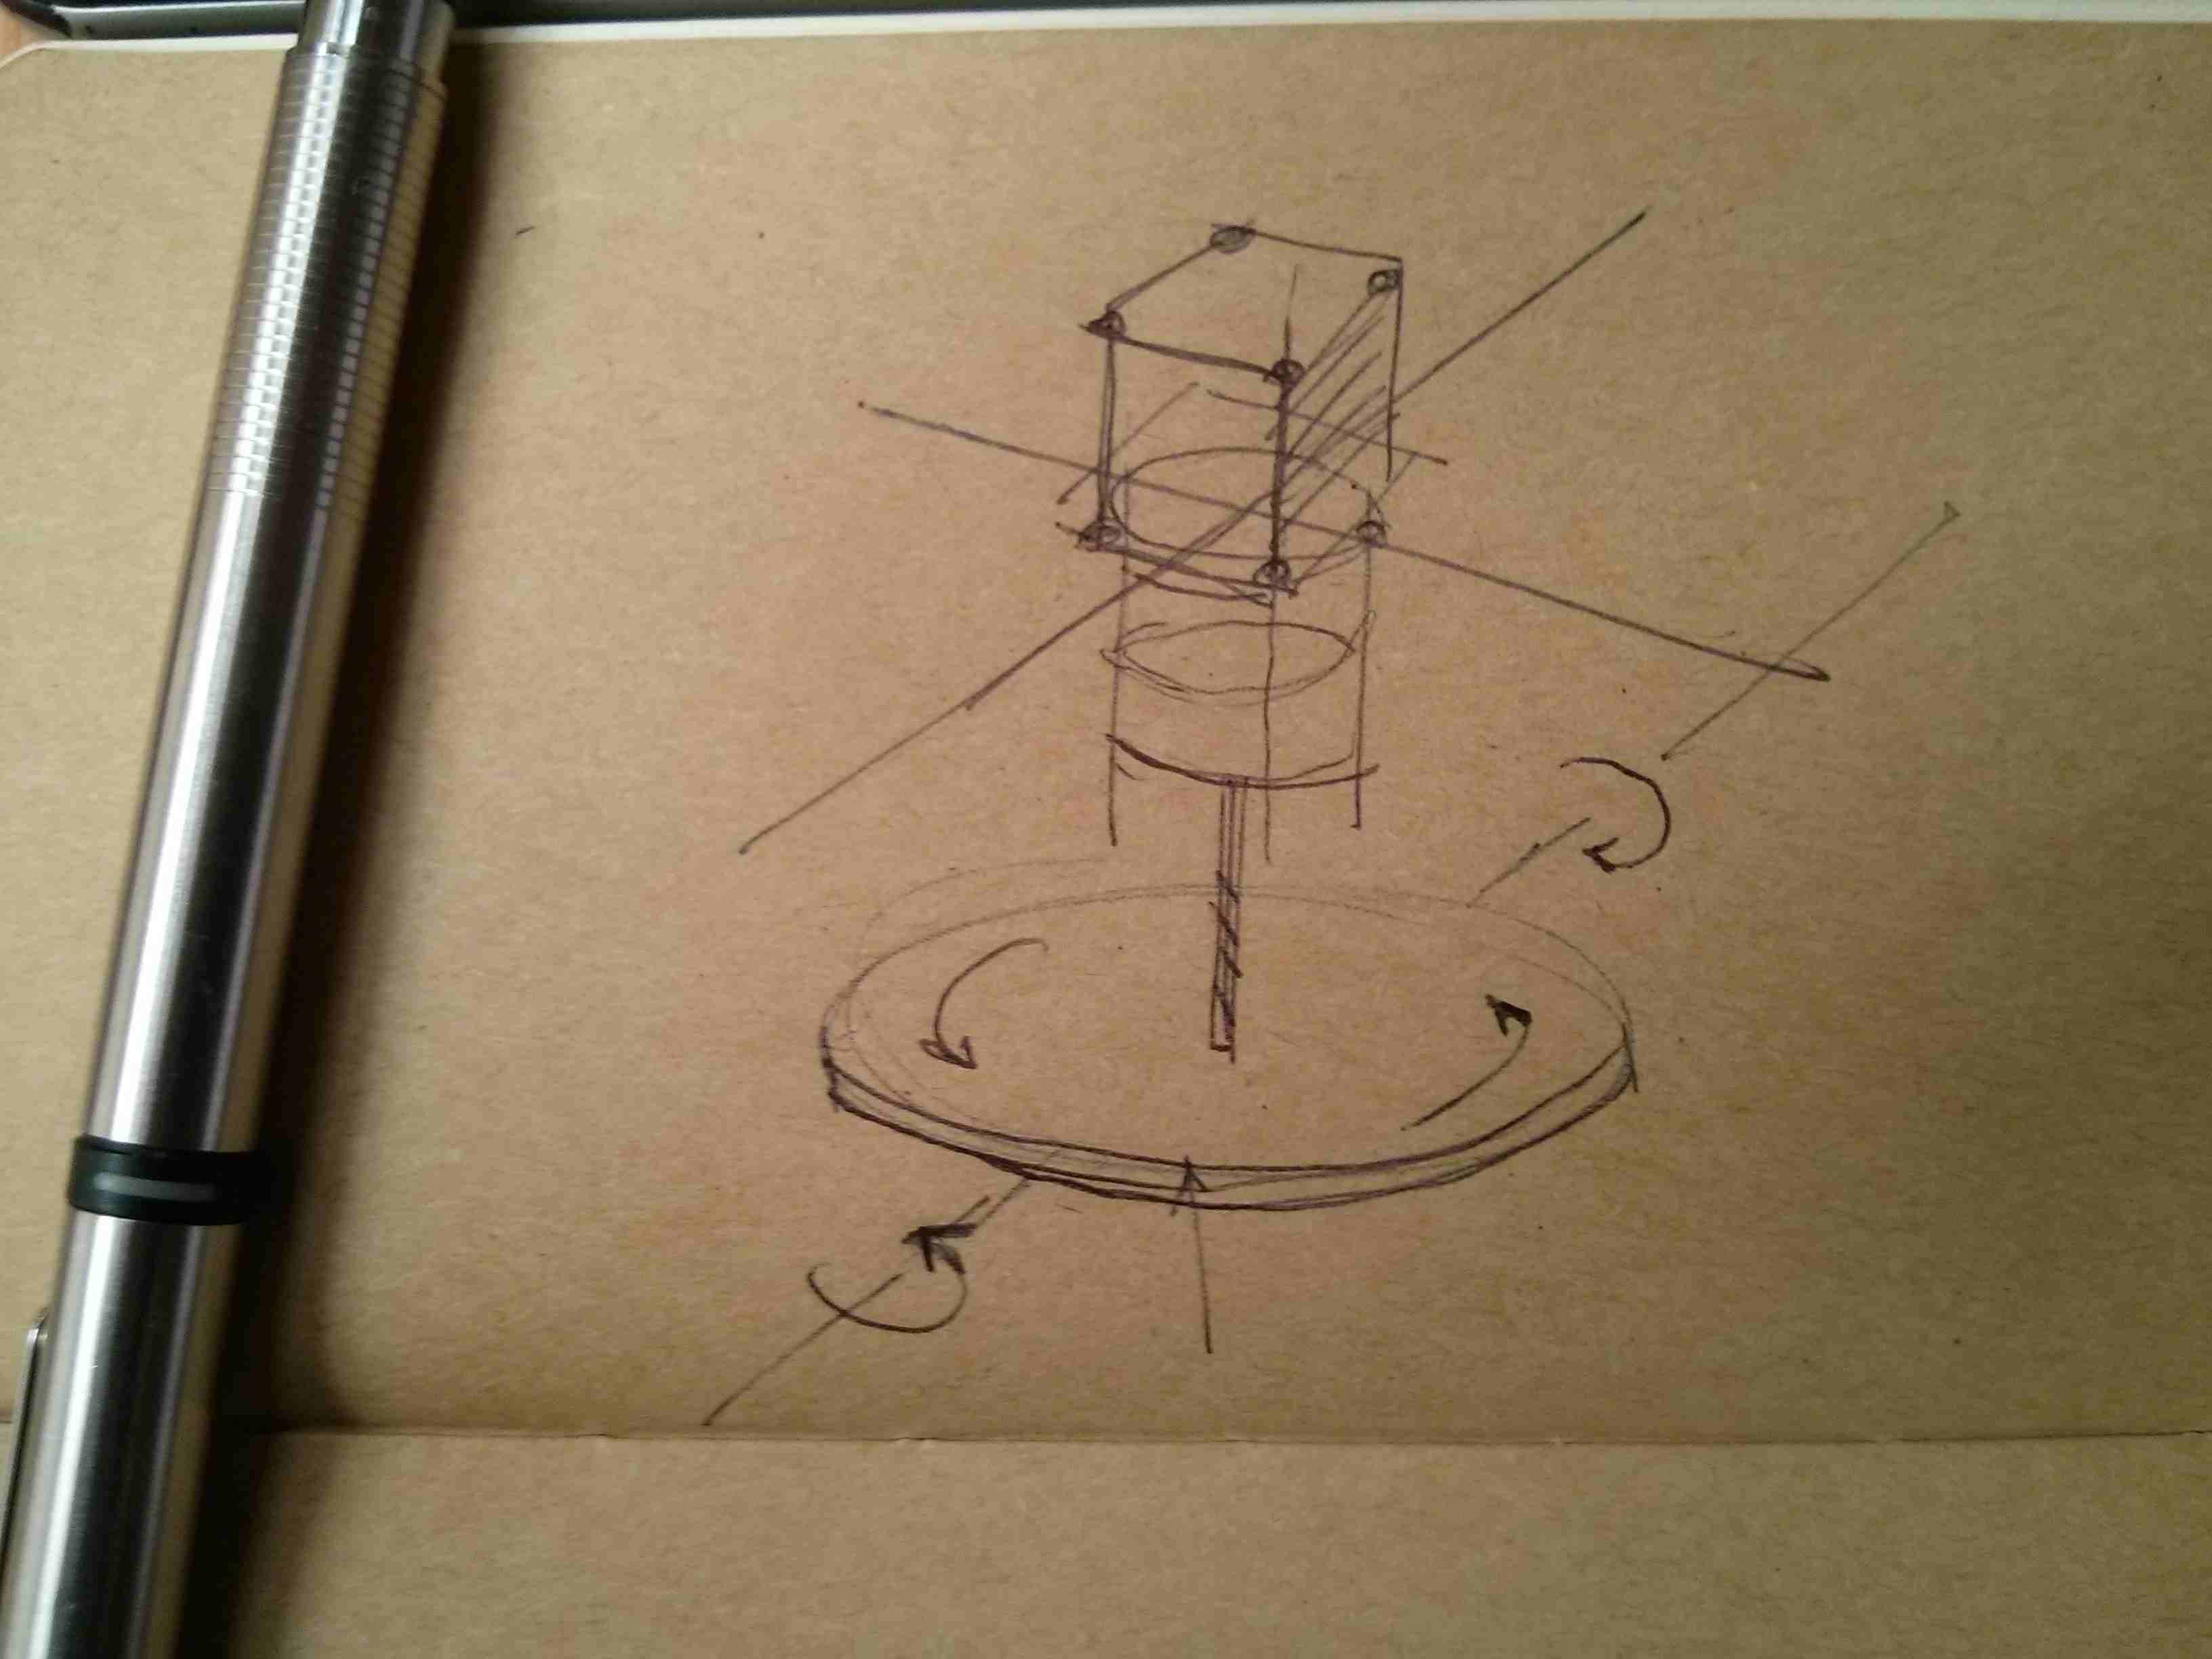
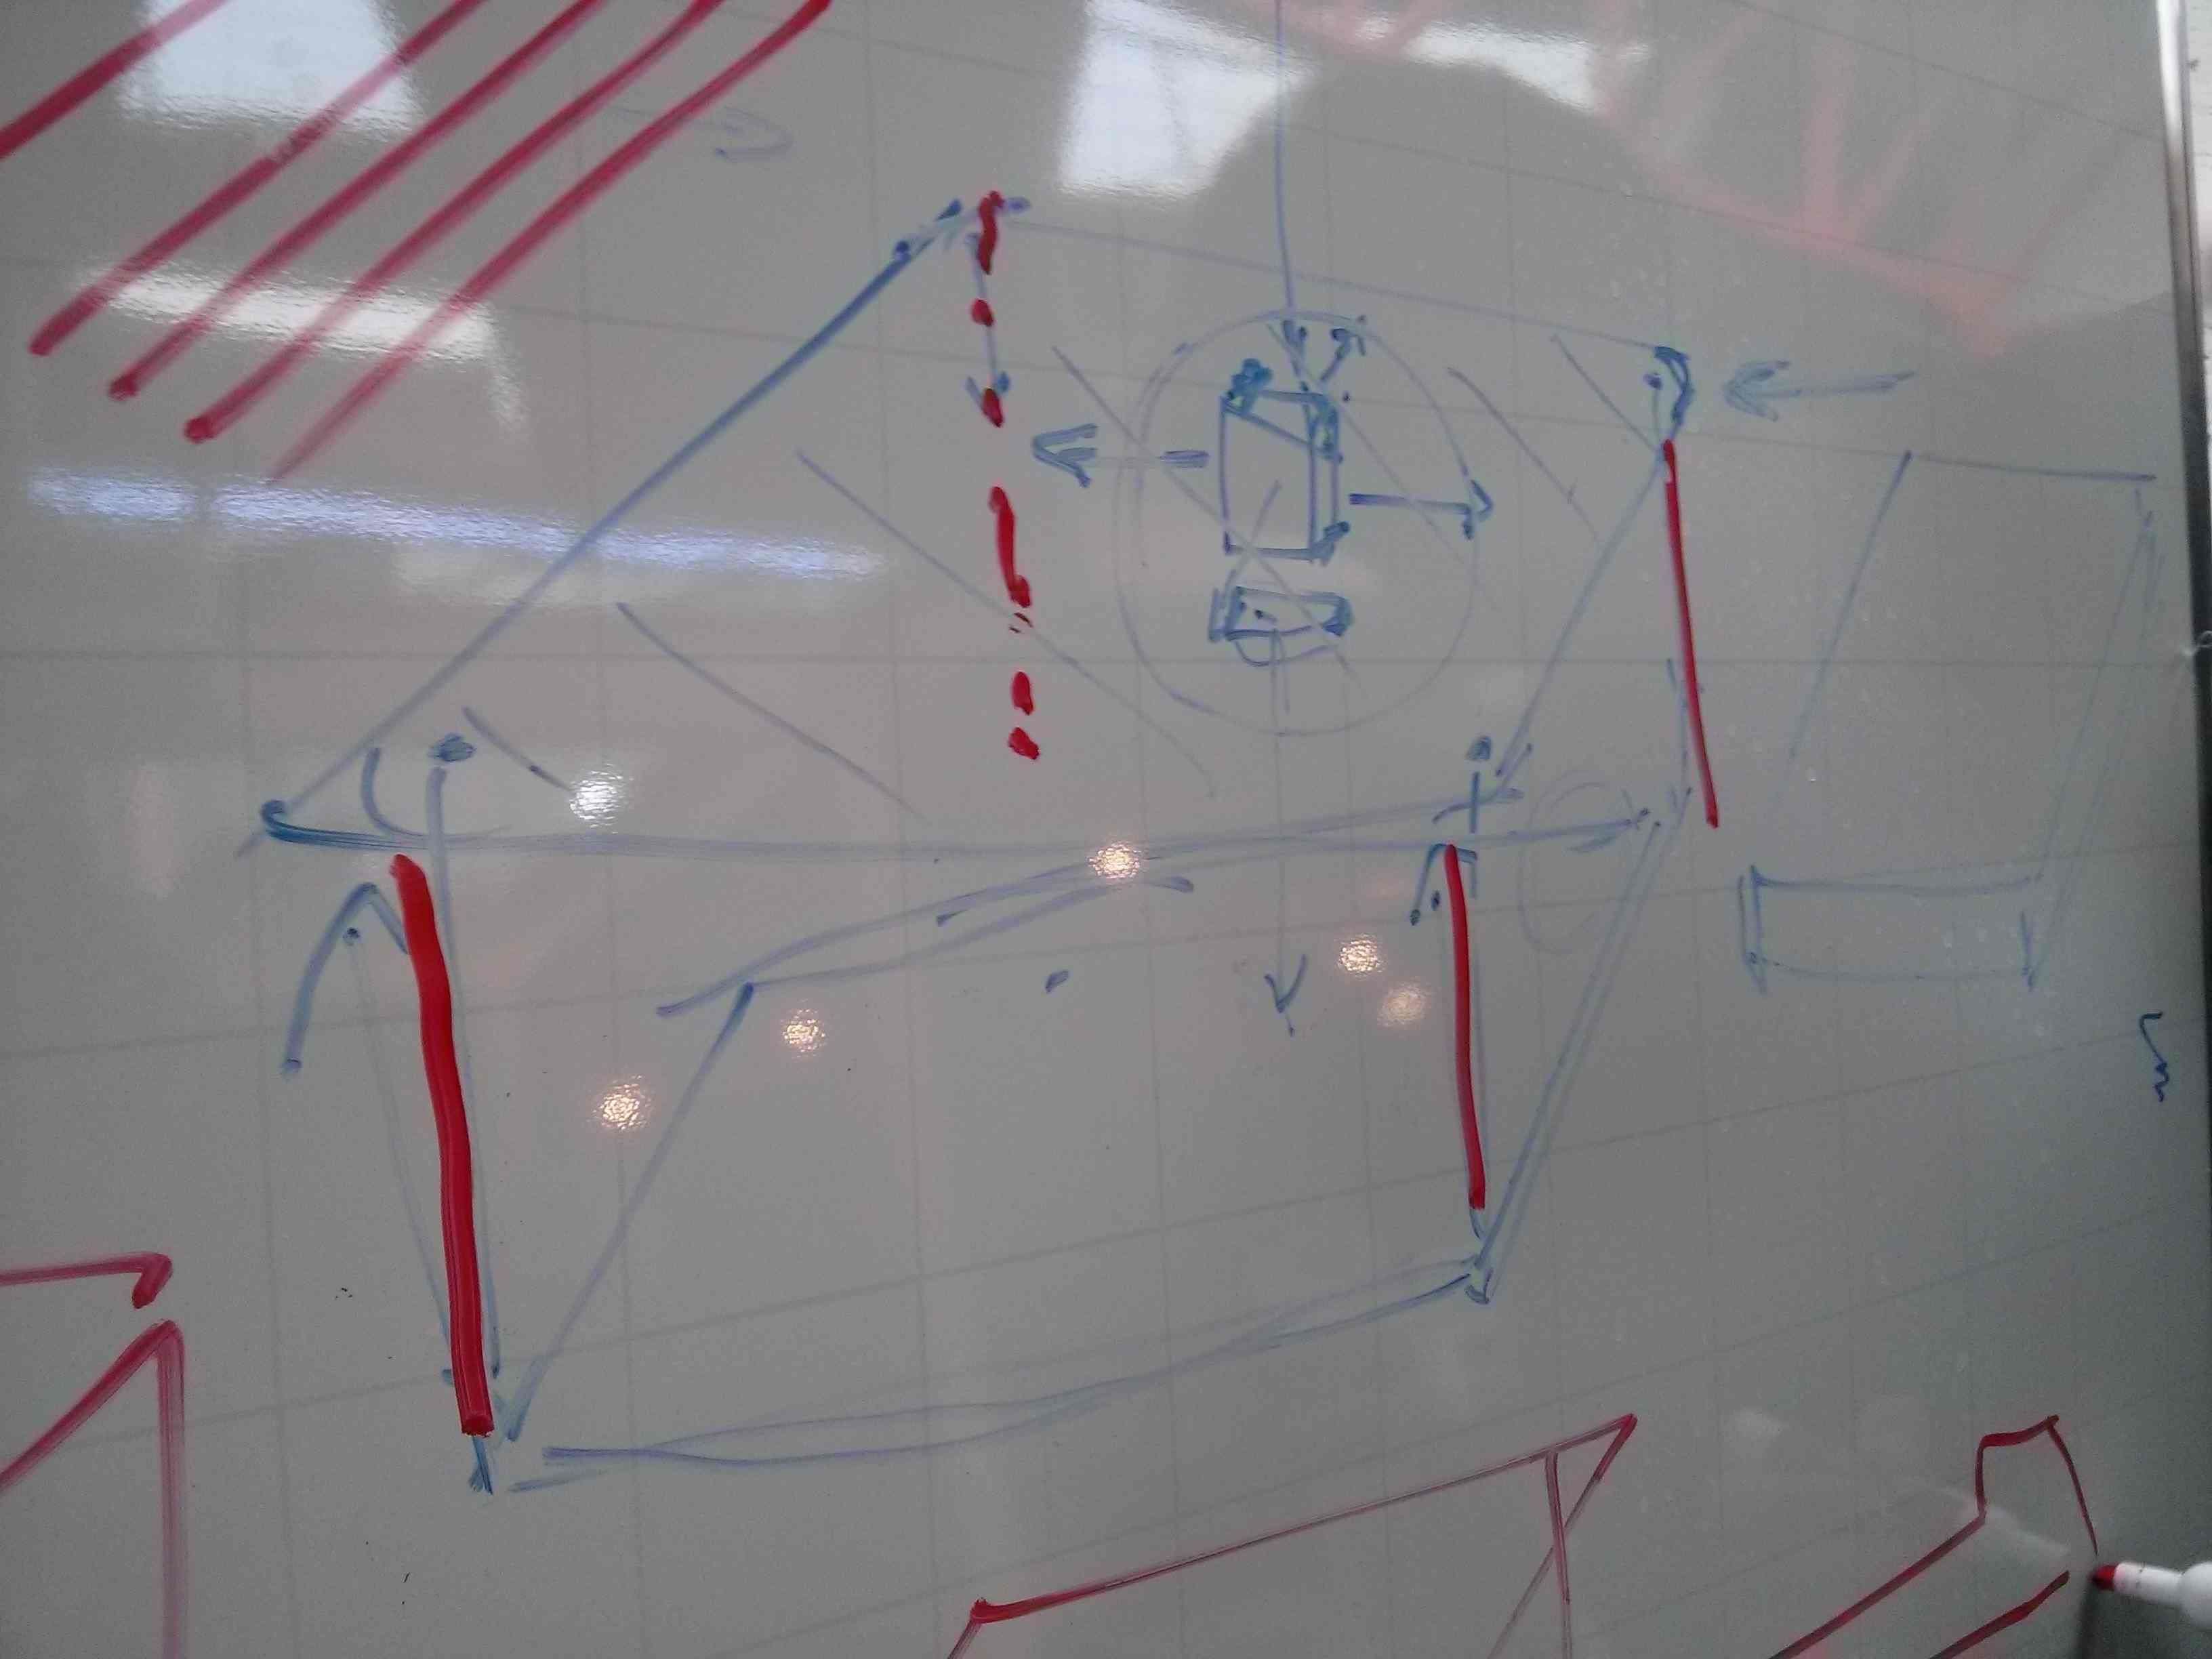
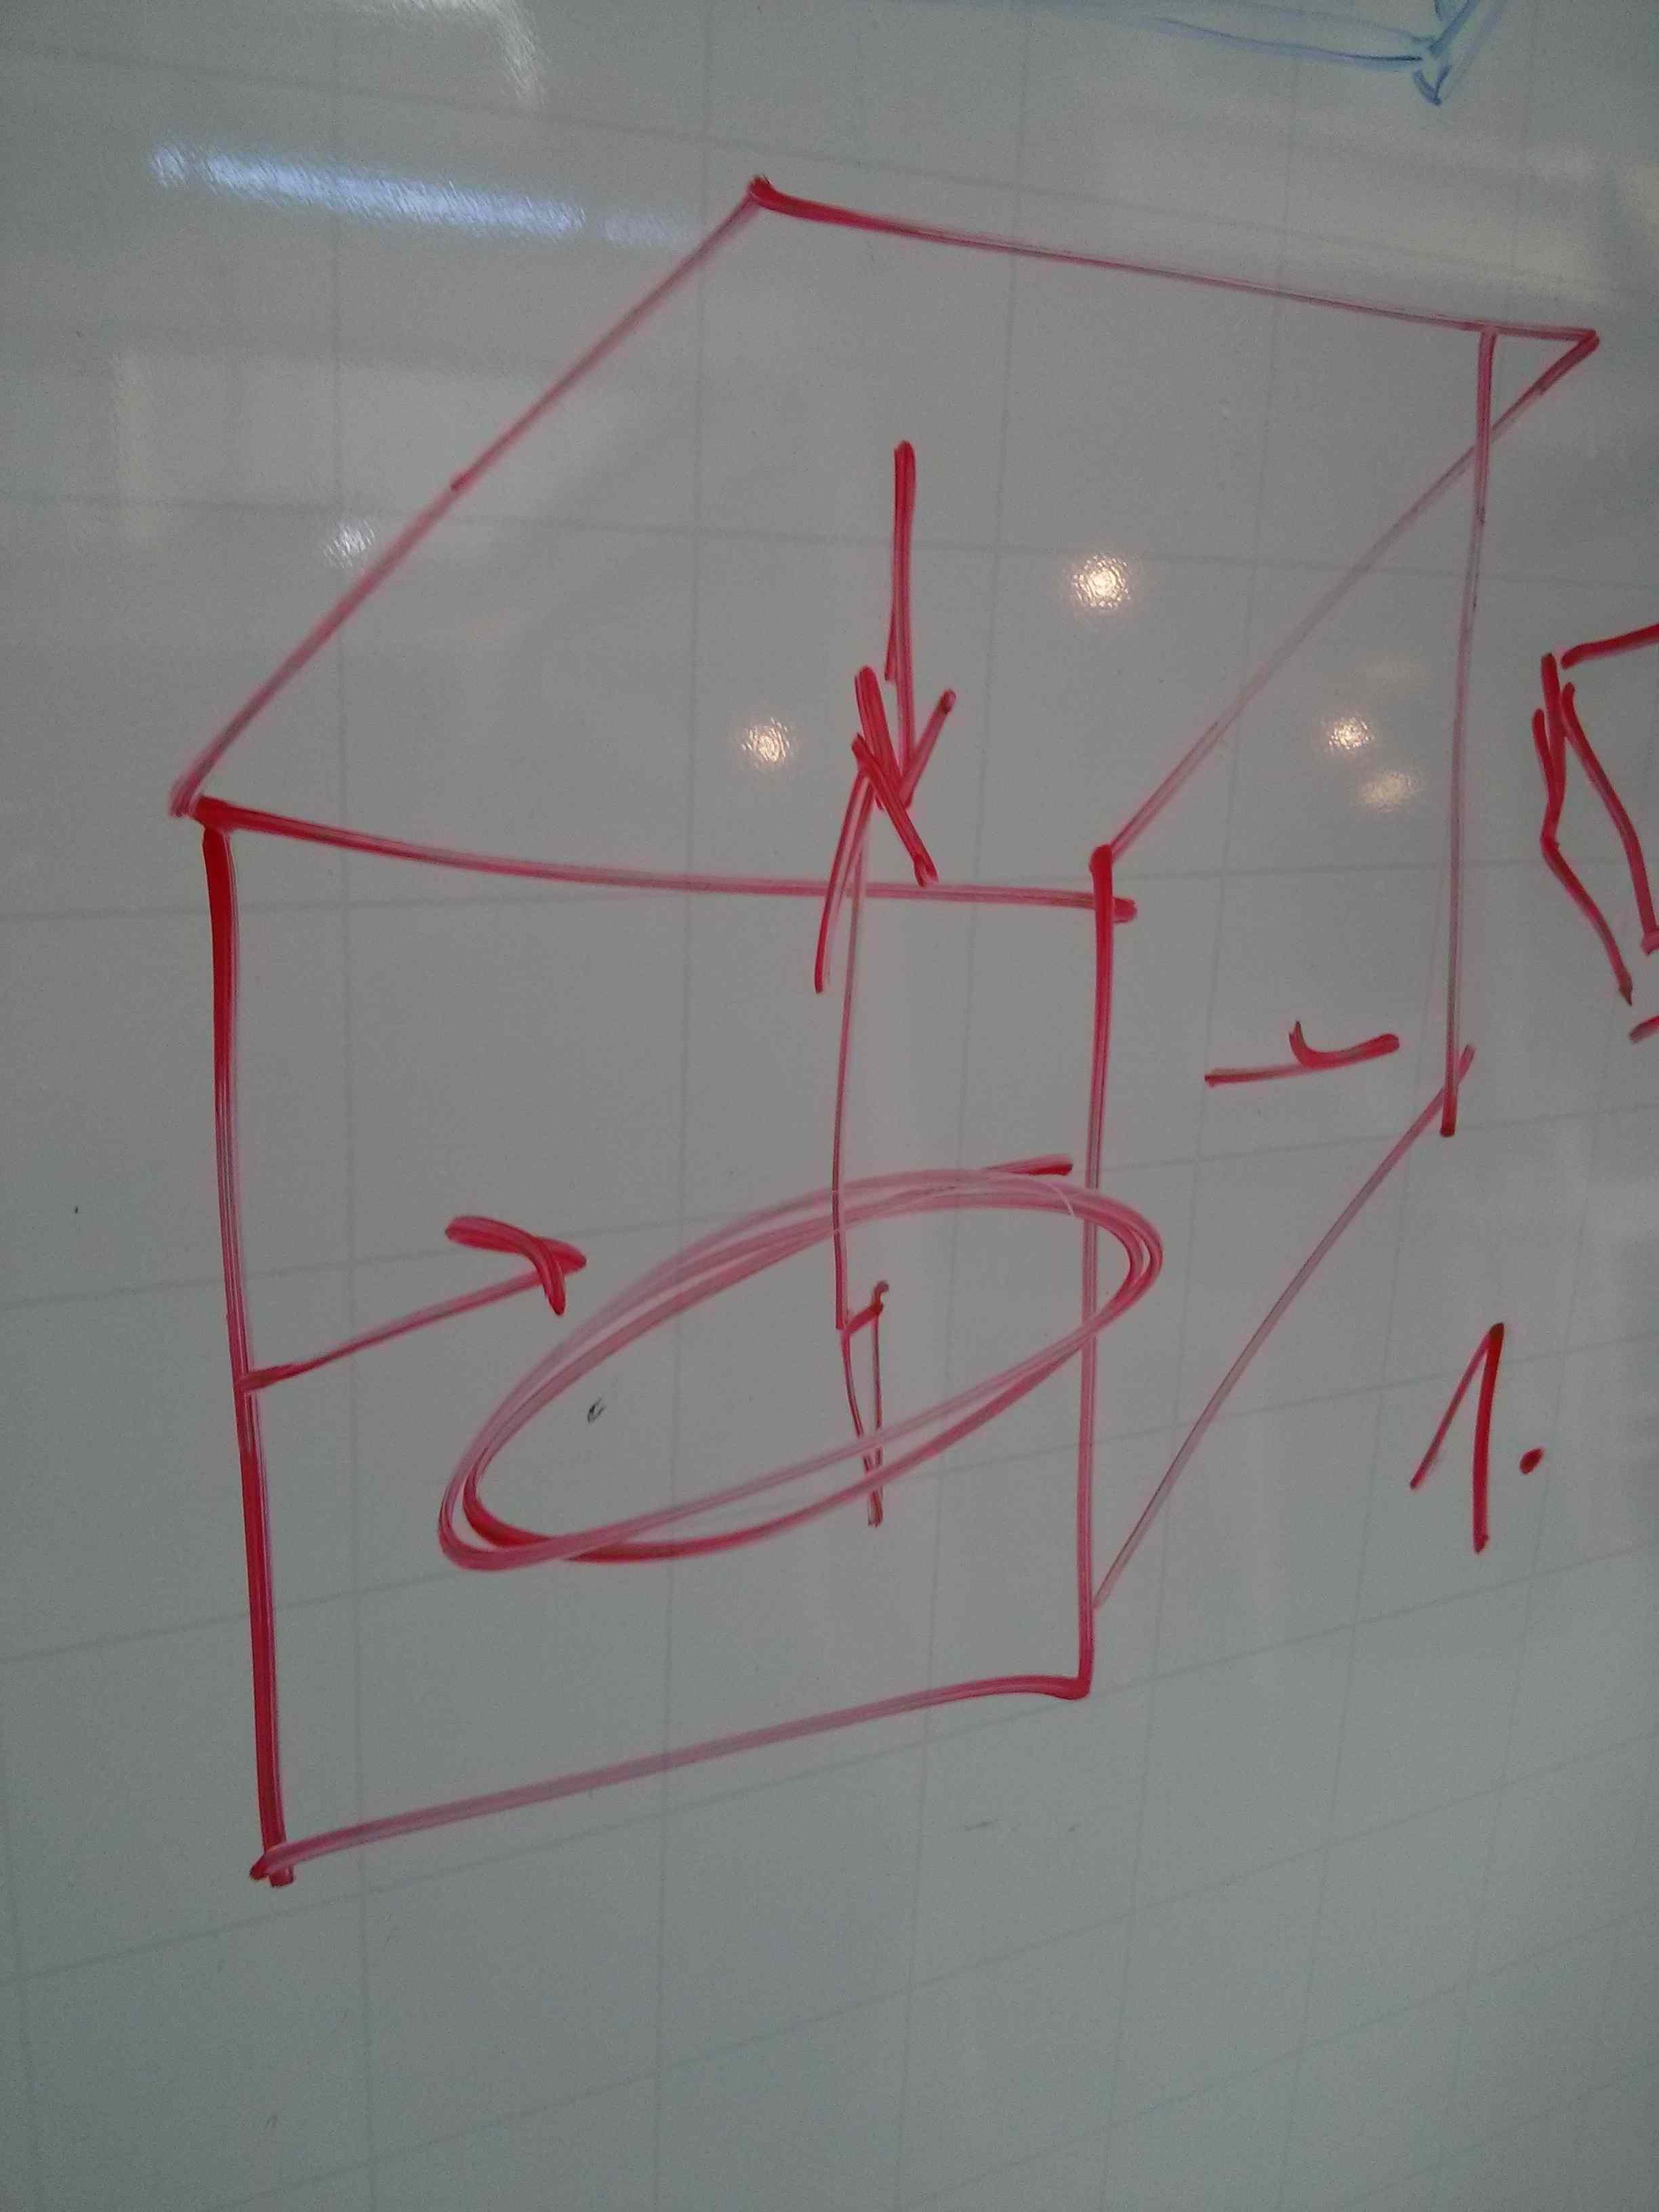
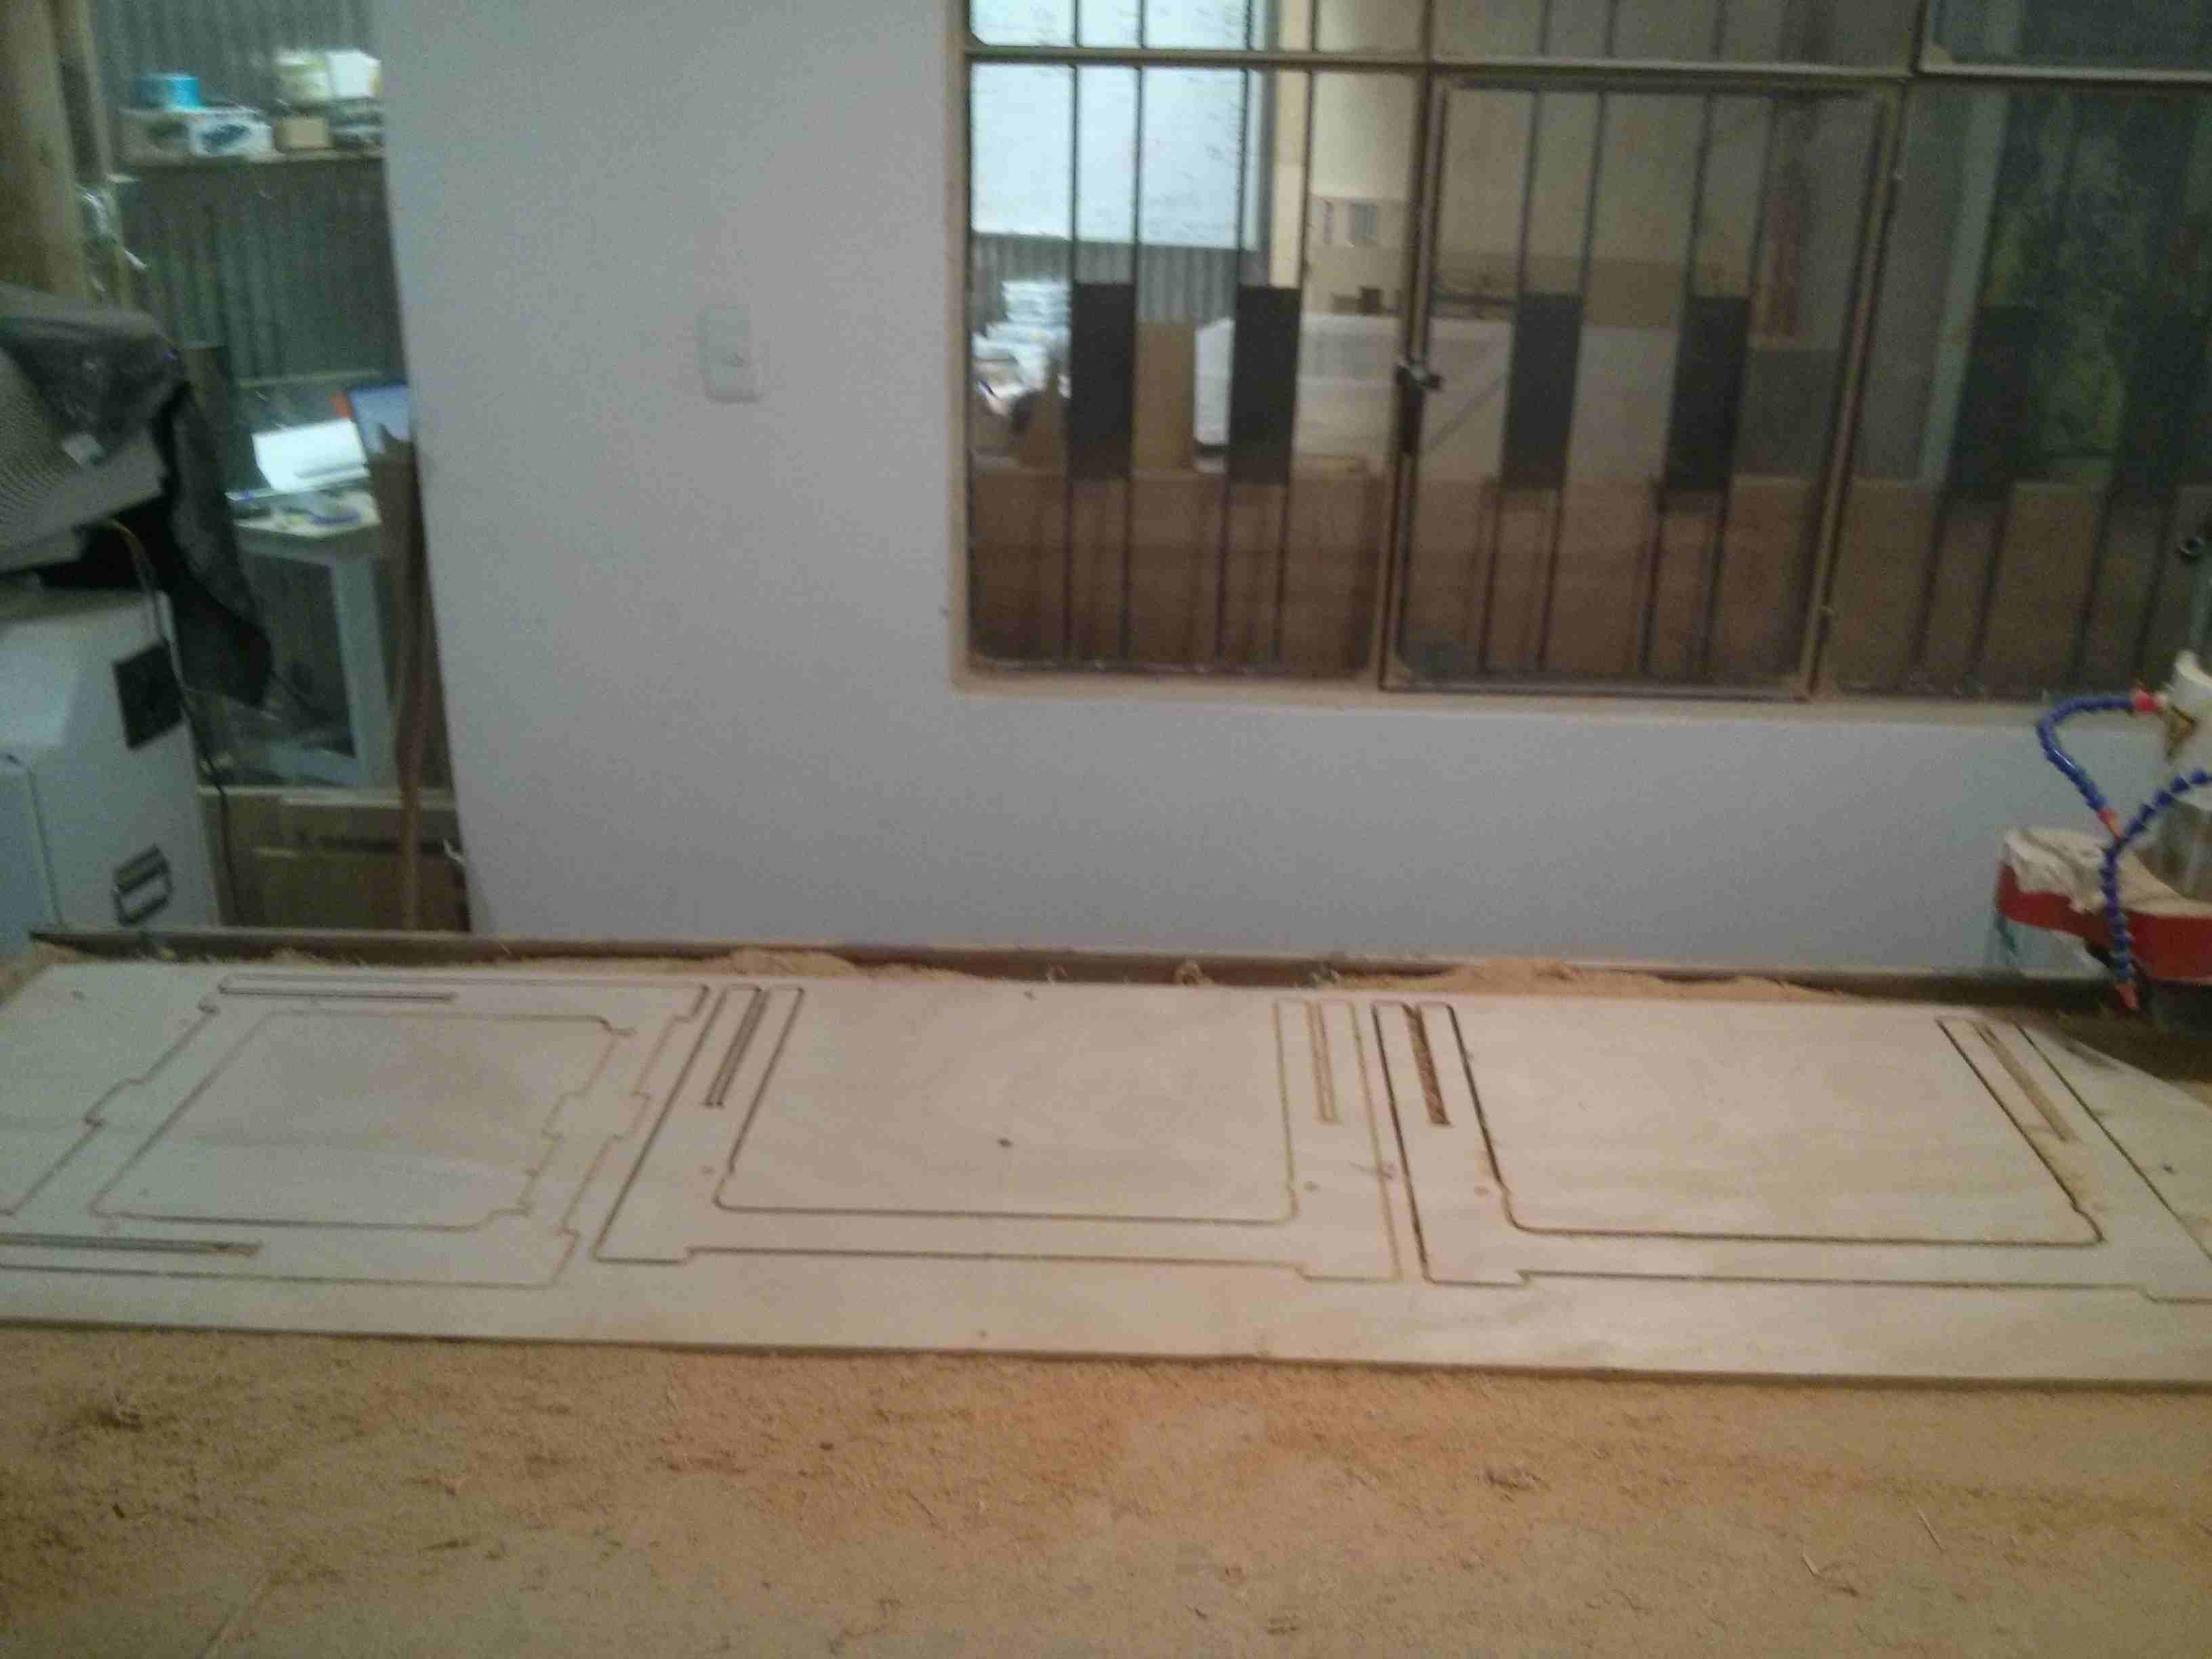
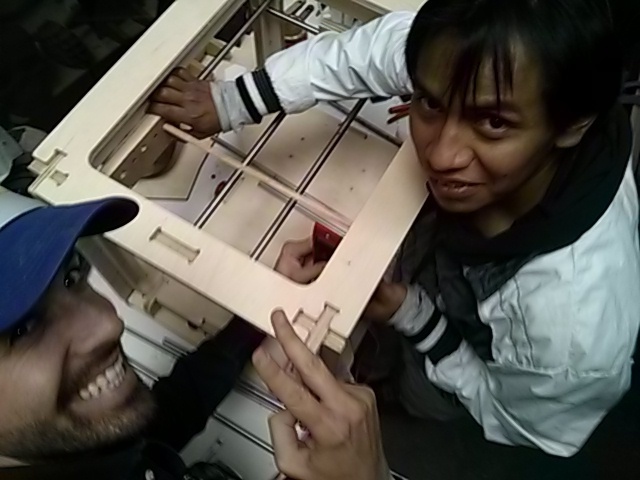
The team sketches the basic design of the machine, the axes motors mounted on the centerpiece, the part placement board additional axes, the base and the frame.
Cleaning sawdust from milling bed
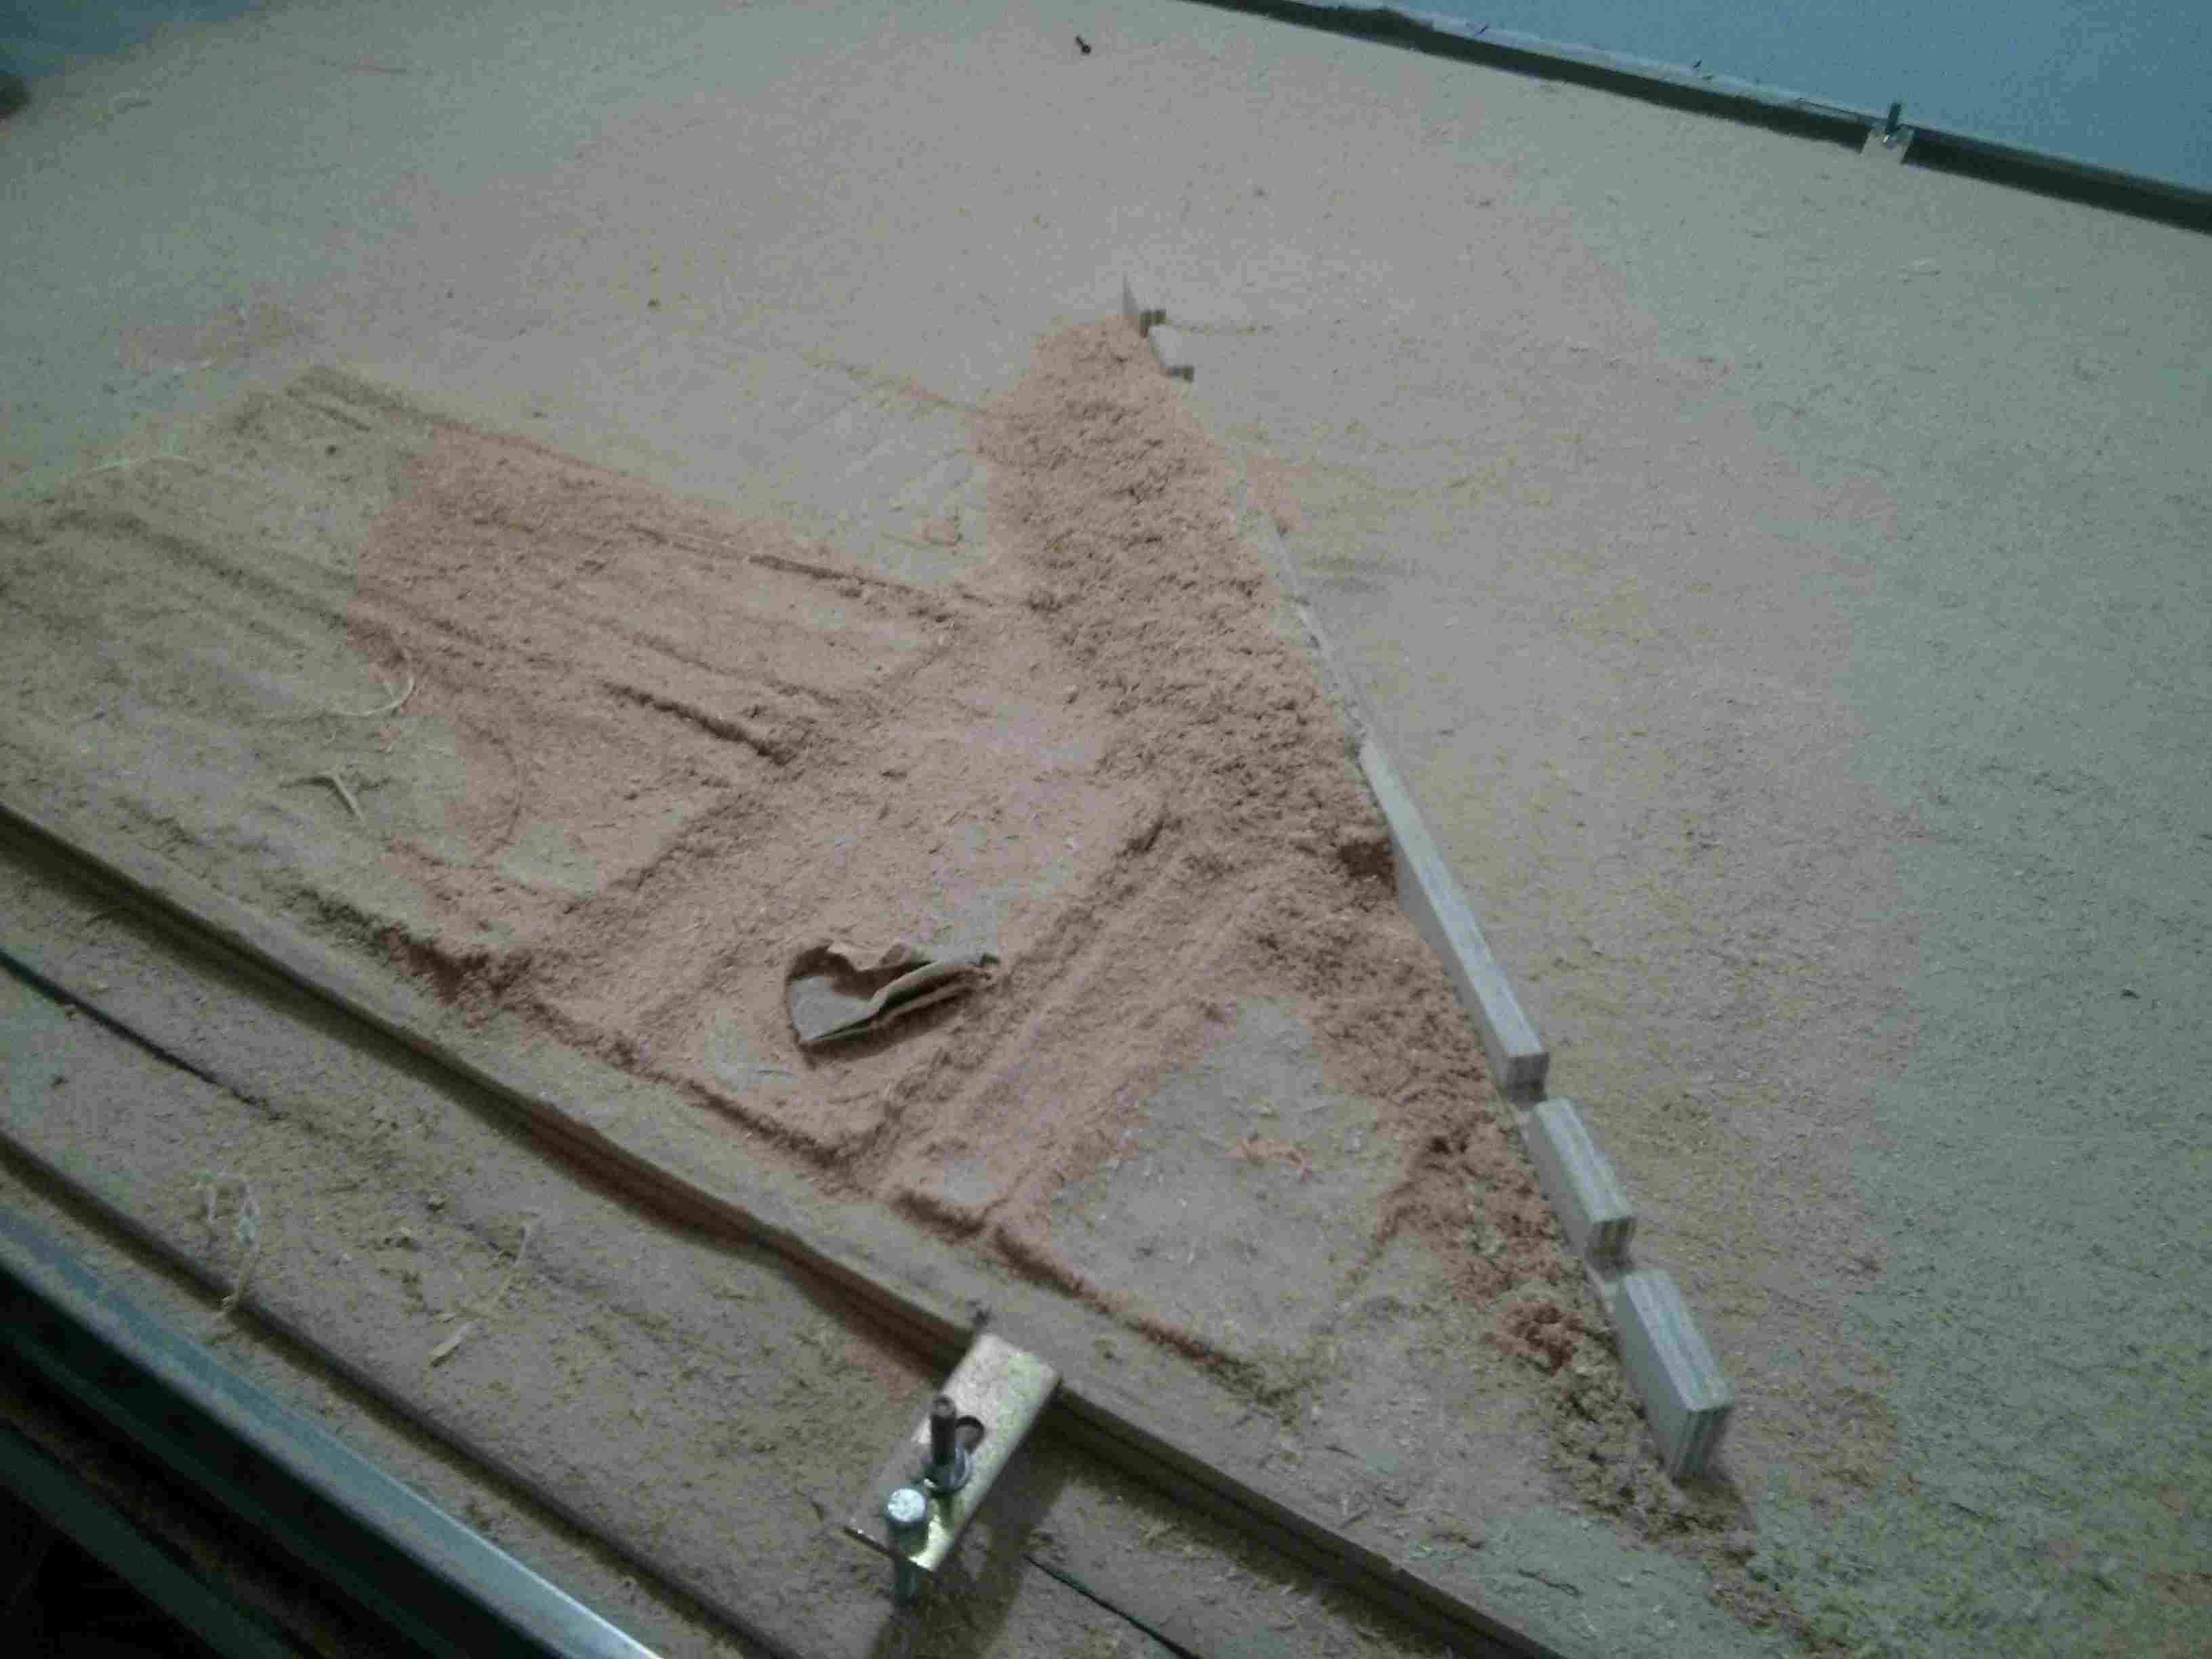
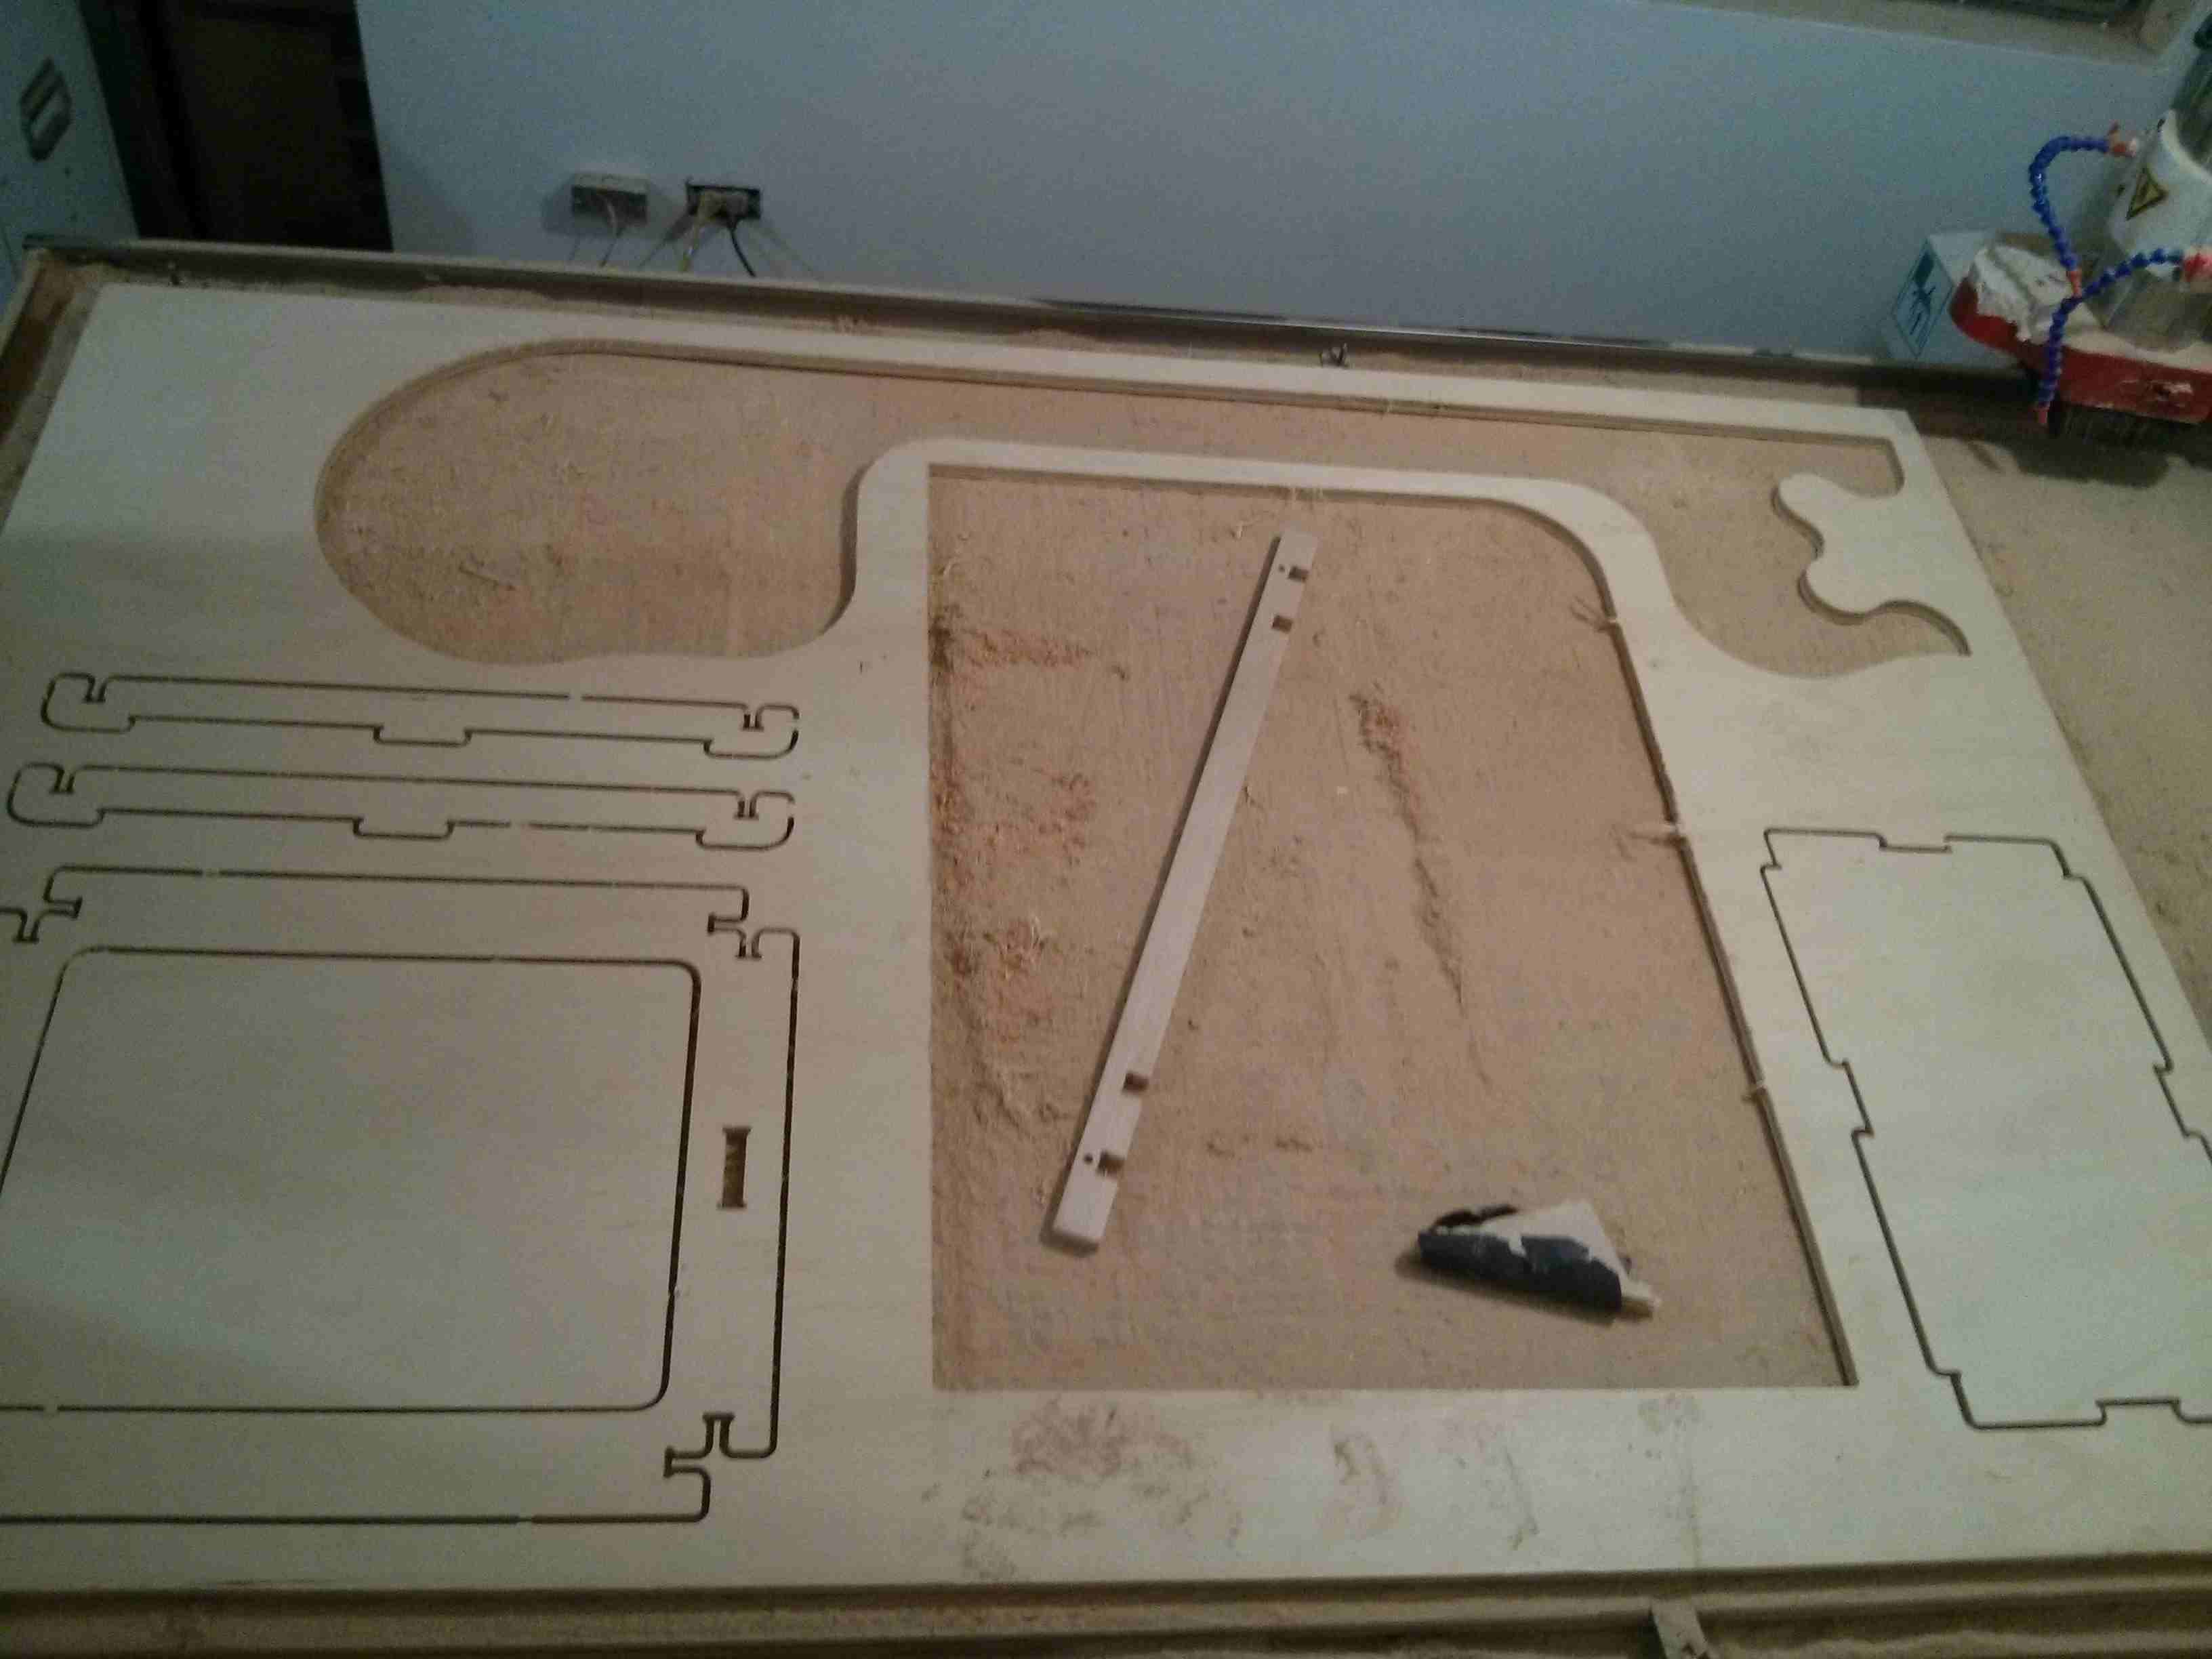
The table is not horizontal. One side is higher than the other one by 1 mm. The mill cuts on one side and on the other it barely touches the wood.
In the following picture, the right side is sanded before continuing with the milling.
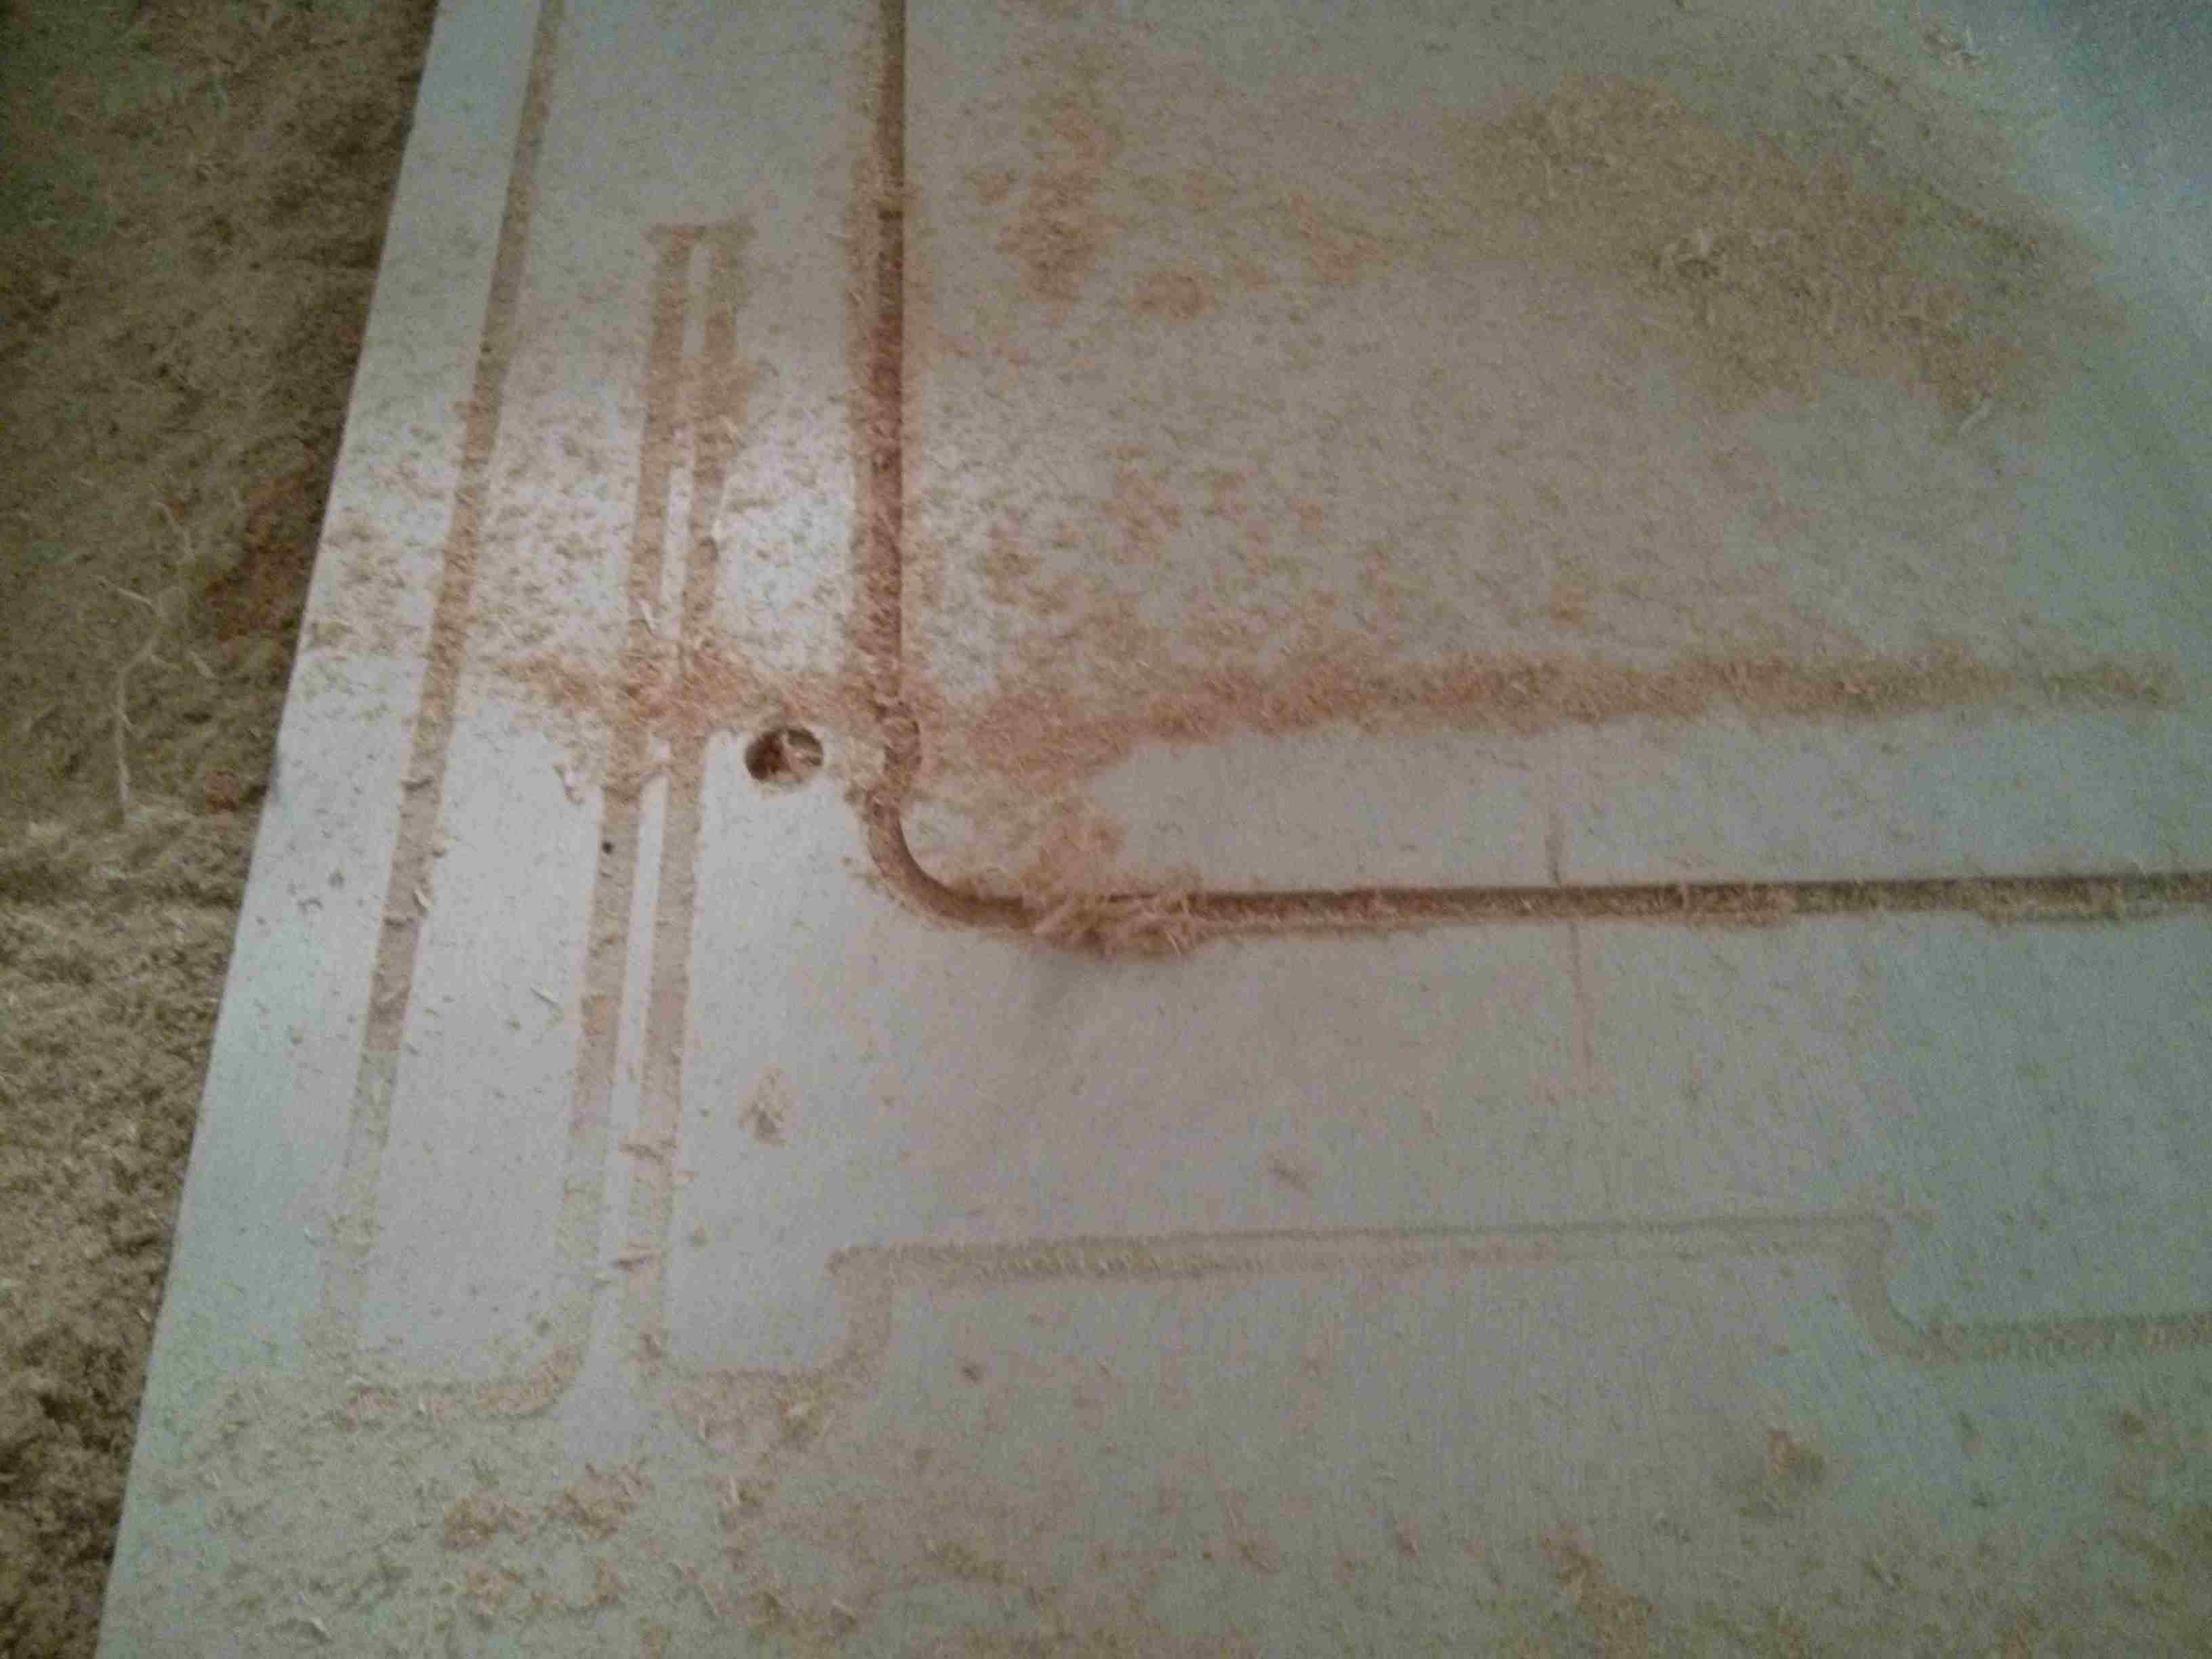
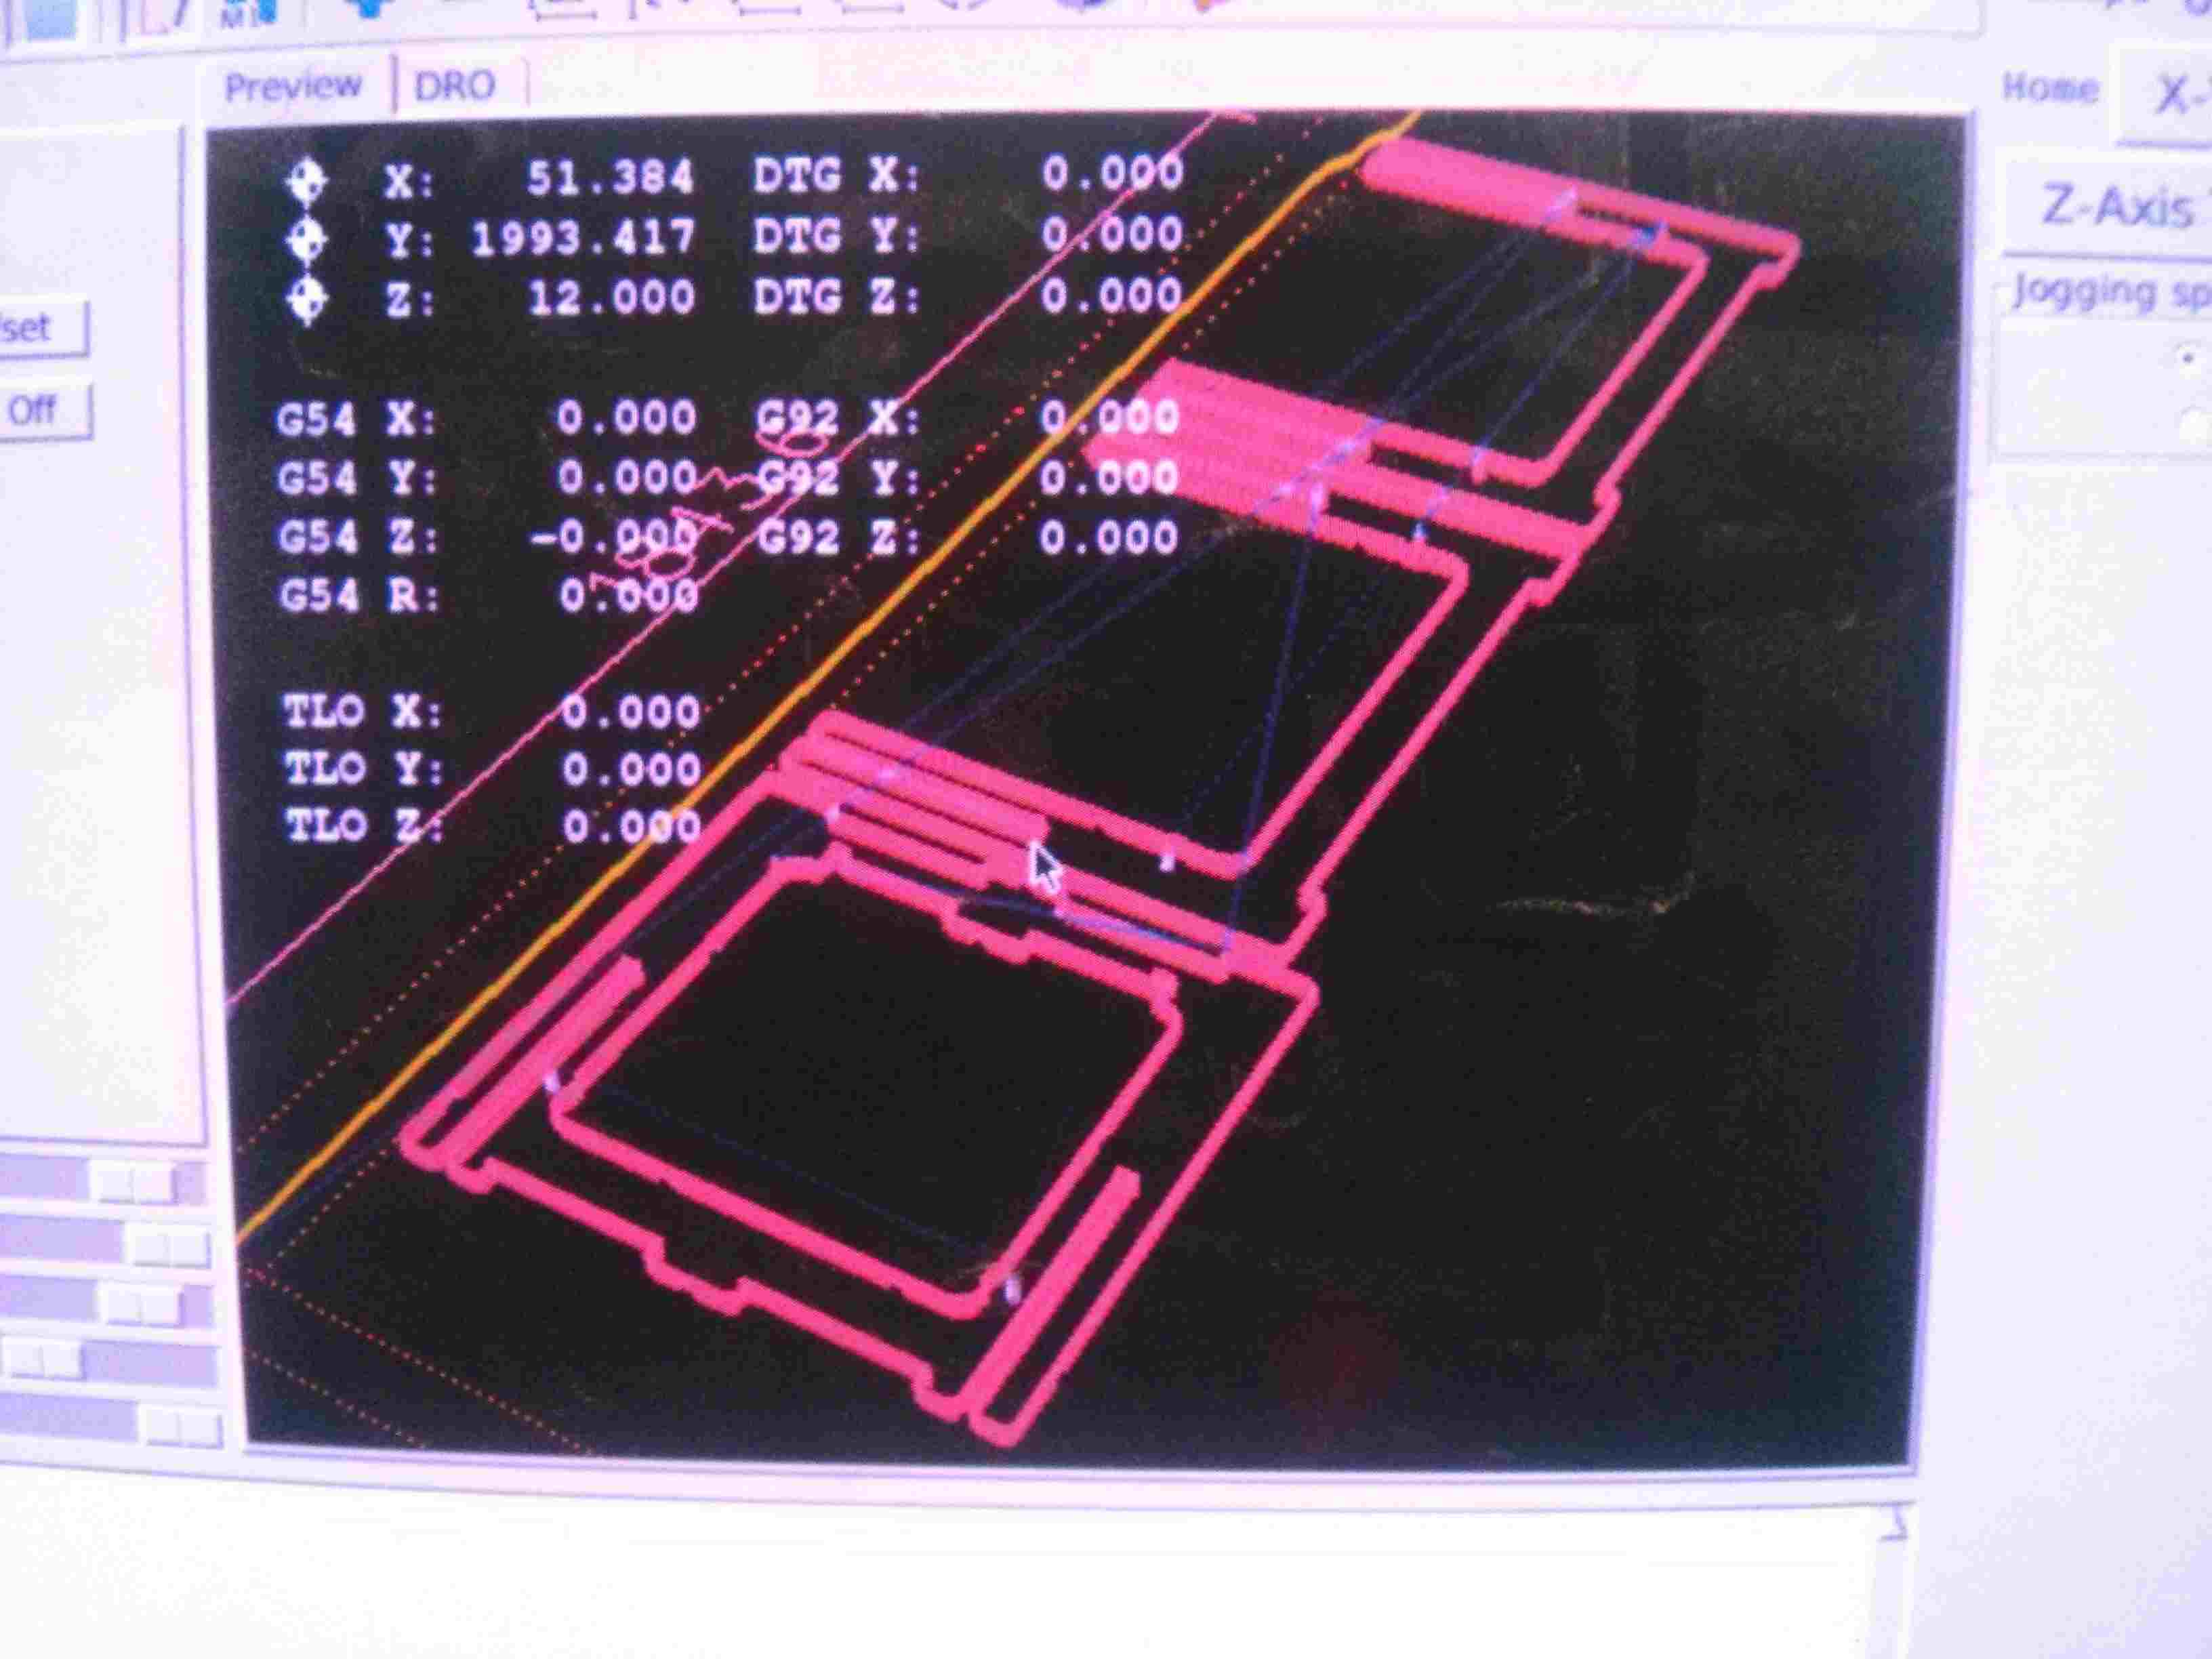
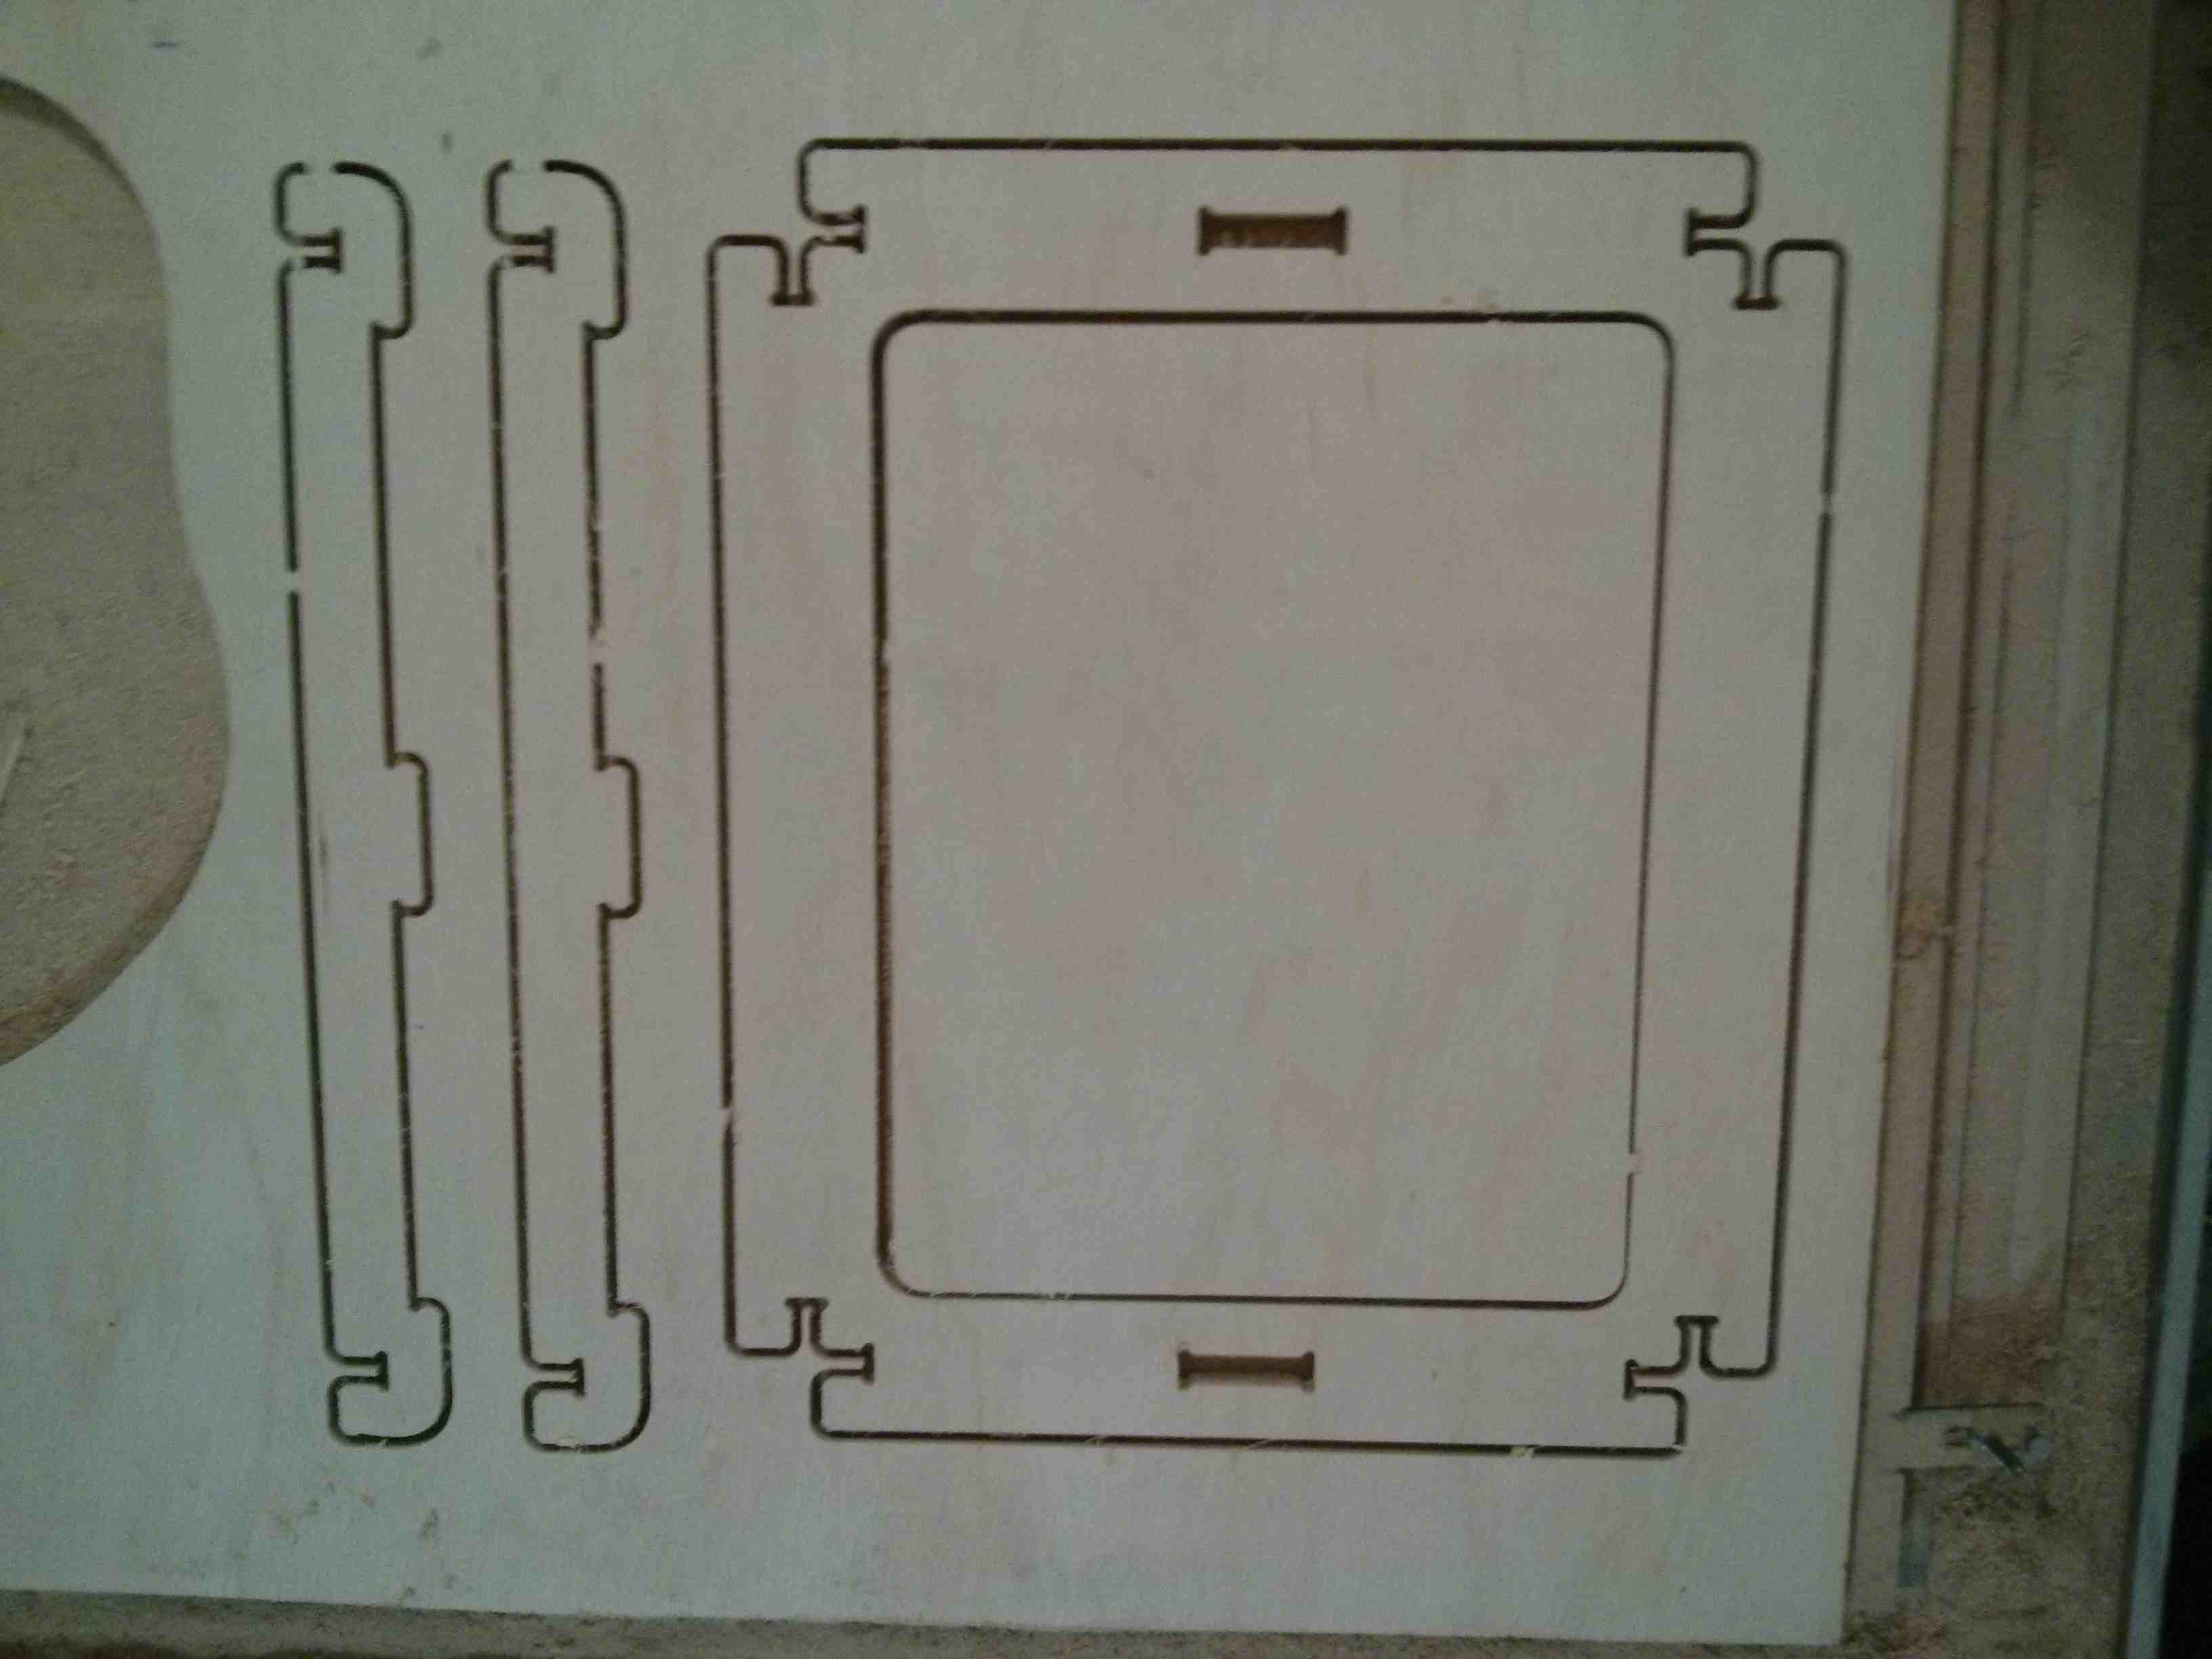
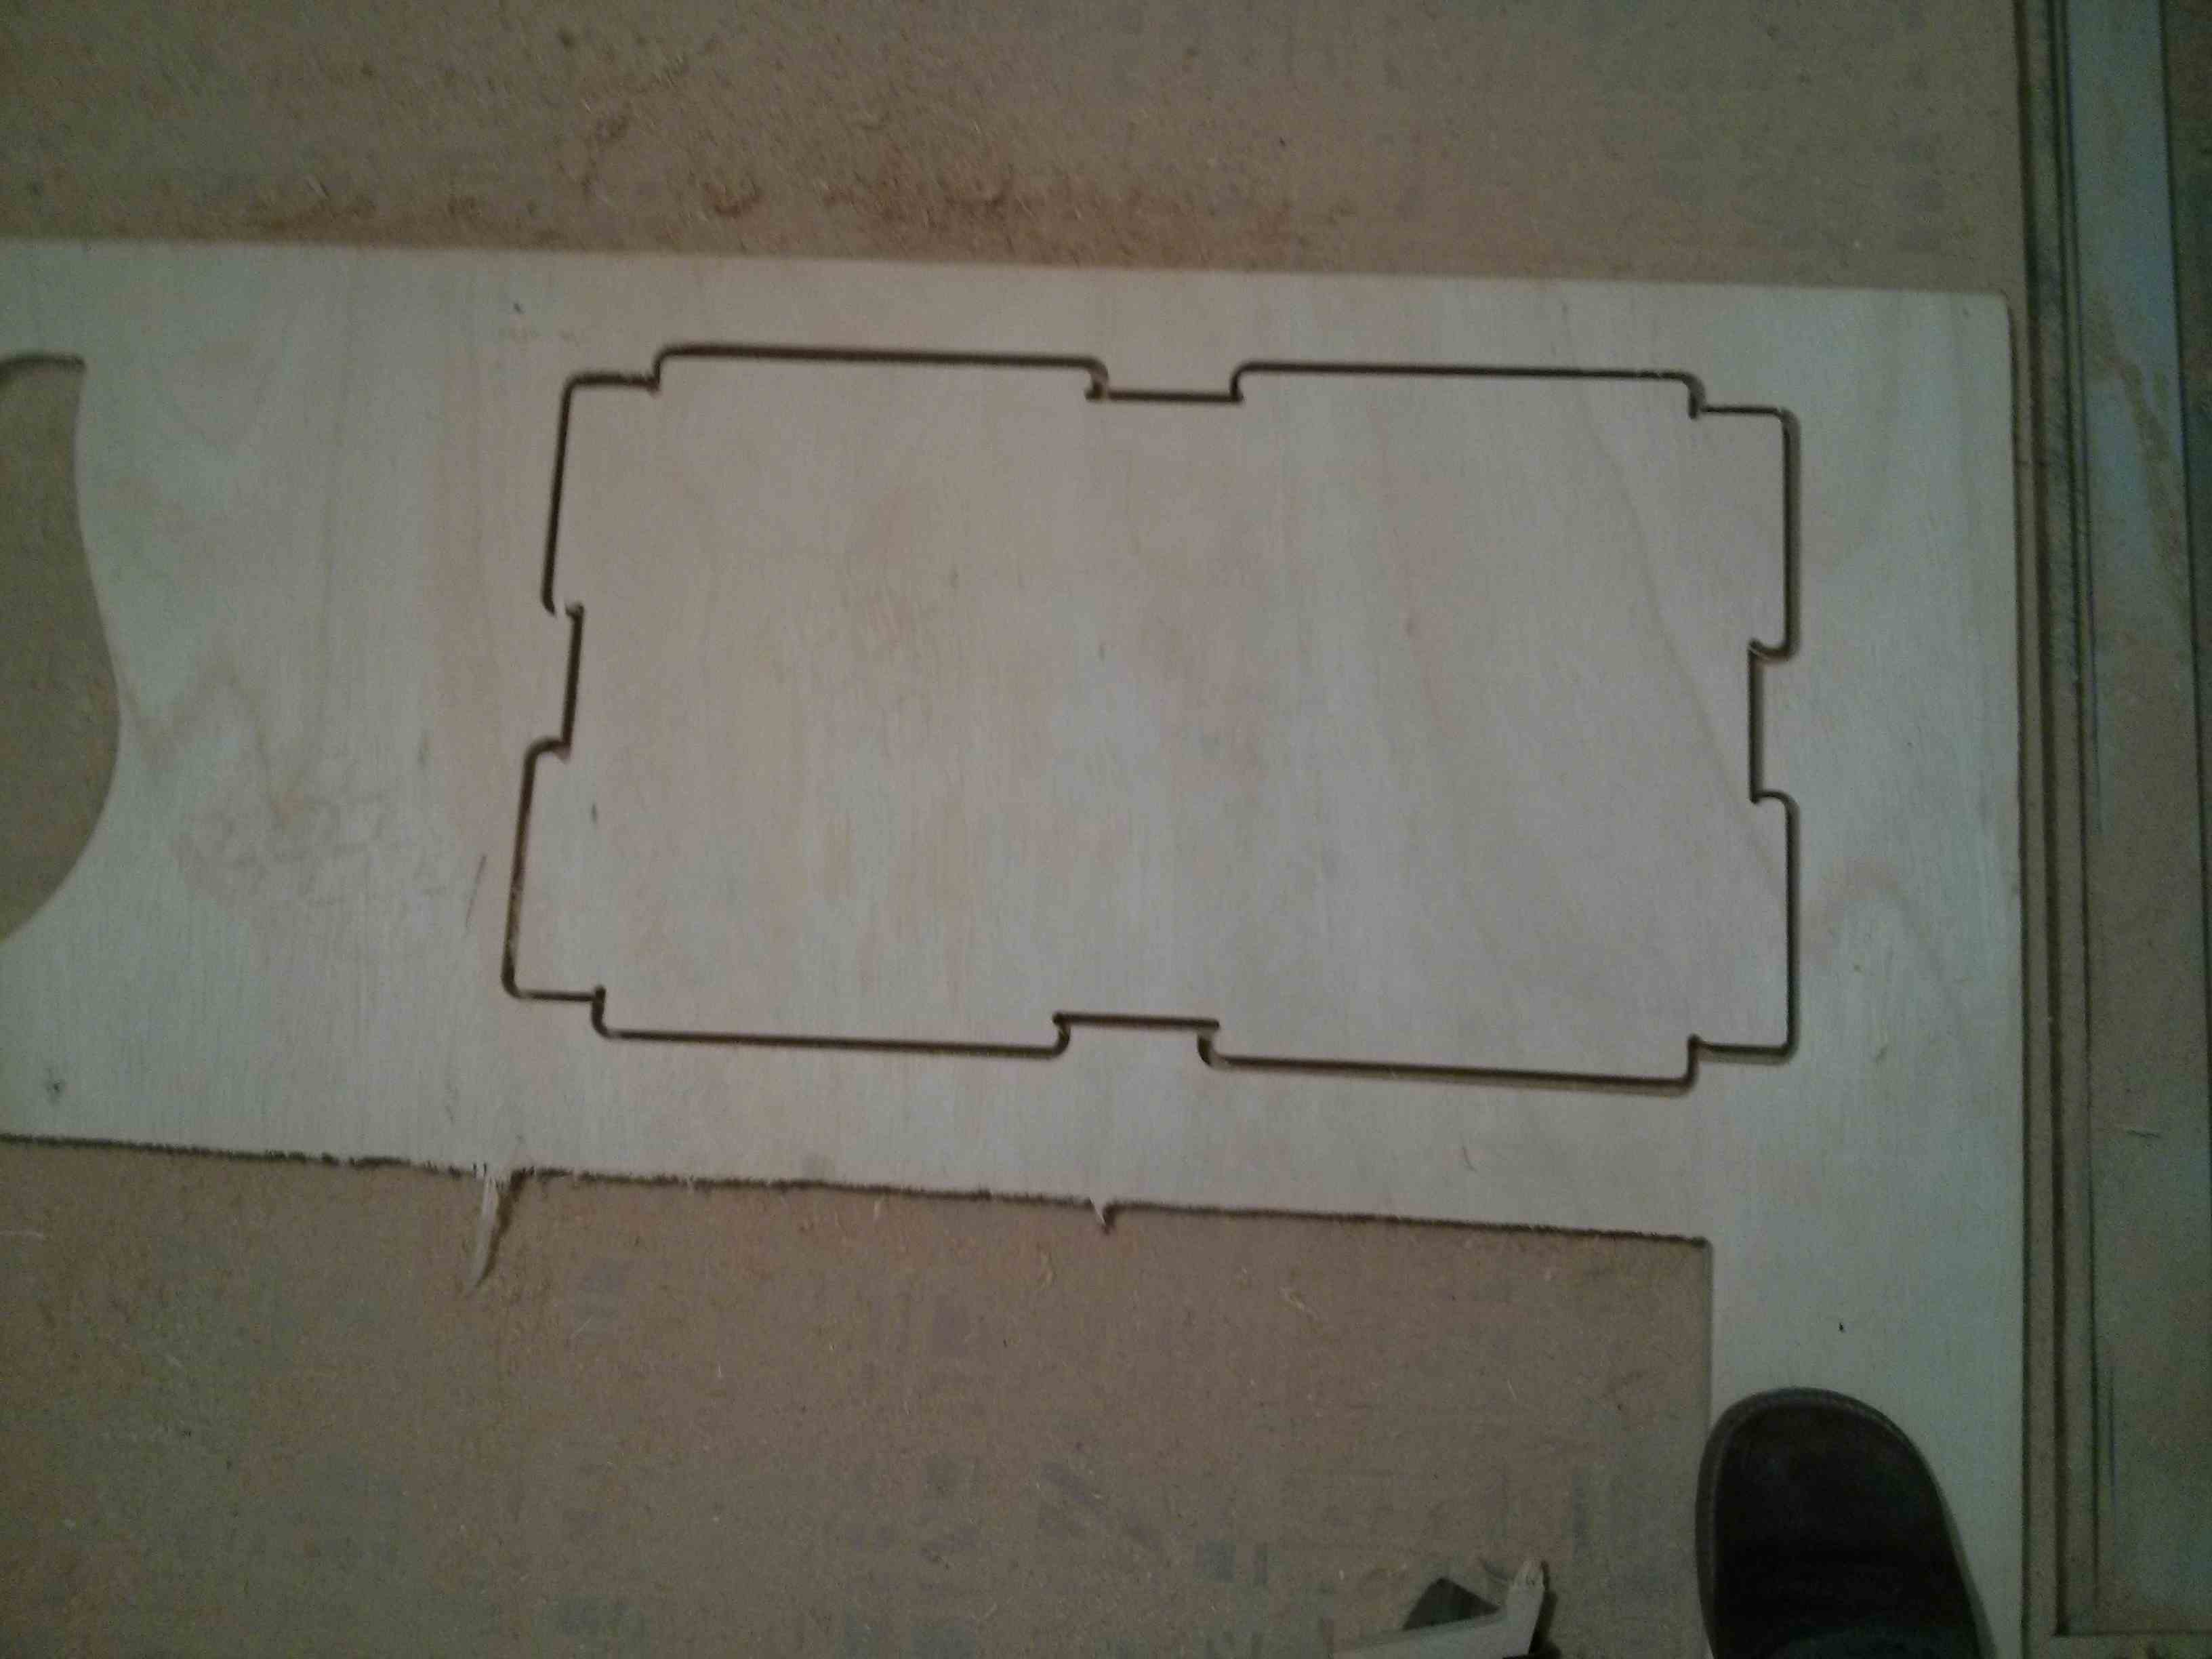
This is the first finished piece.

This is the path that LinuxCNC followed.
Scrapping the edges orthogonally
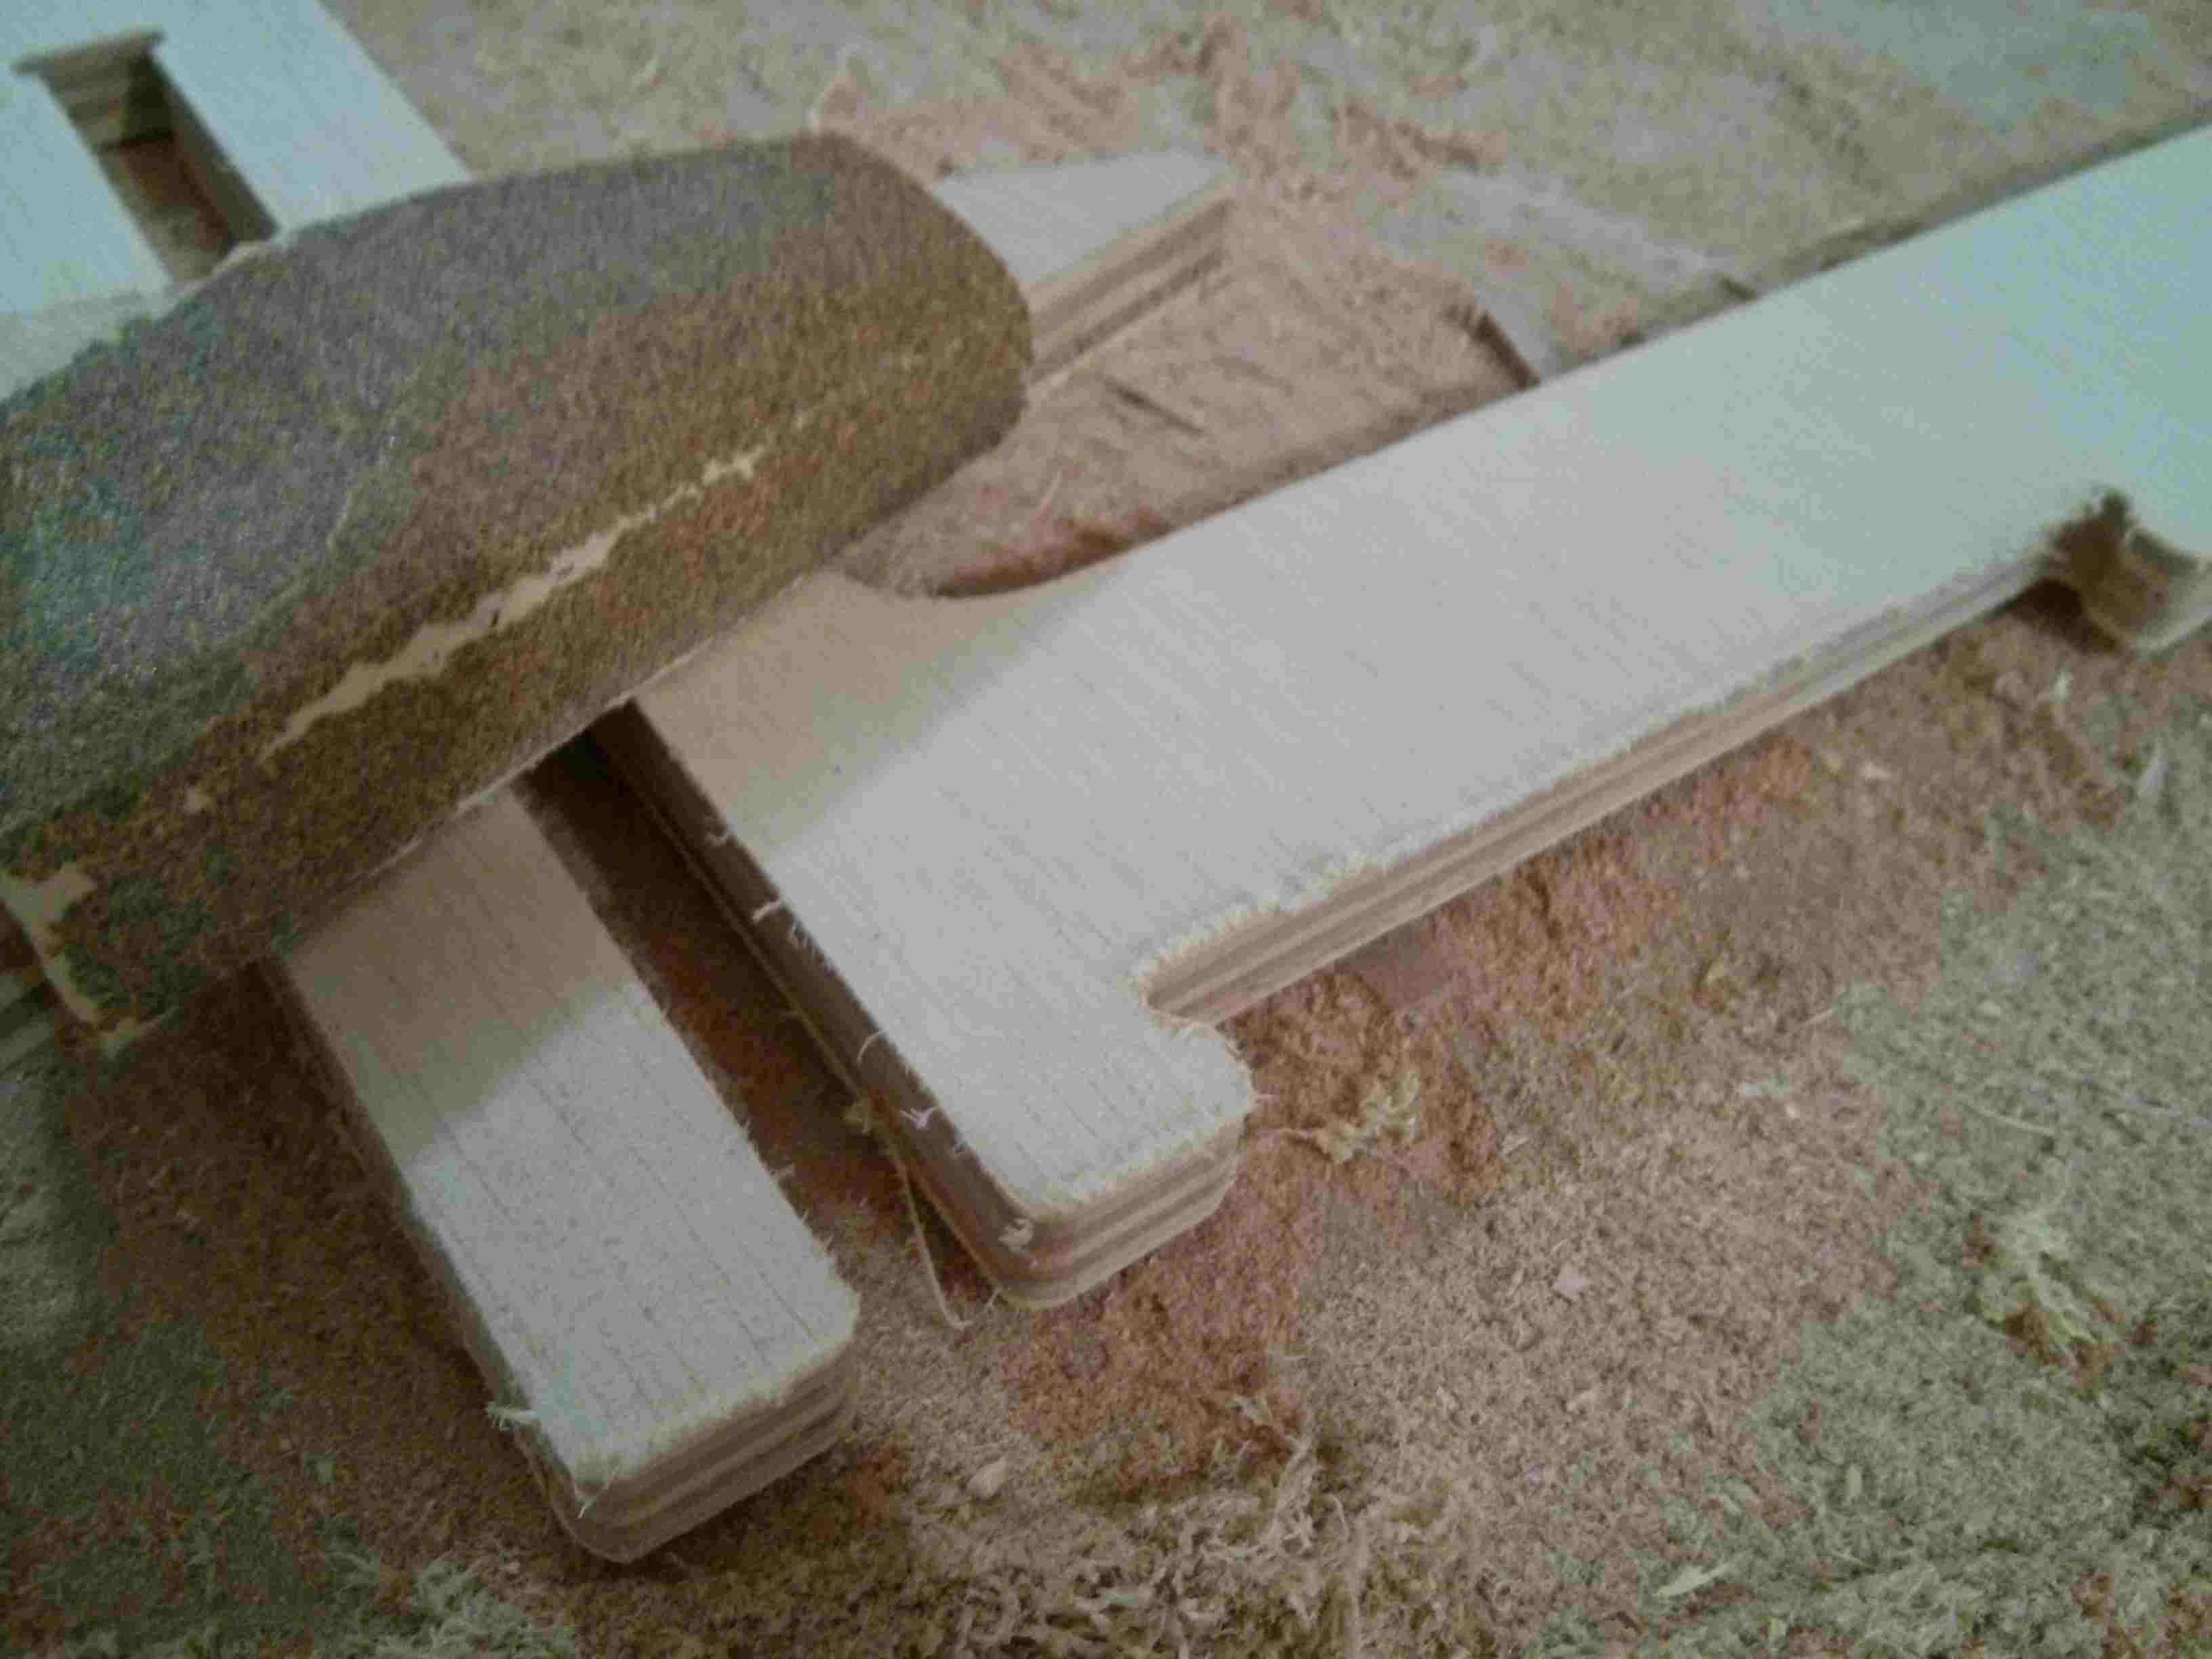
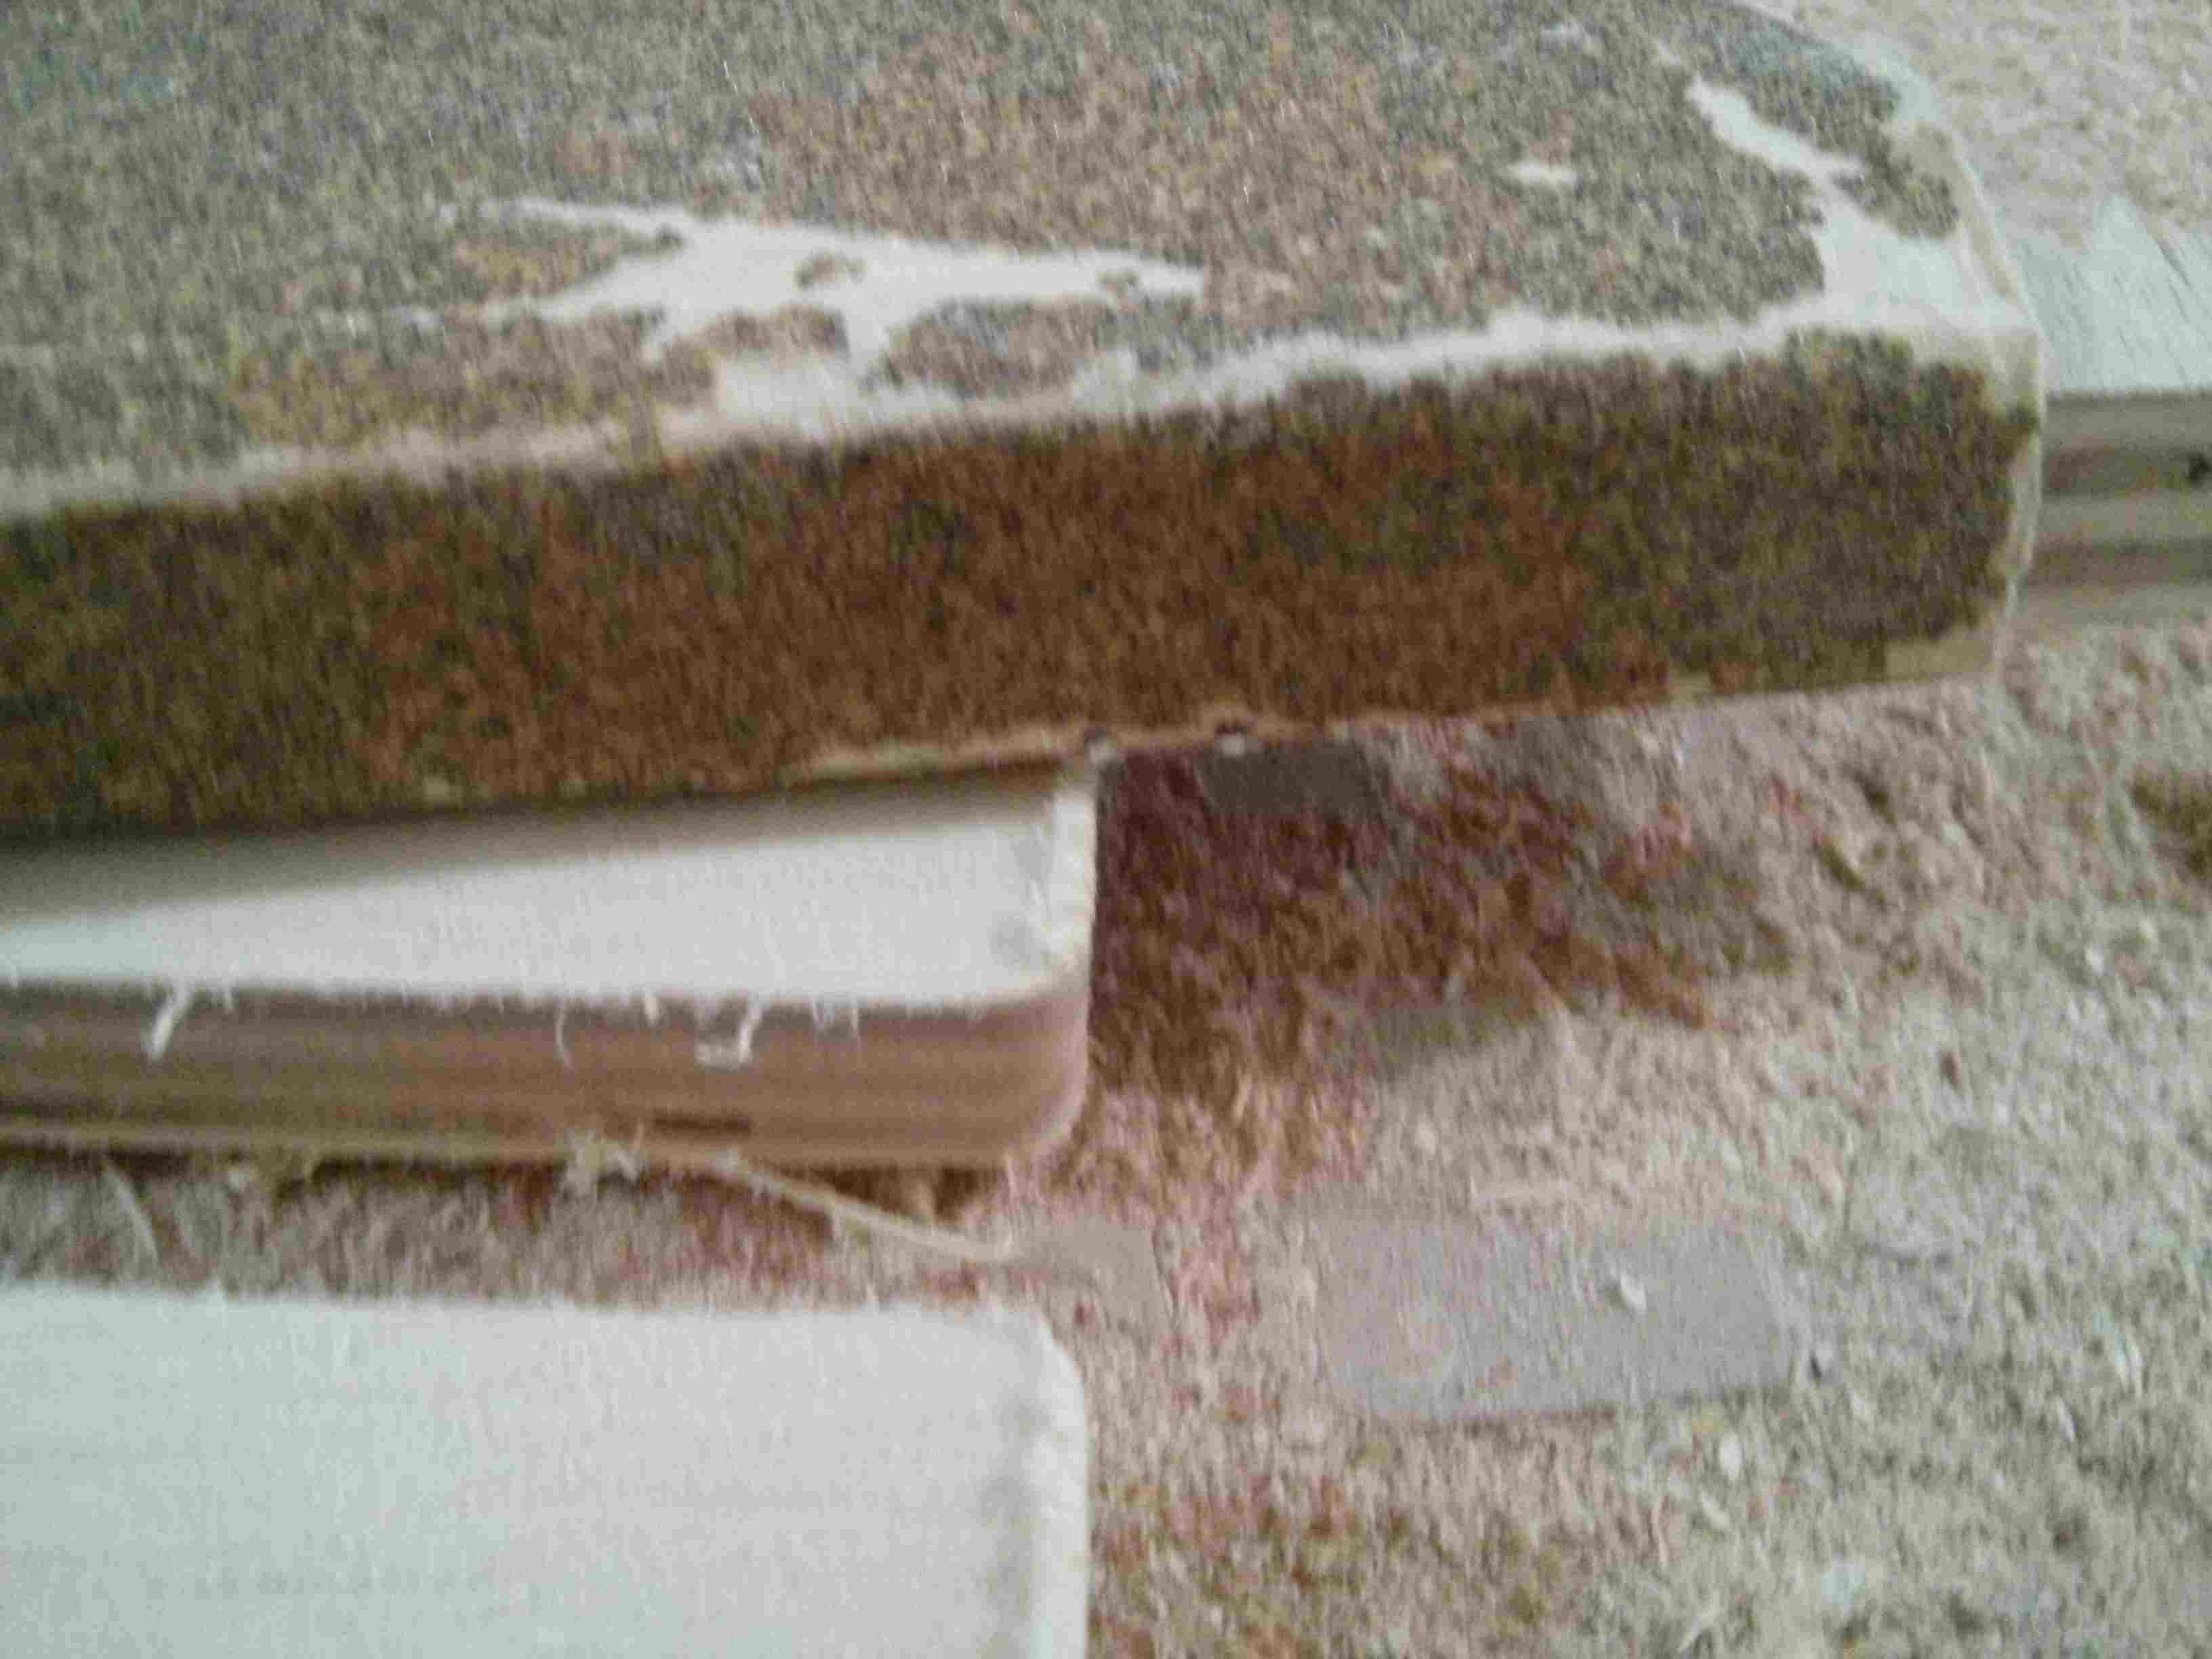

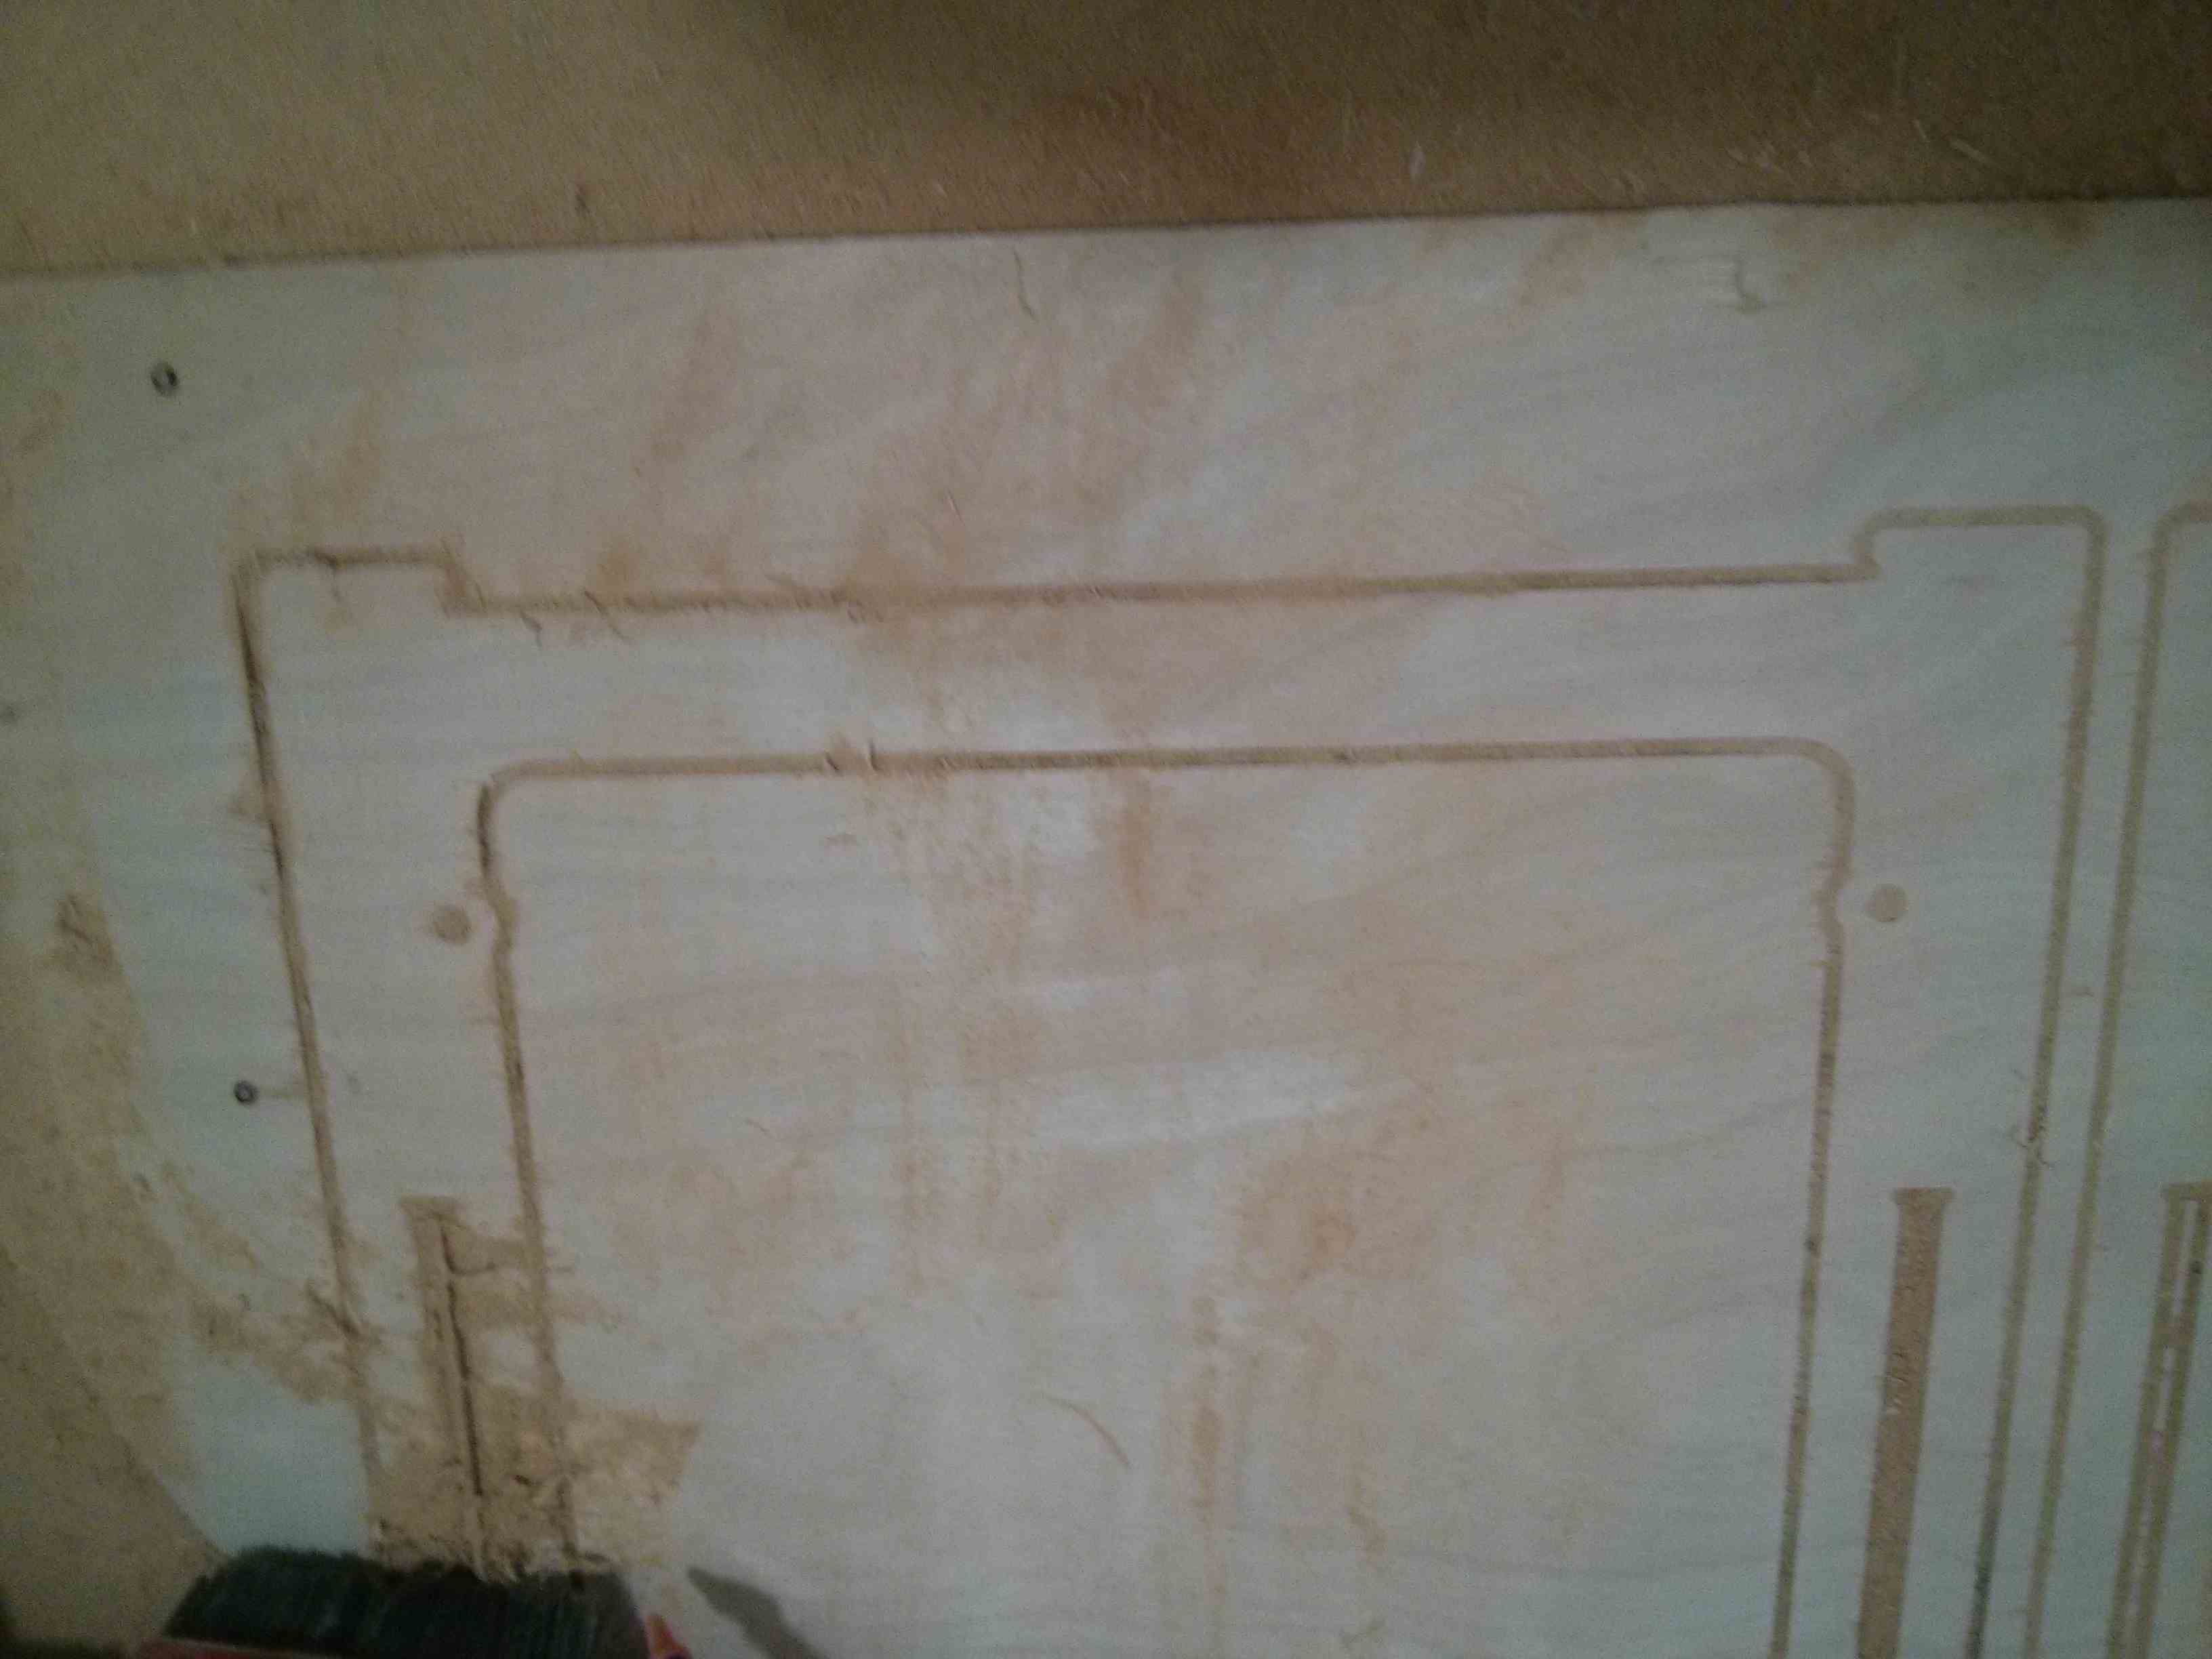
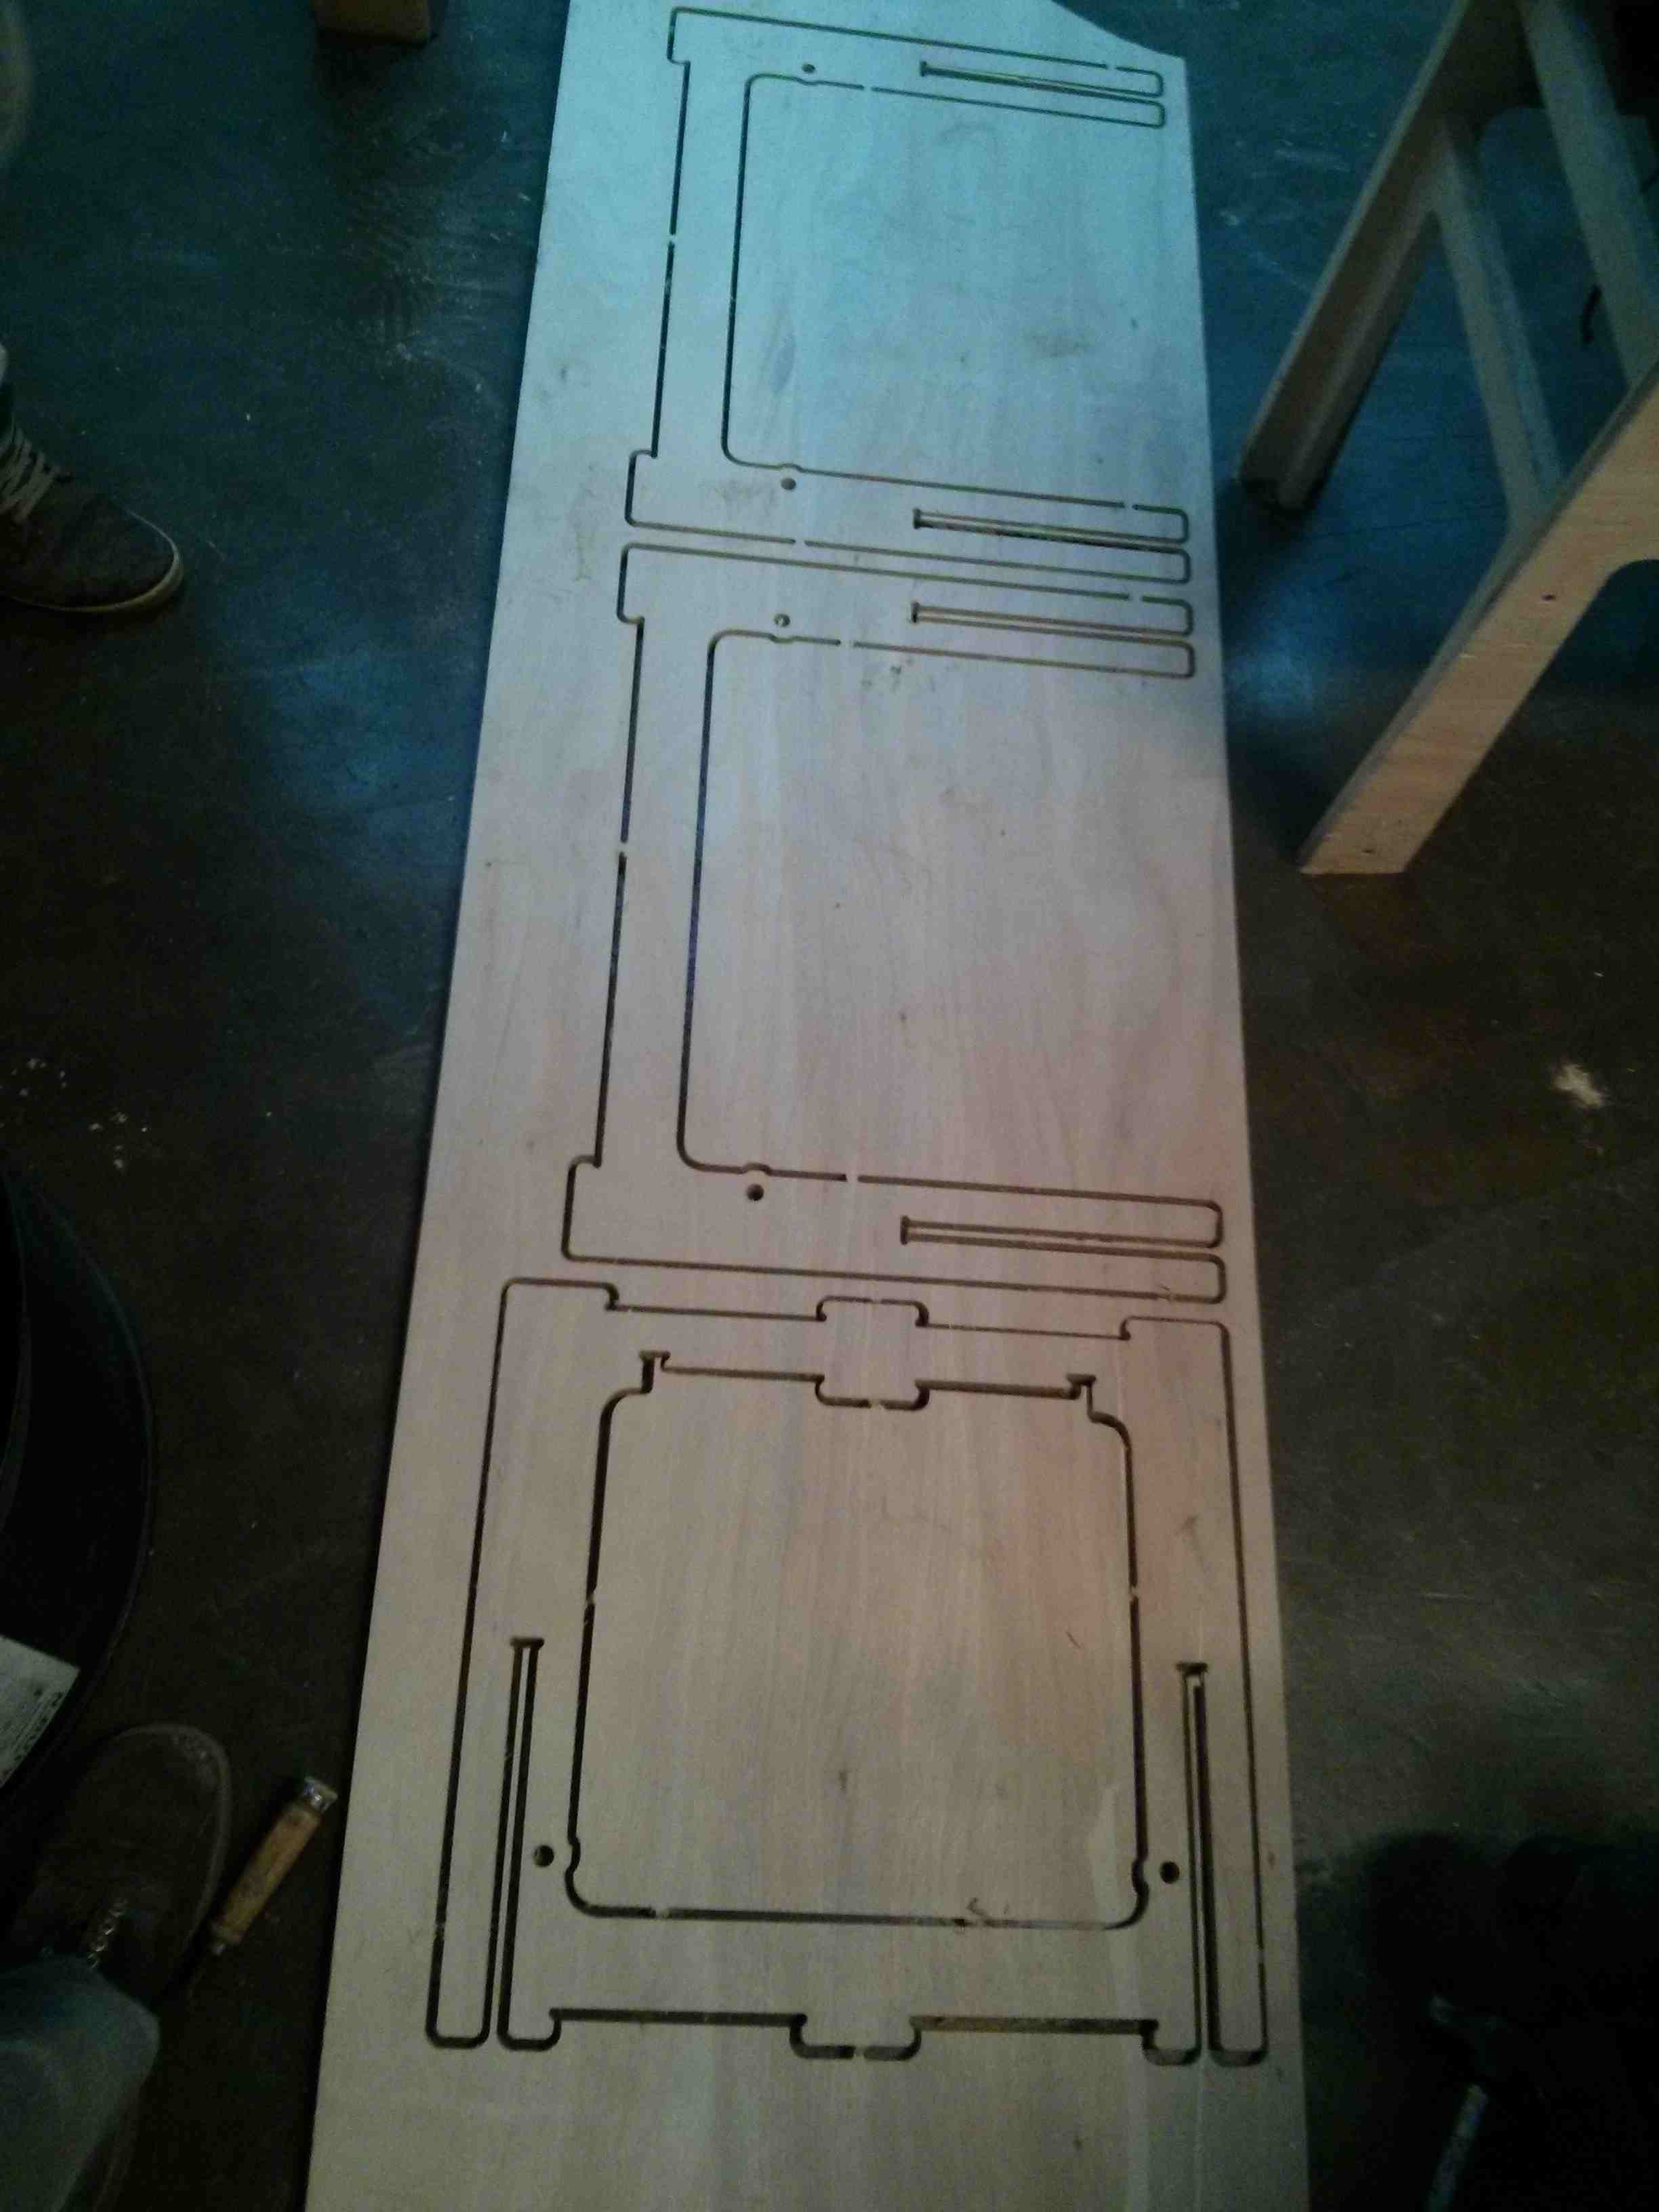
The other boards have been cut and sanded on top before finishing the cut
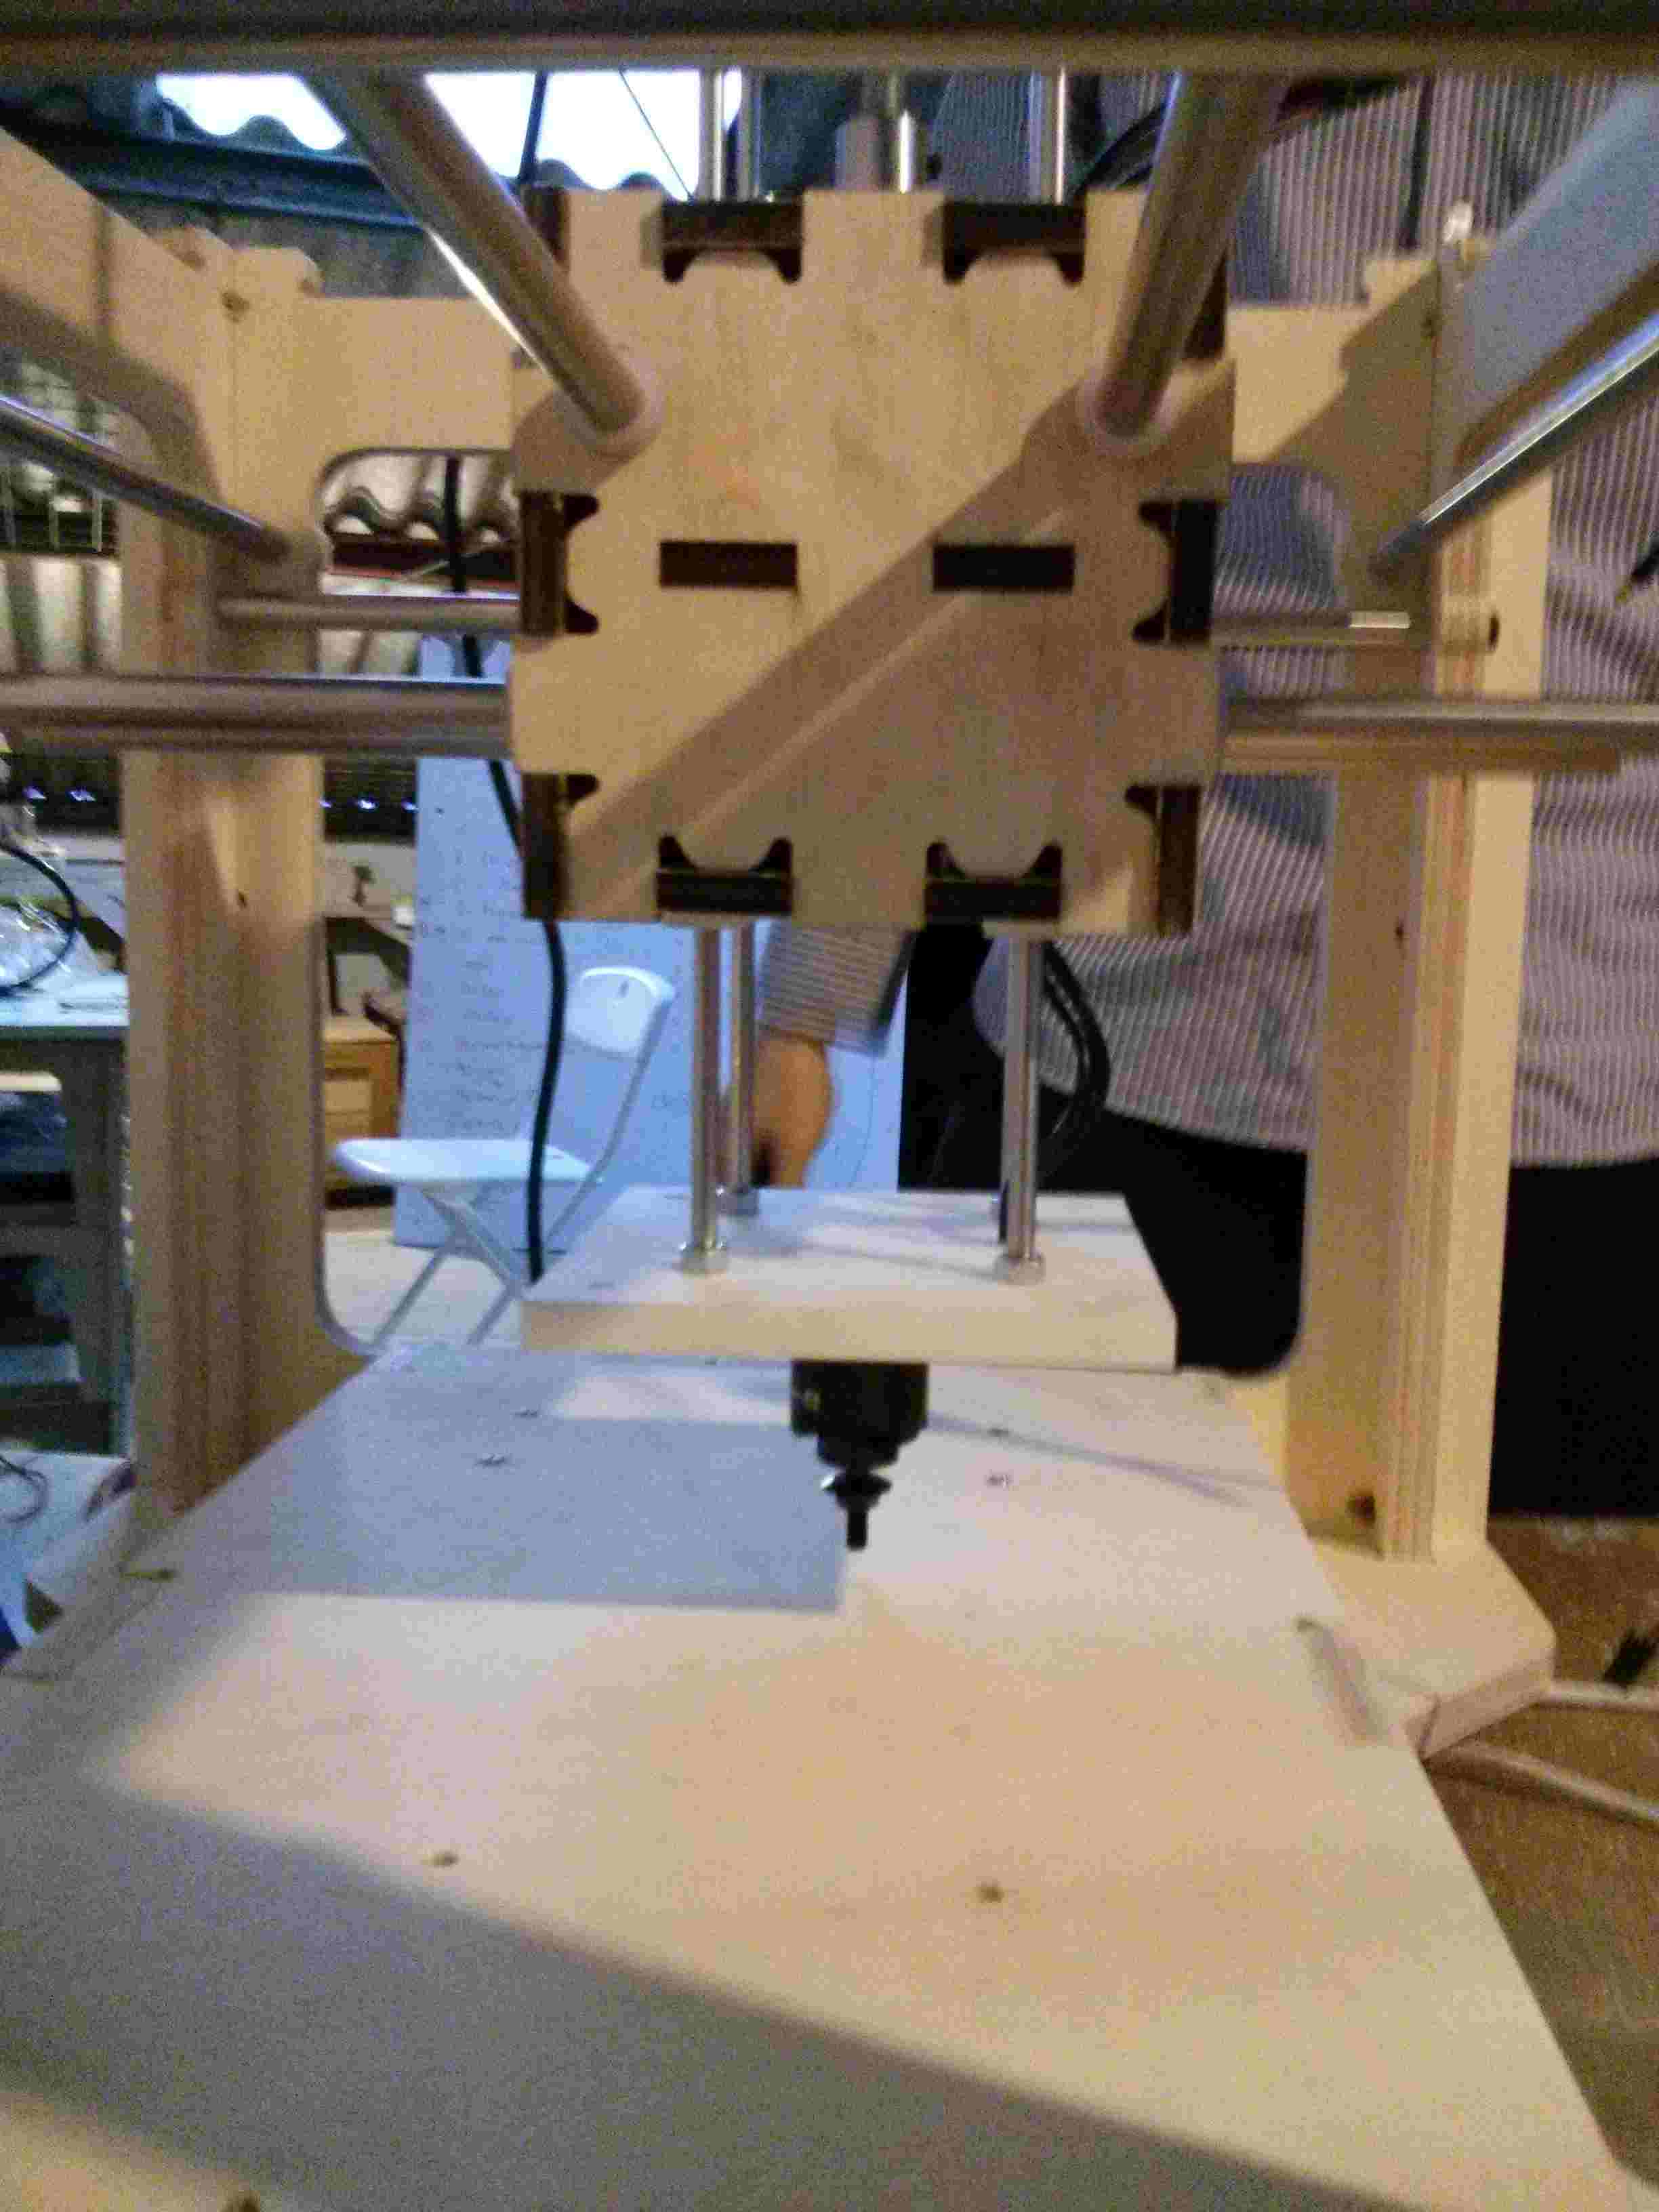
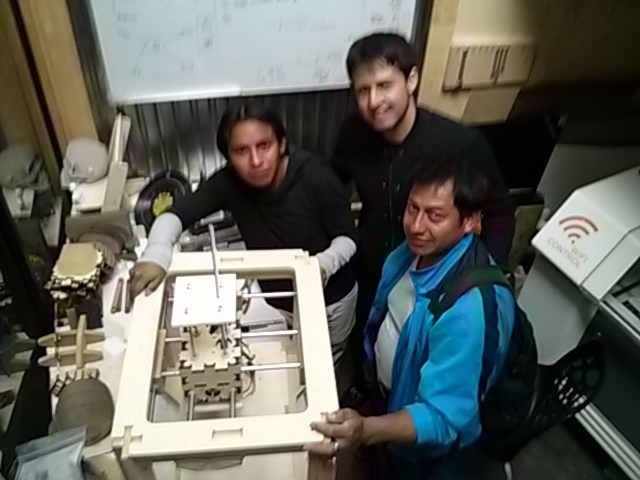
The machine frame assembled with the cut pieces. A laser cut piece of acrylic is on top.
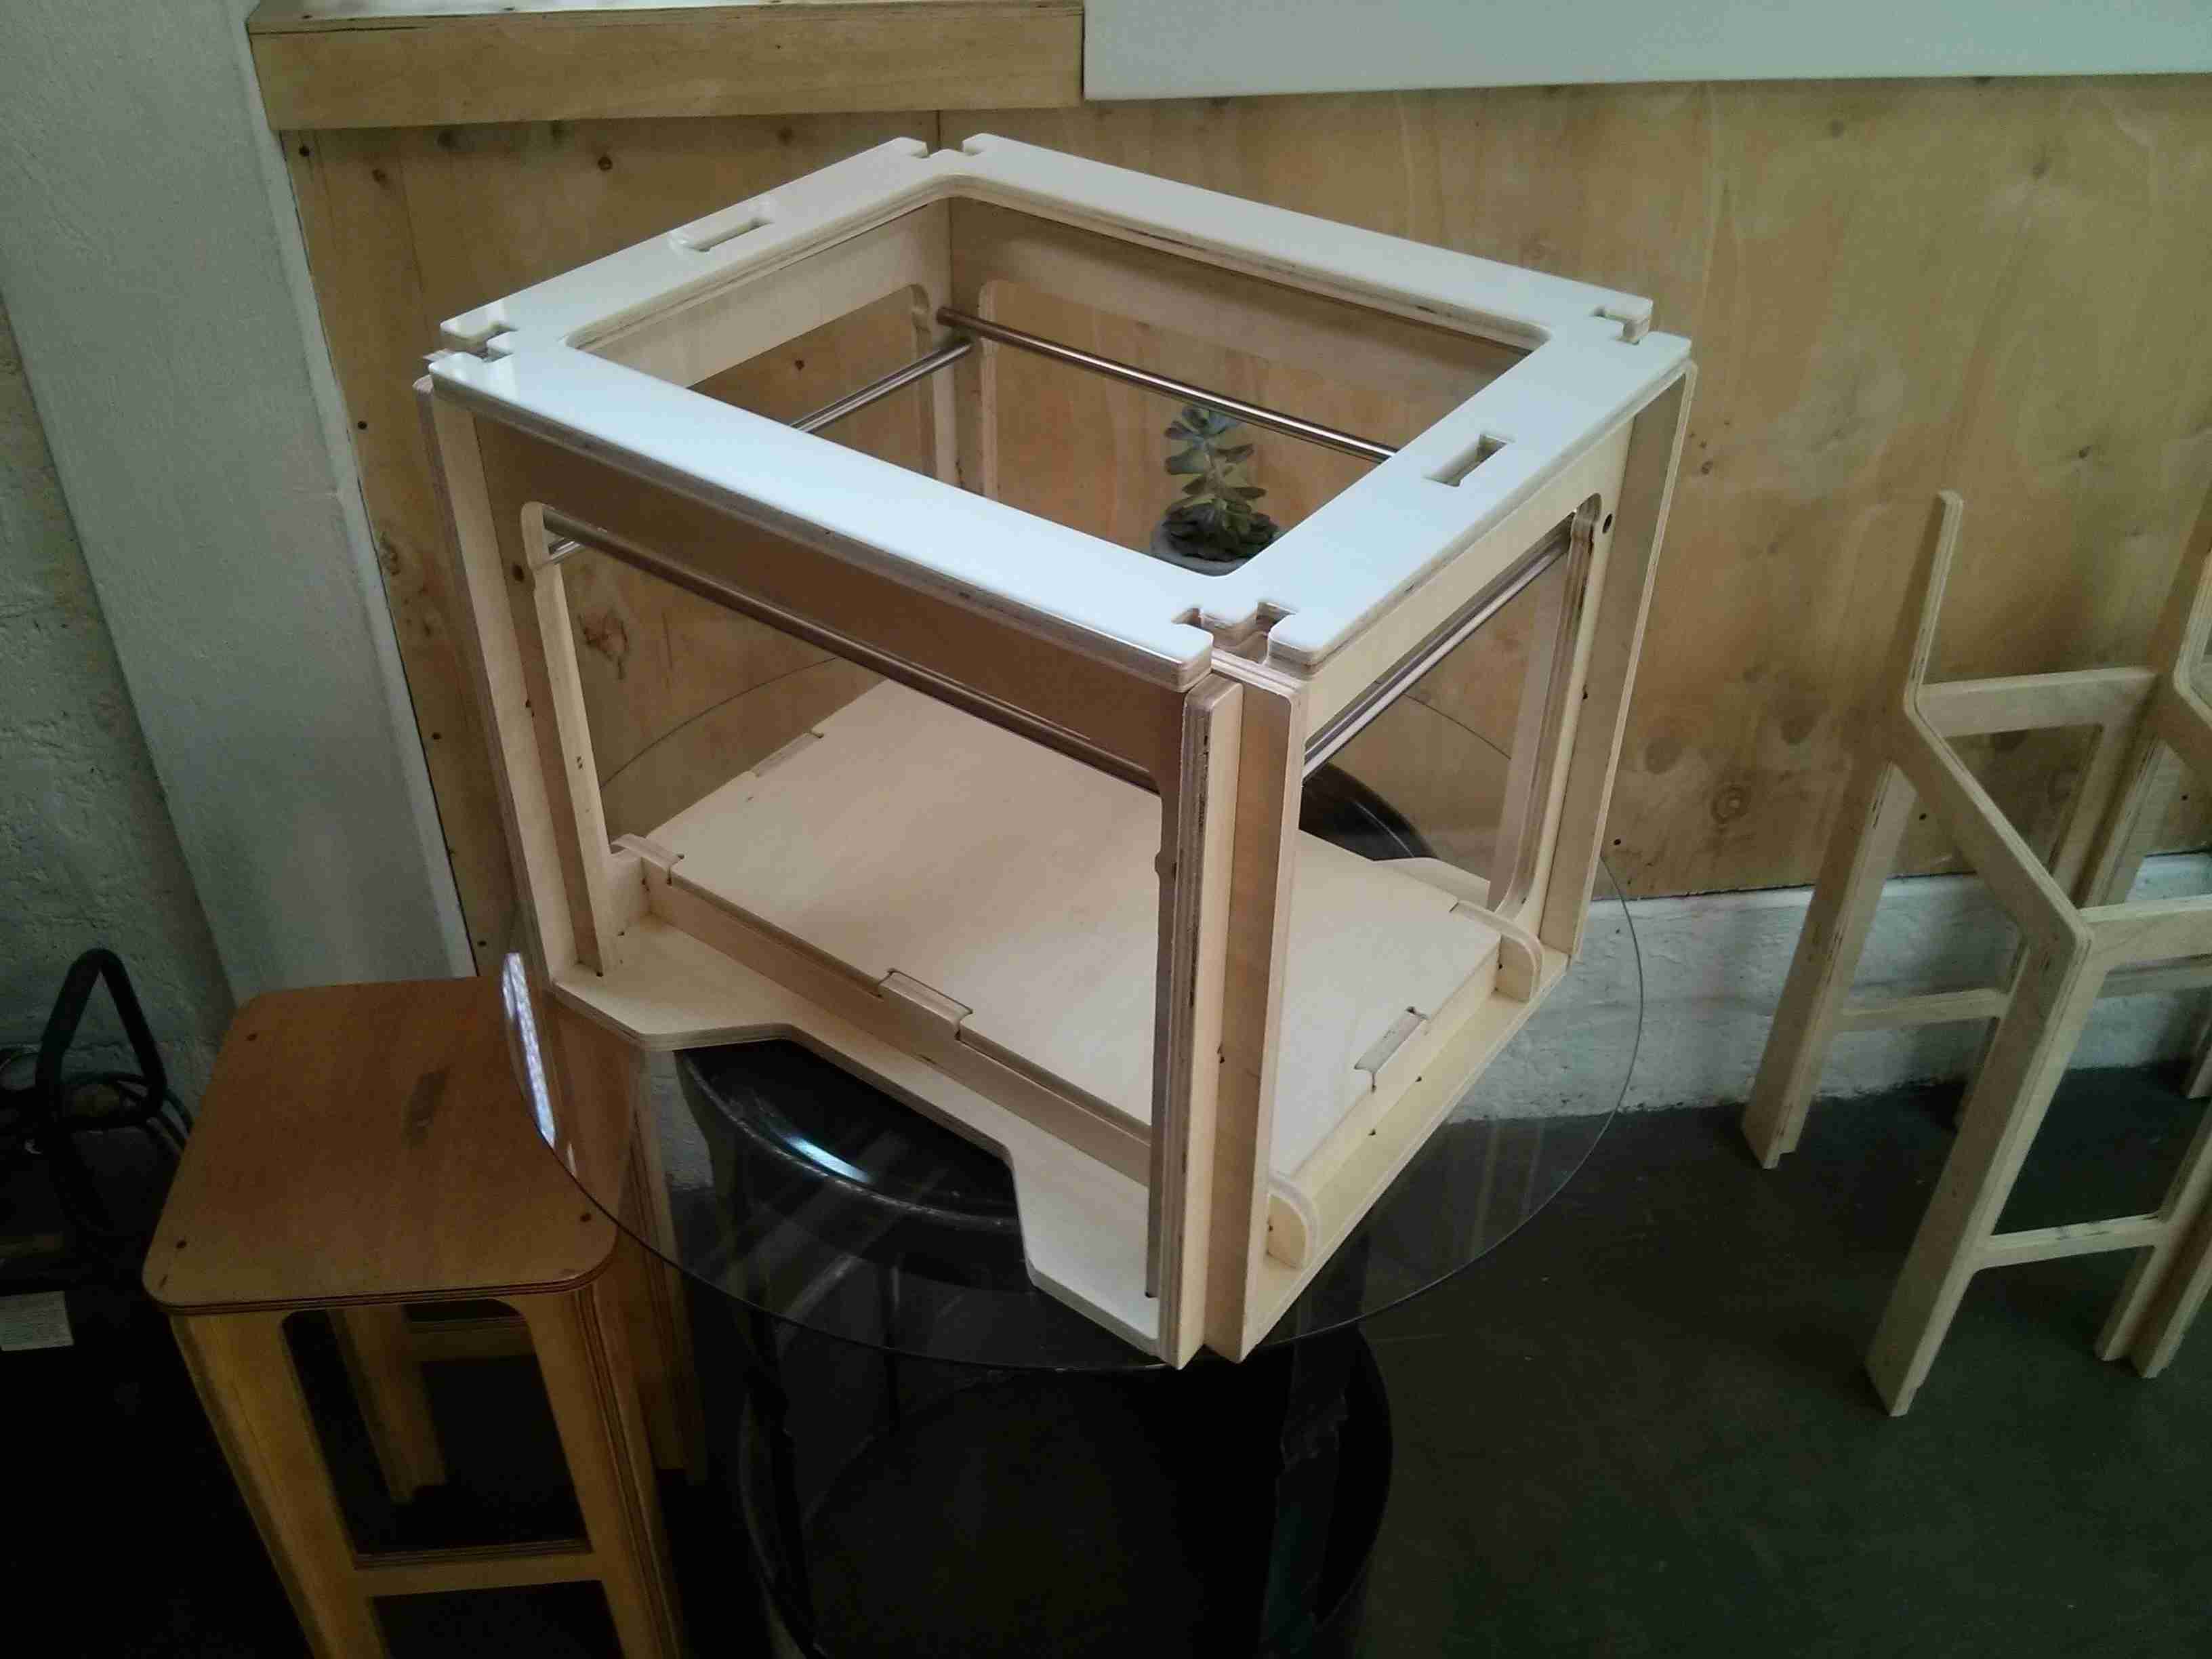

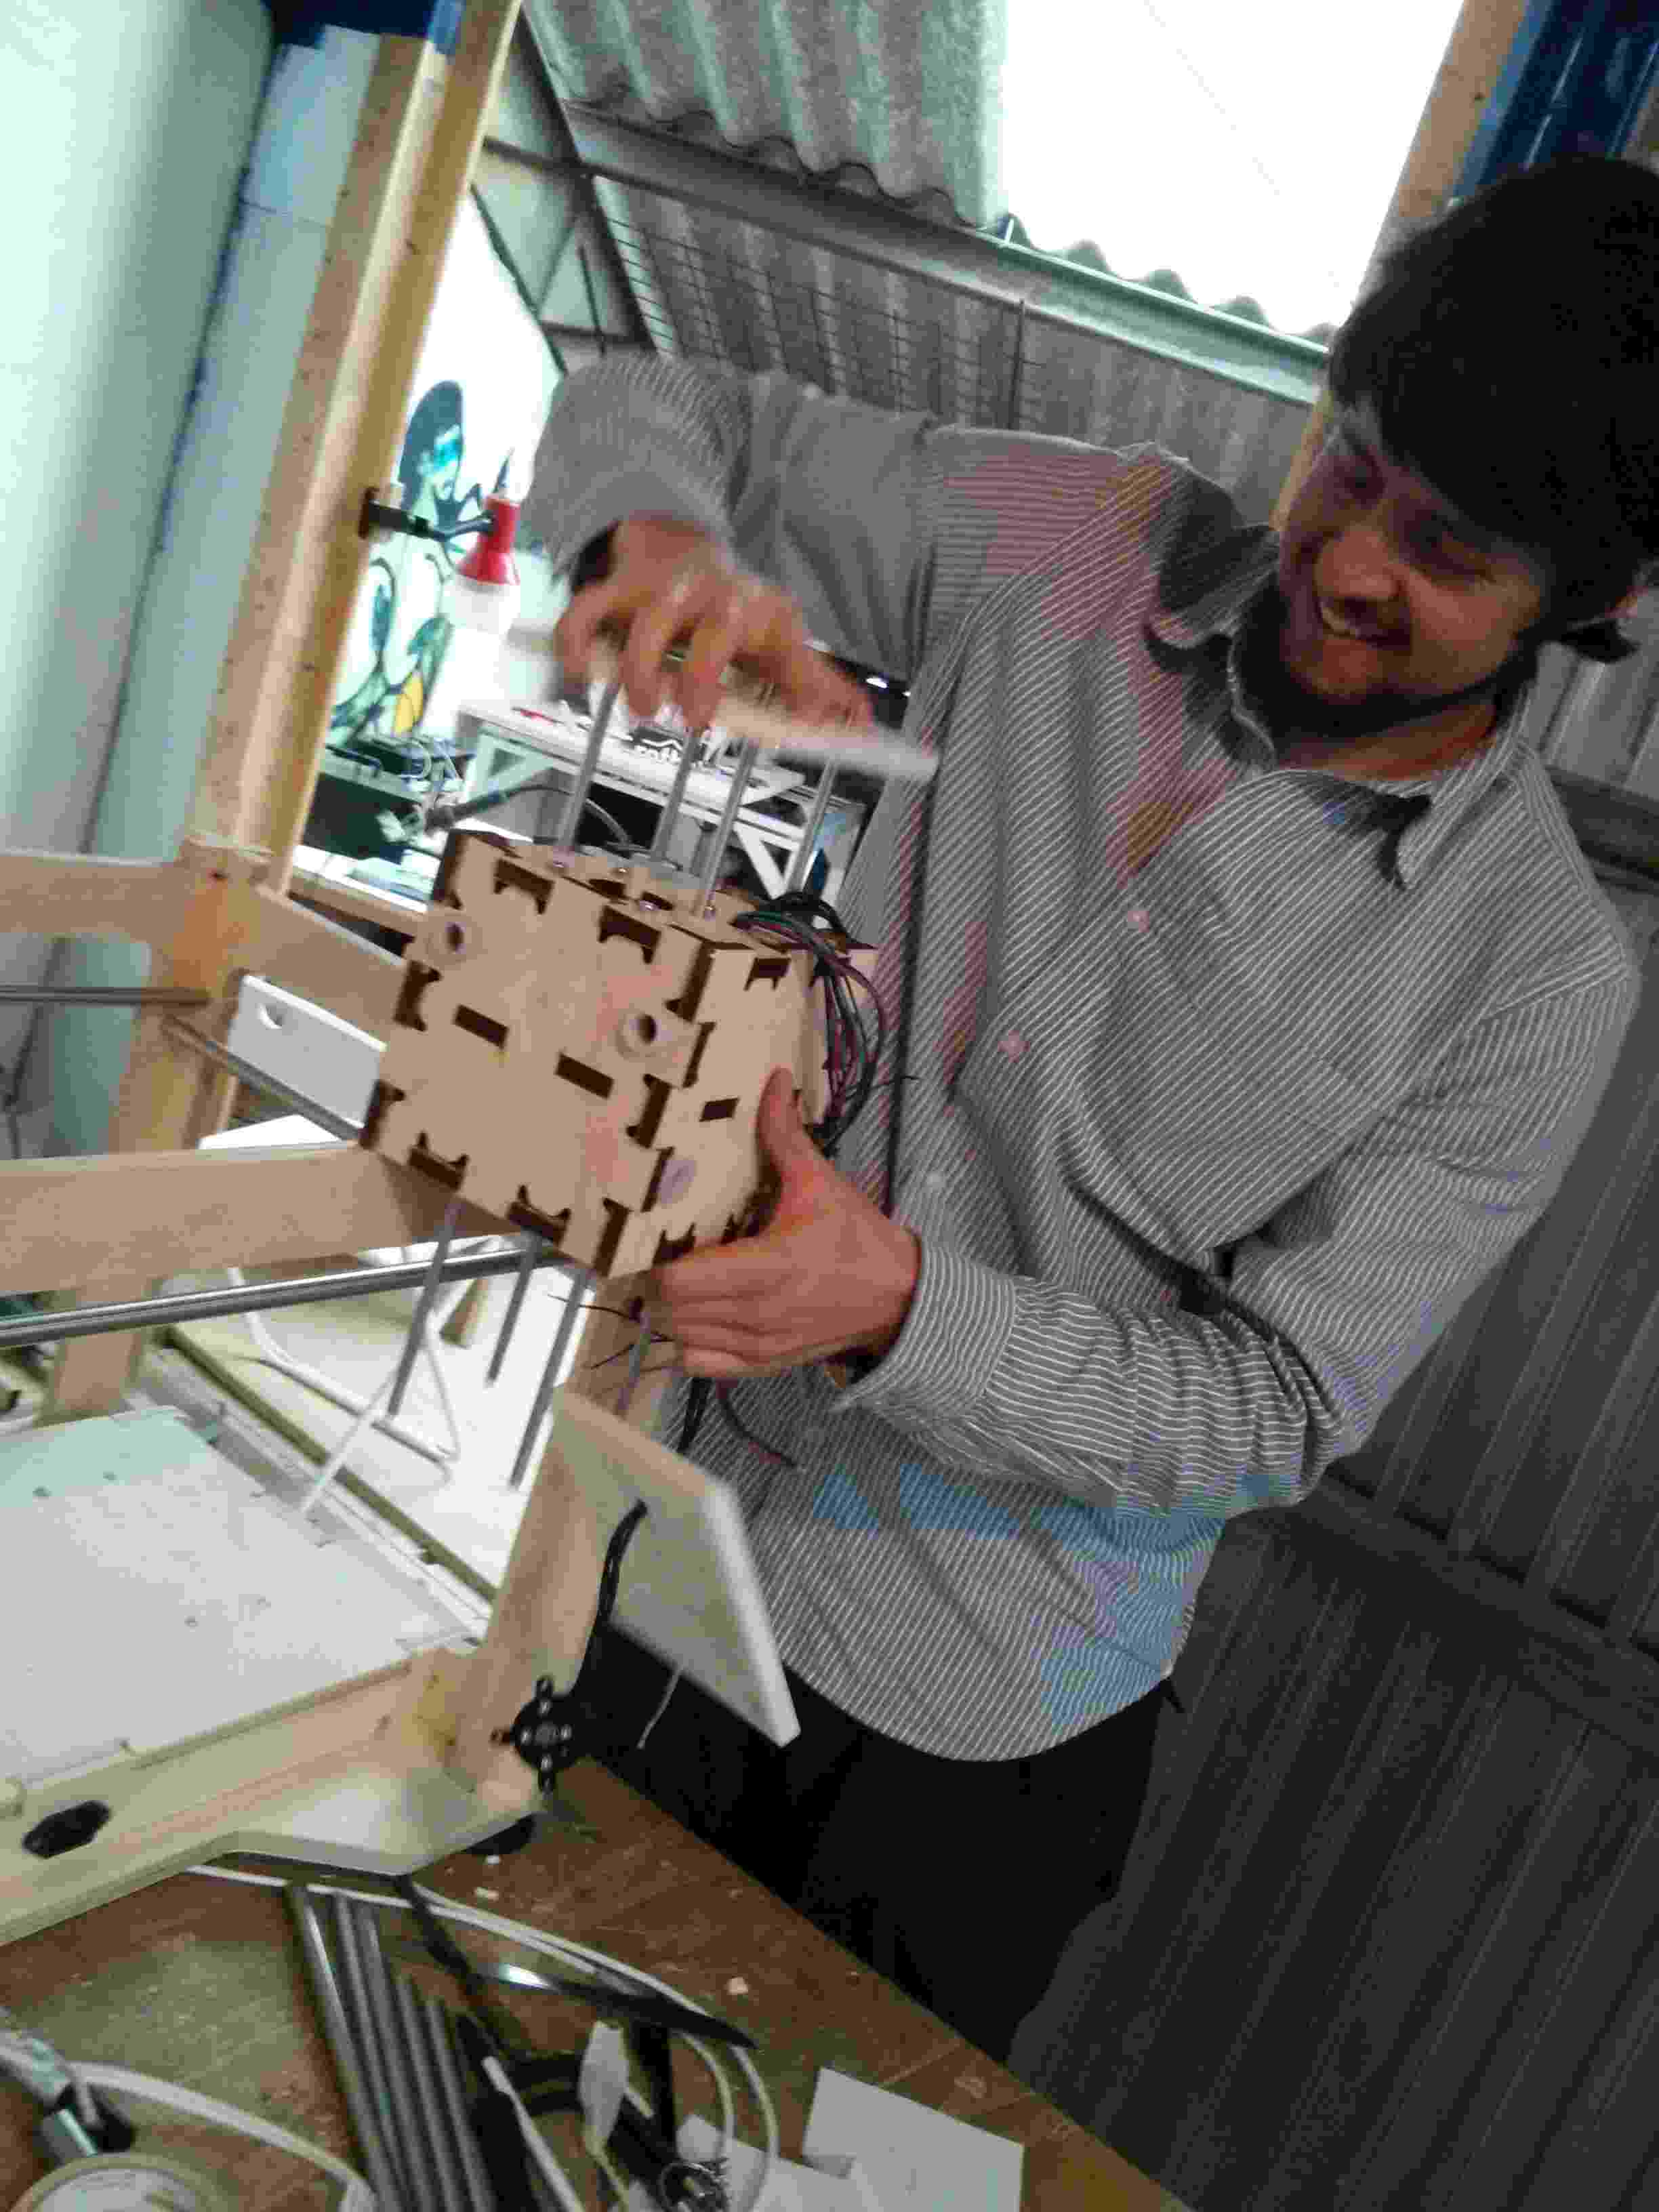
Now the machine has the centerpiece. Just that it needs something to hold the rails yet!
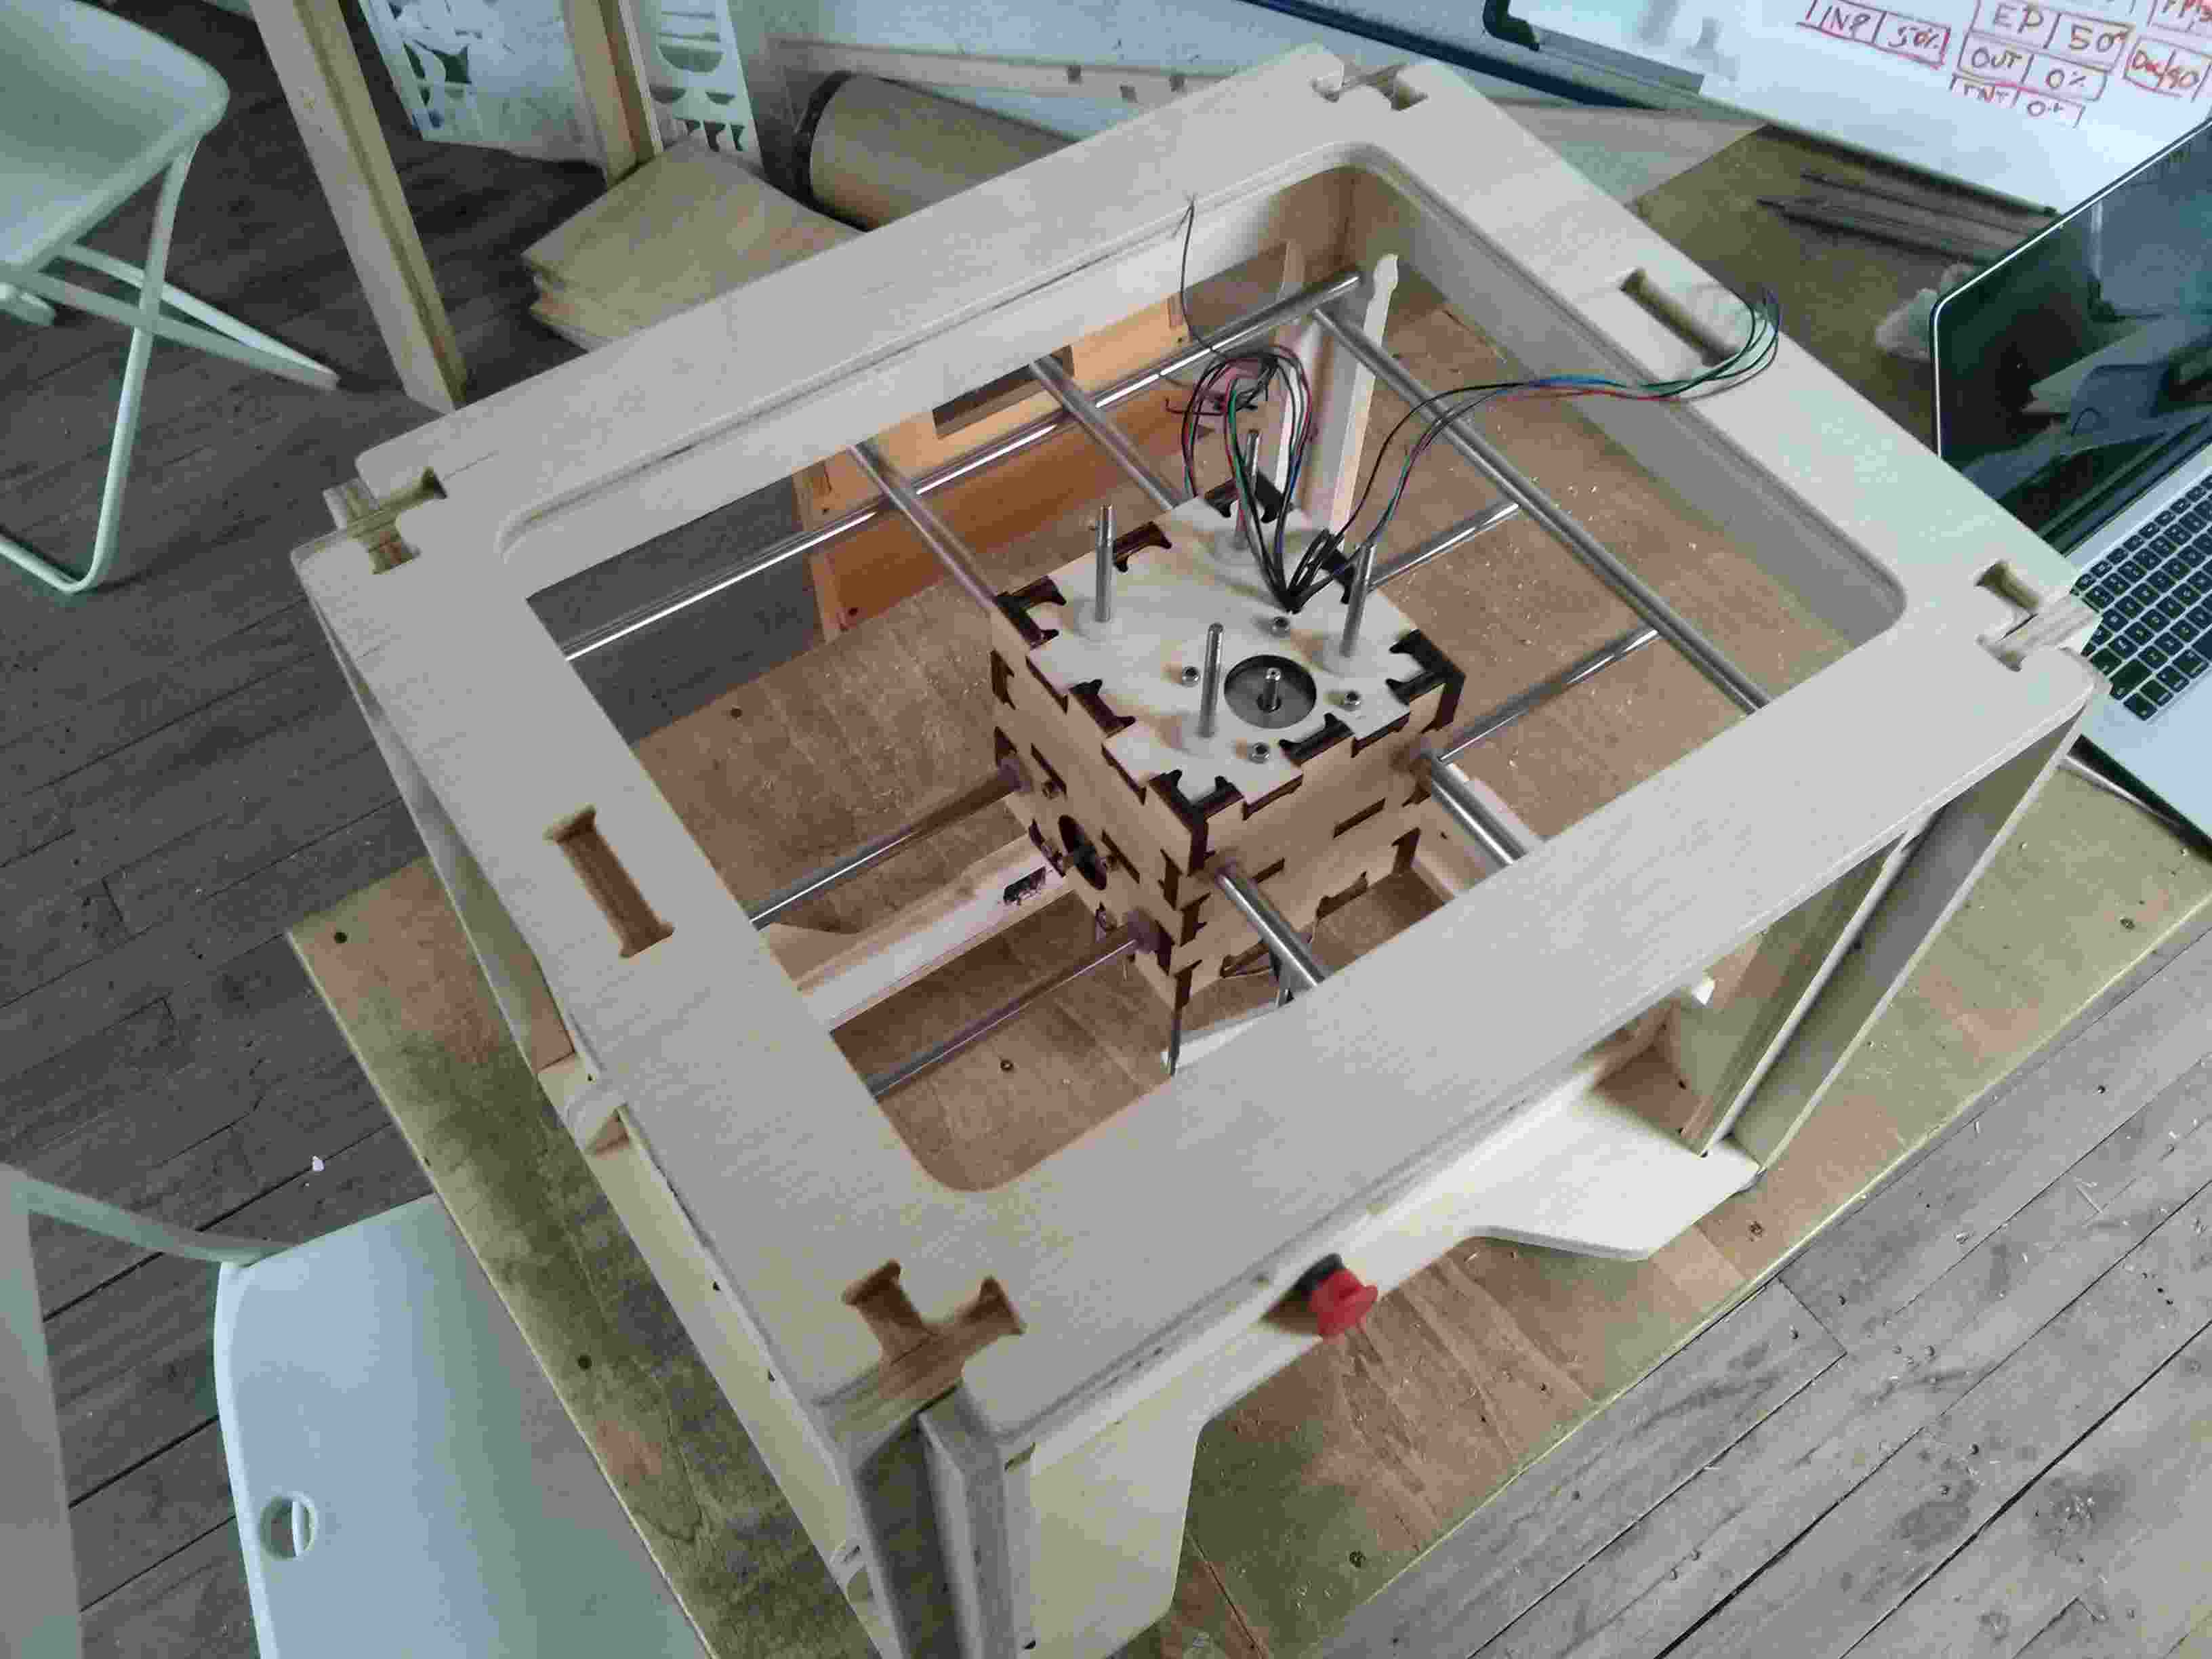
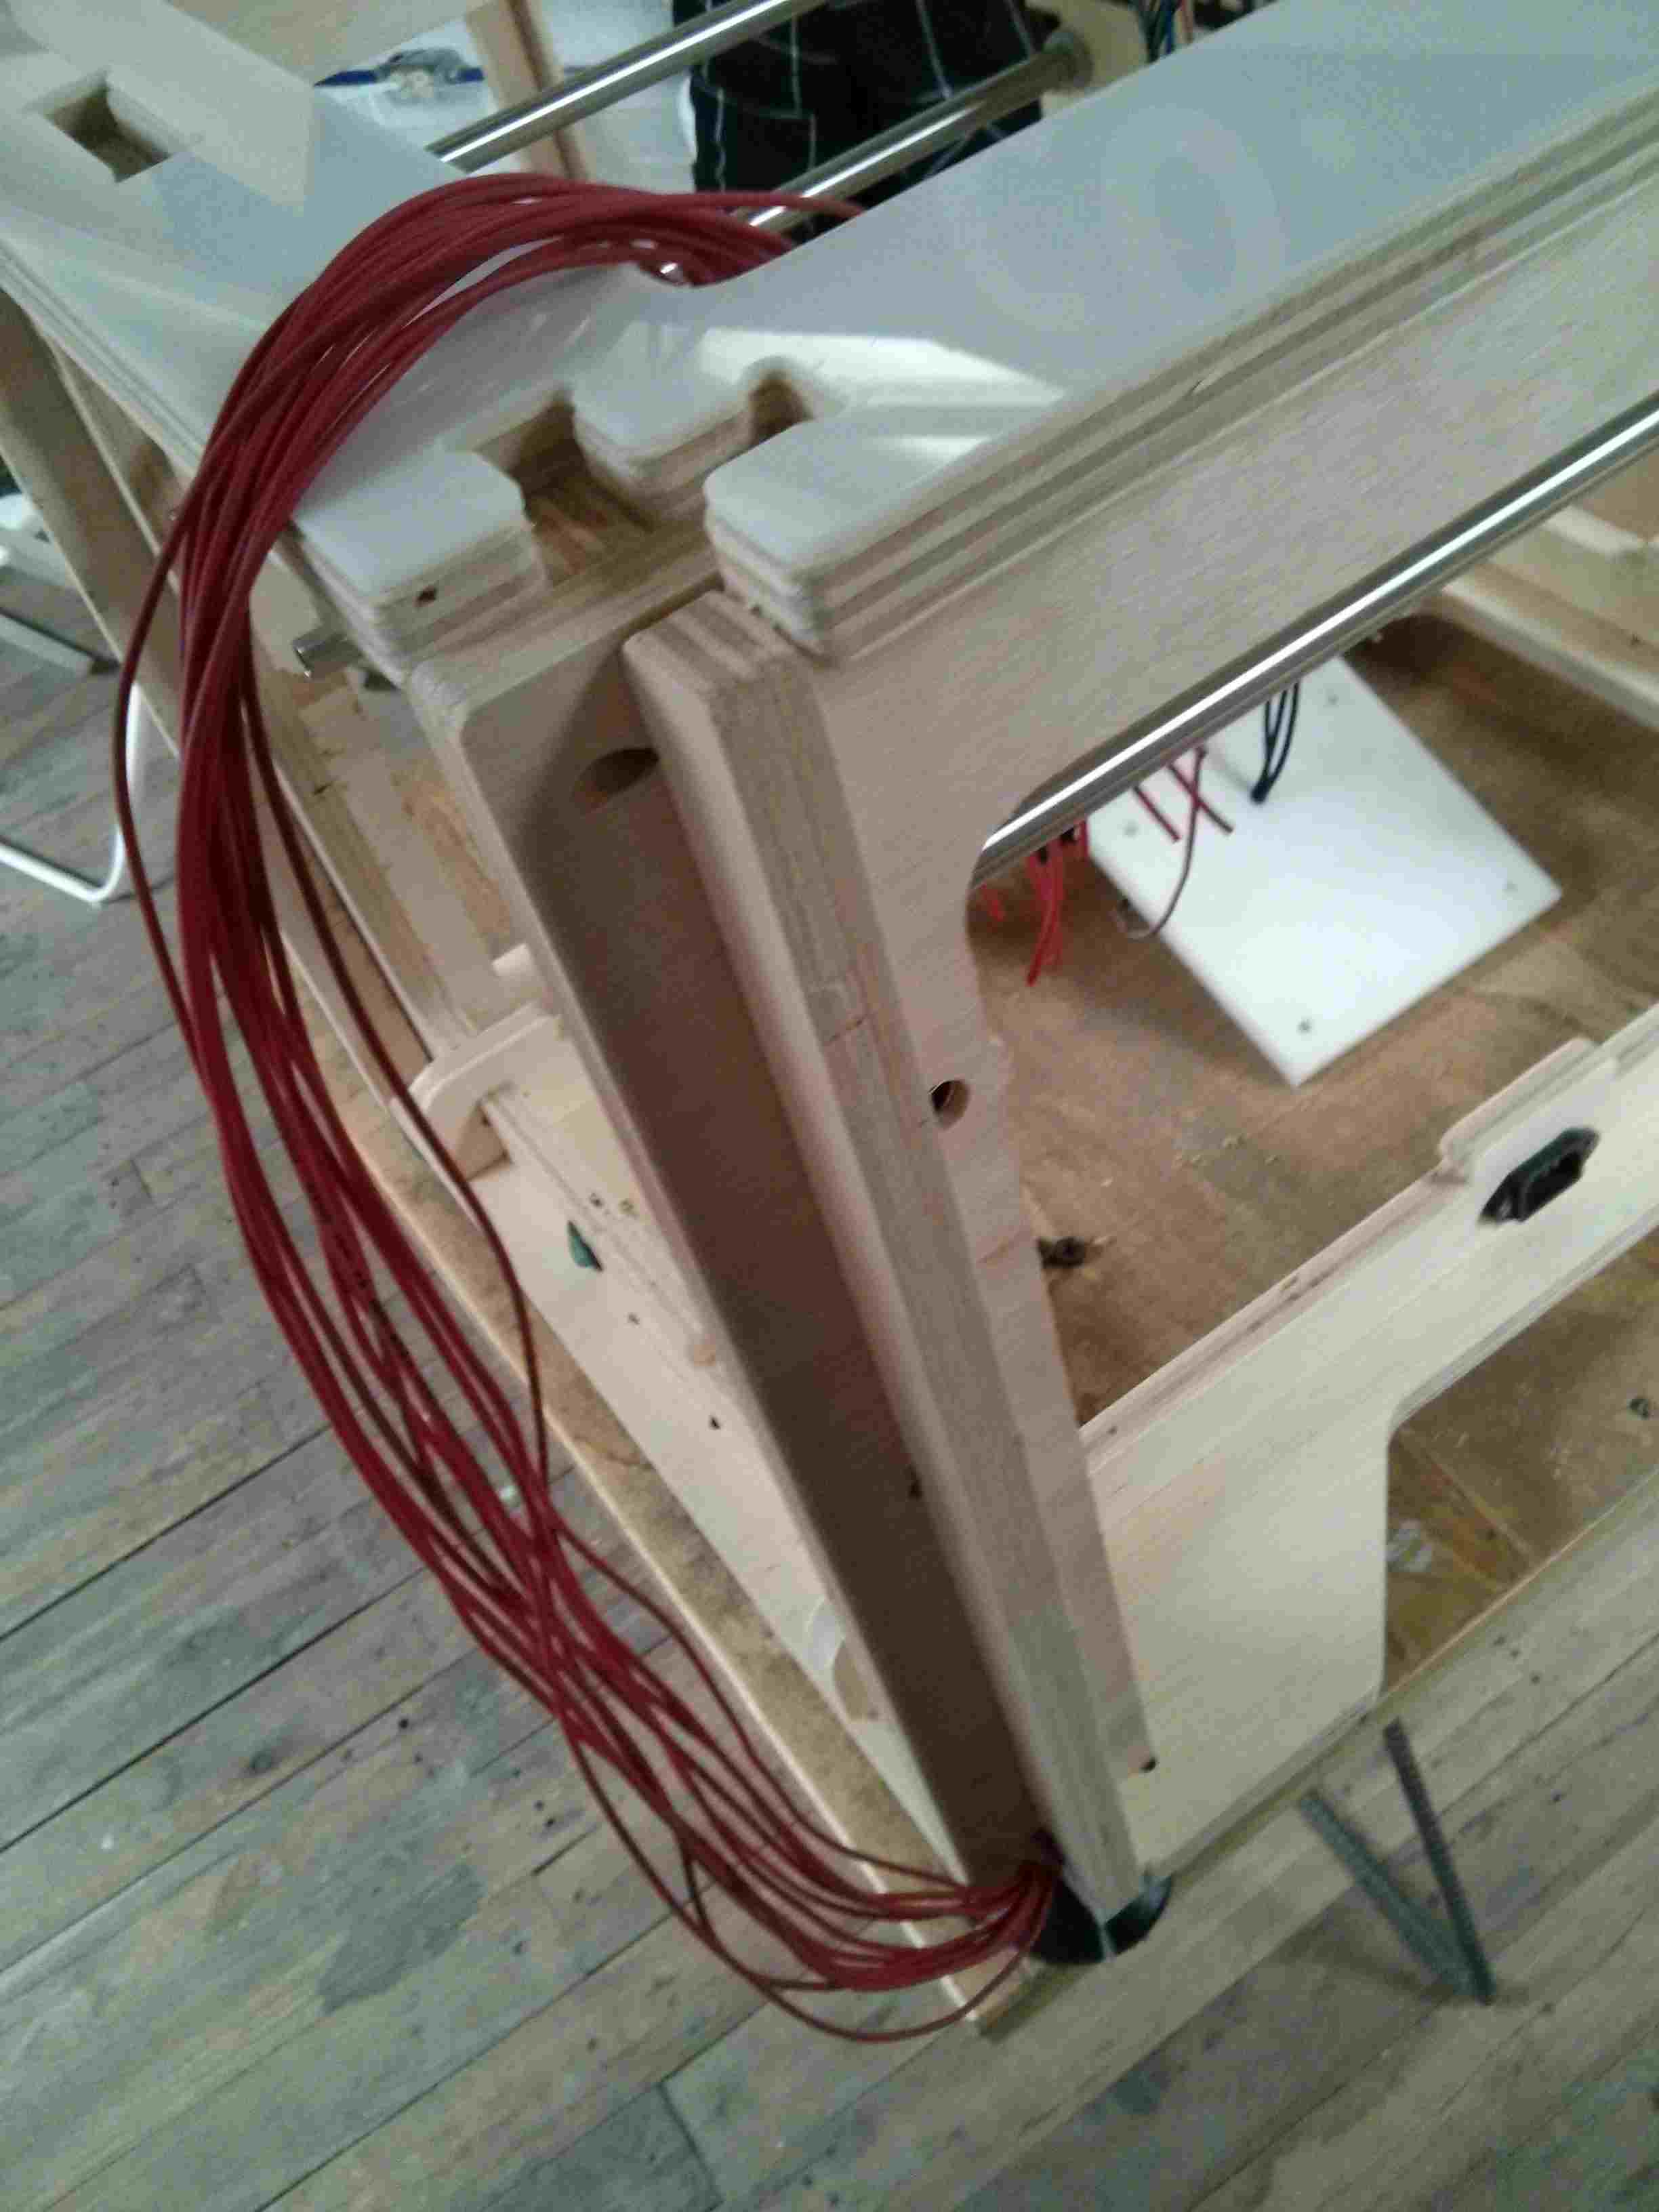
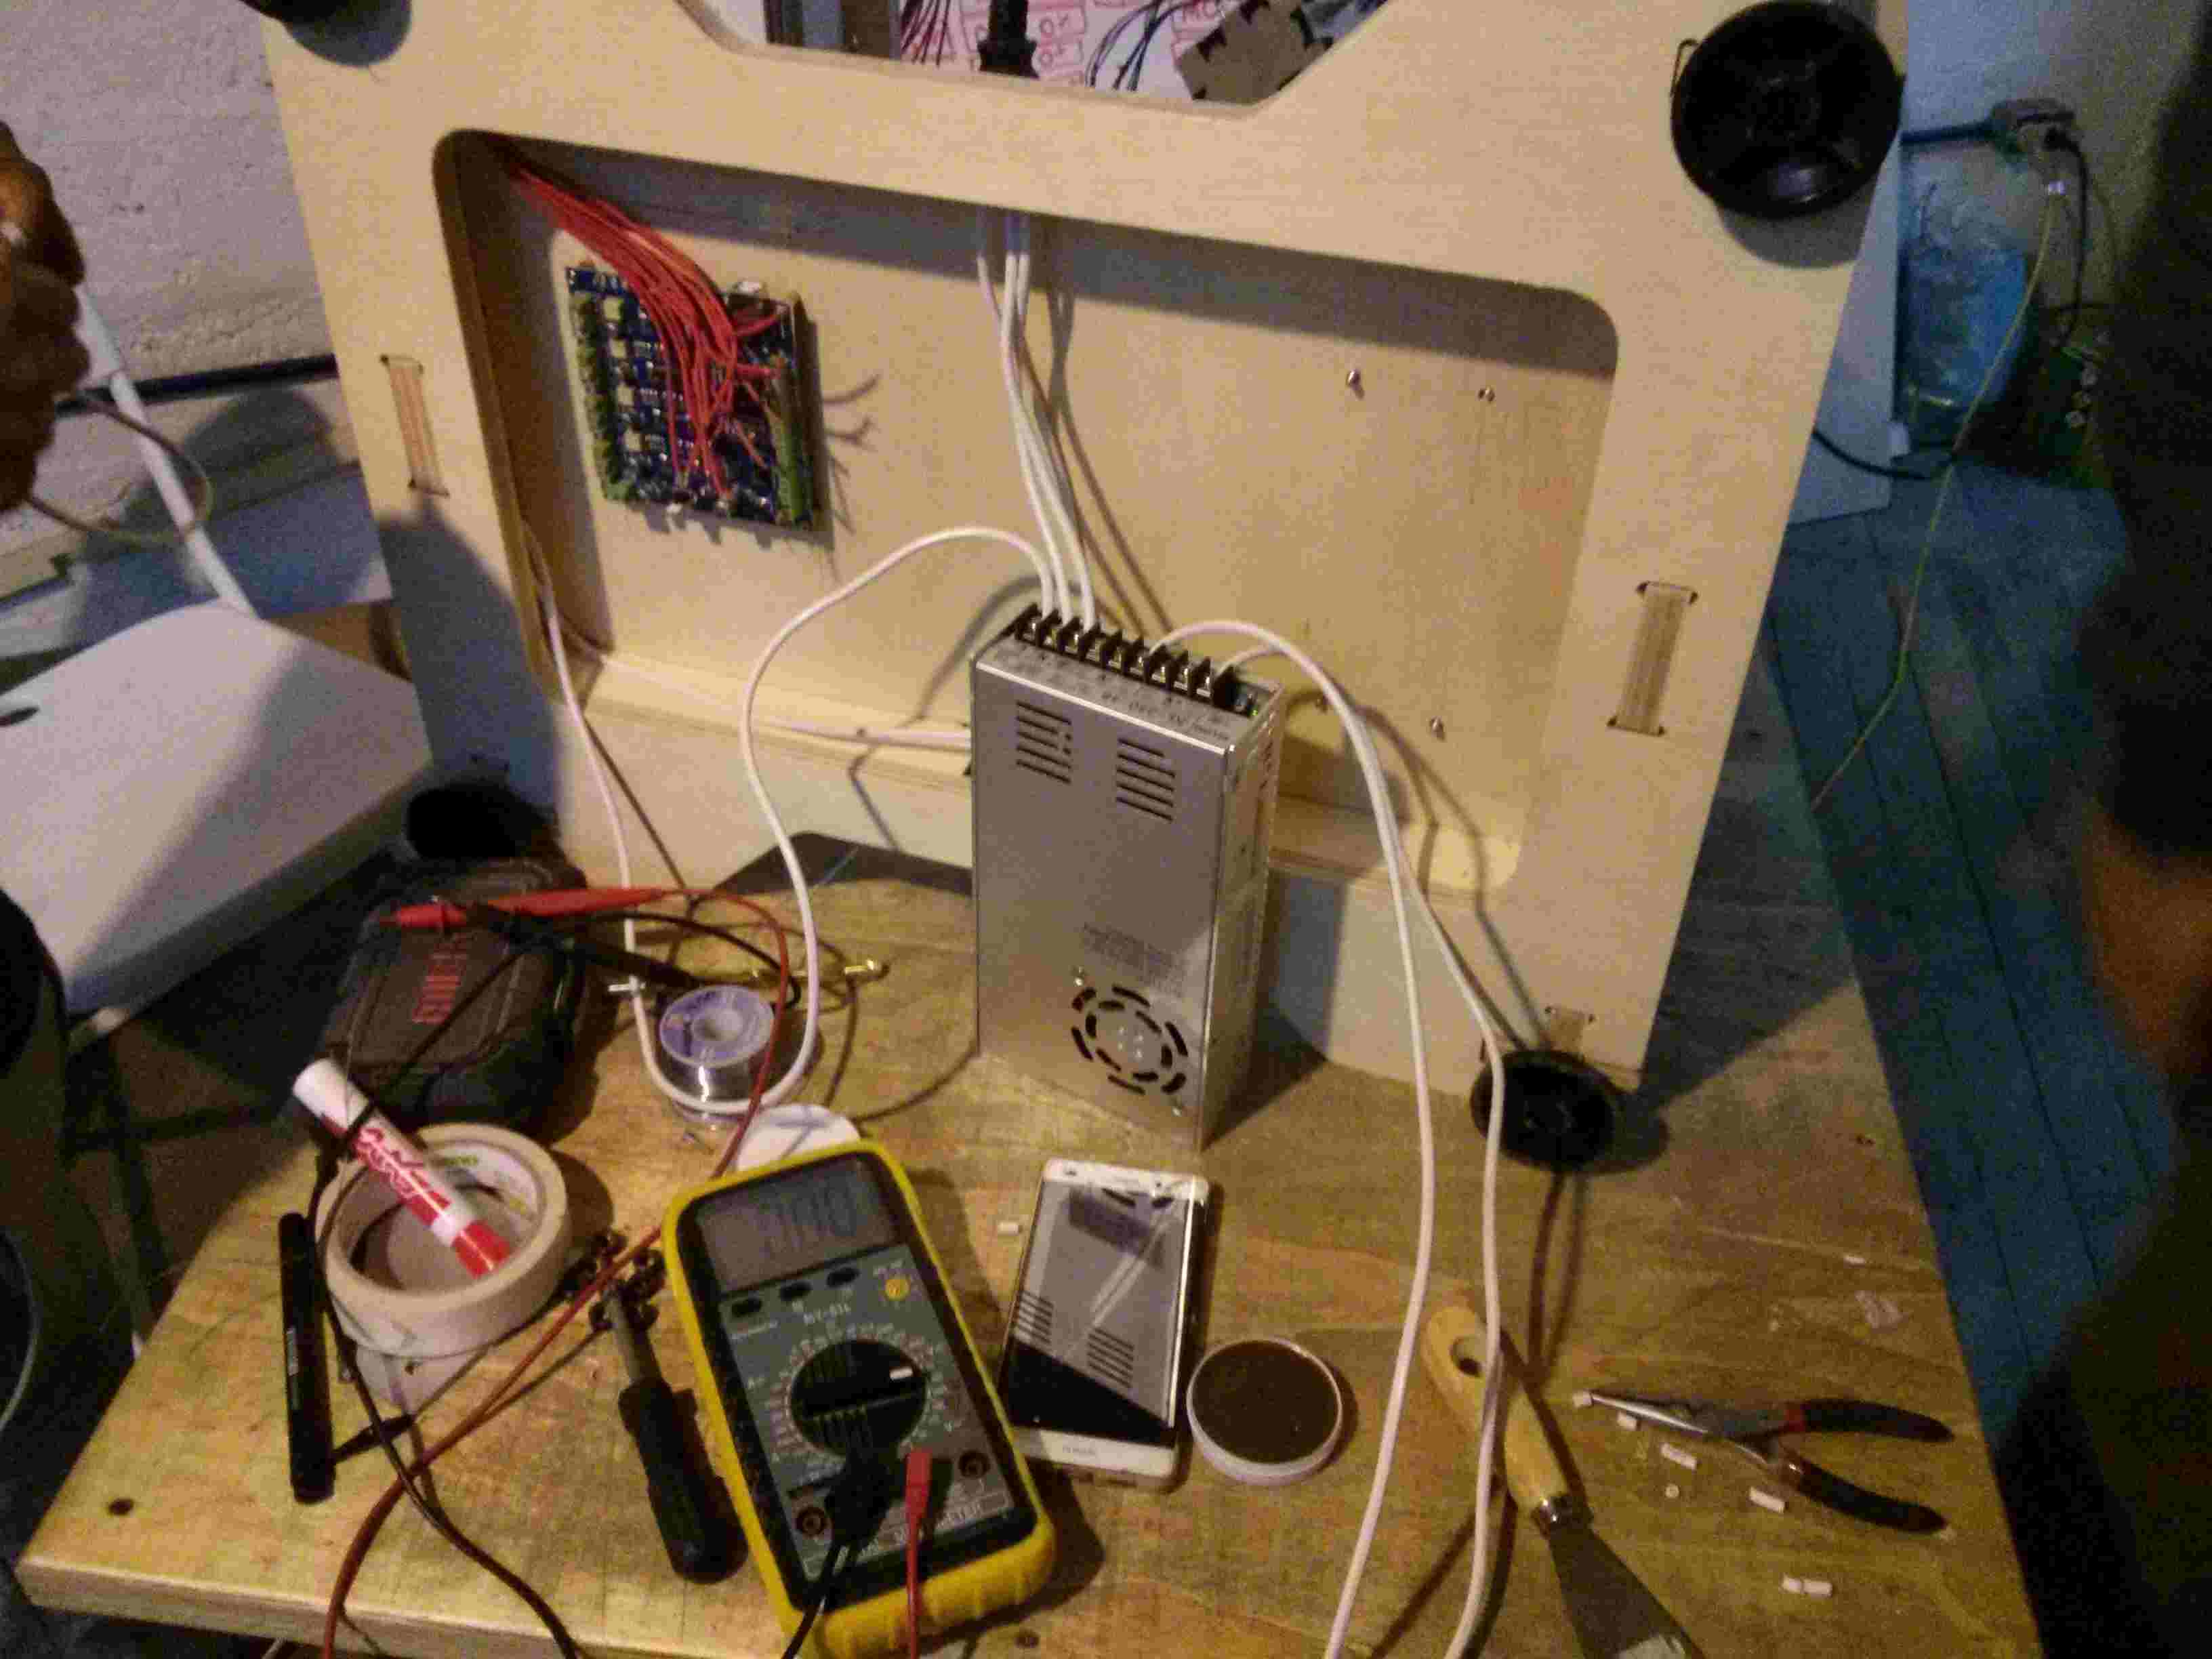
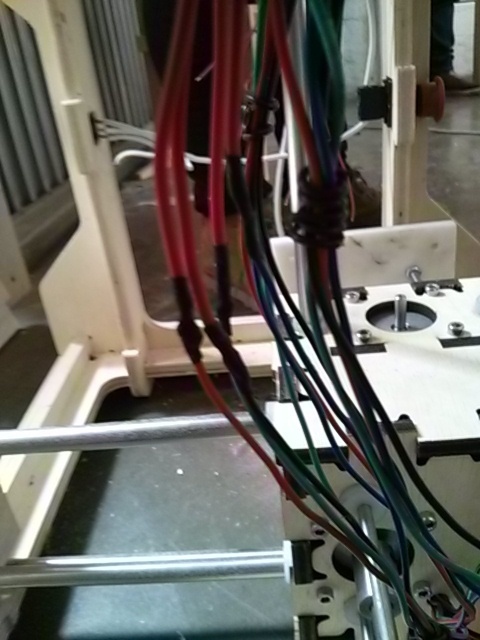
Placing the cables for the stepper motors and spindle.
Mounting the TinyG motor controller.
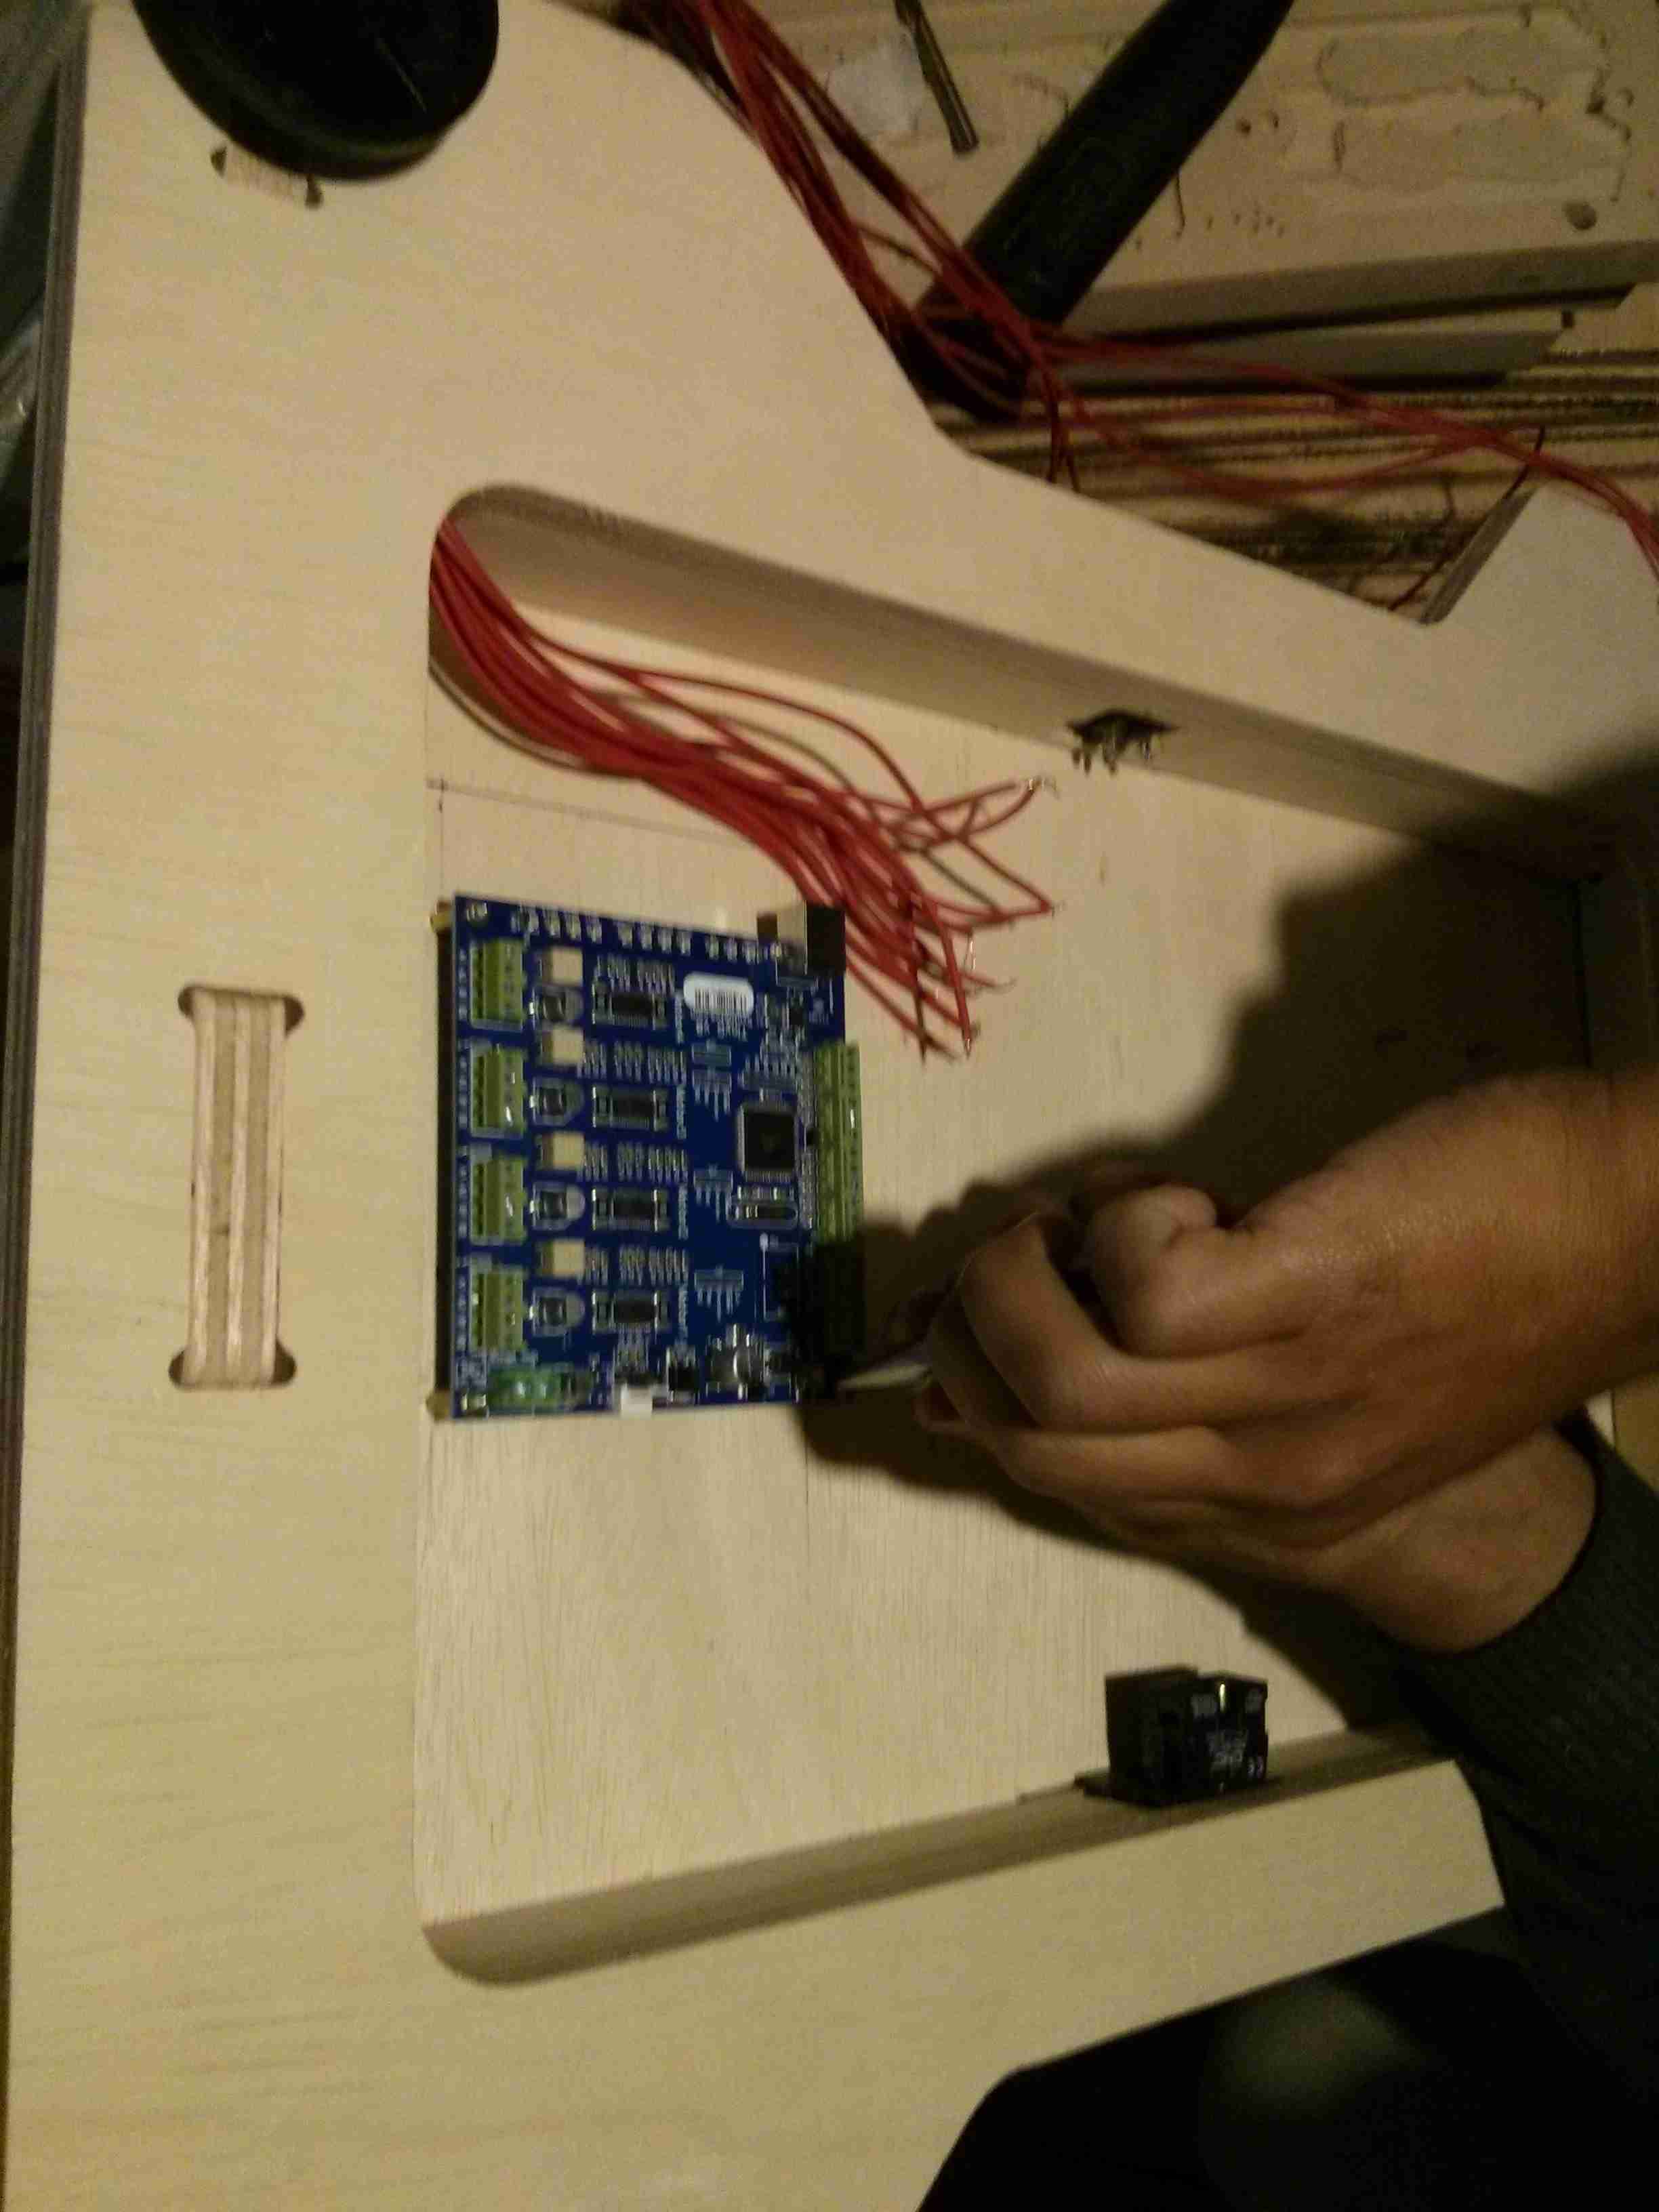
Mounting the power supply.
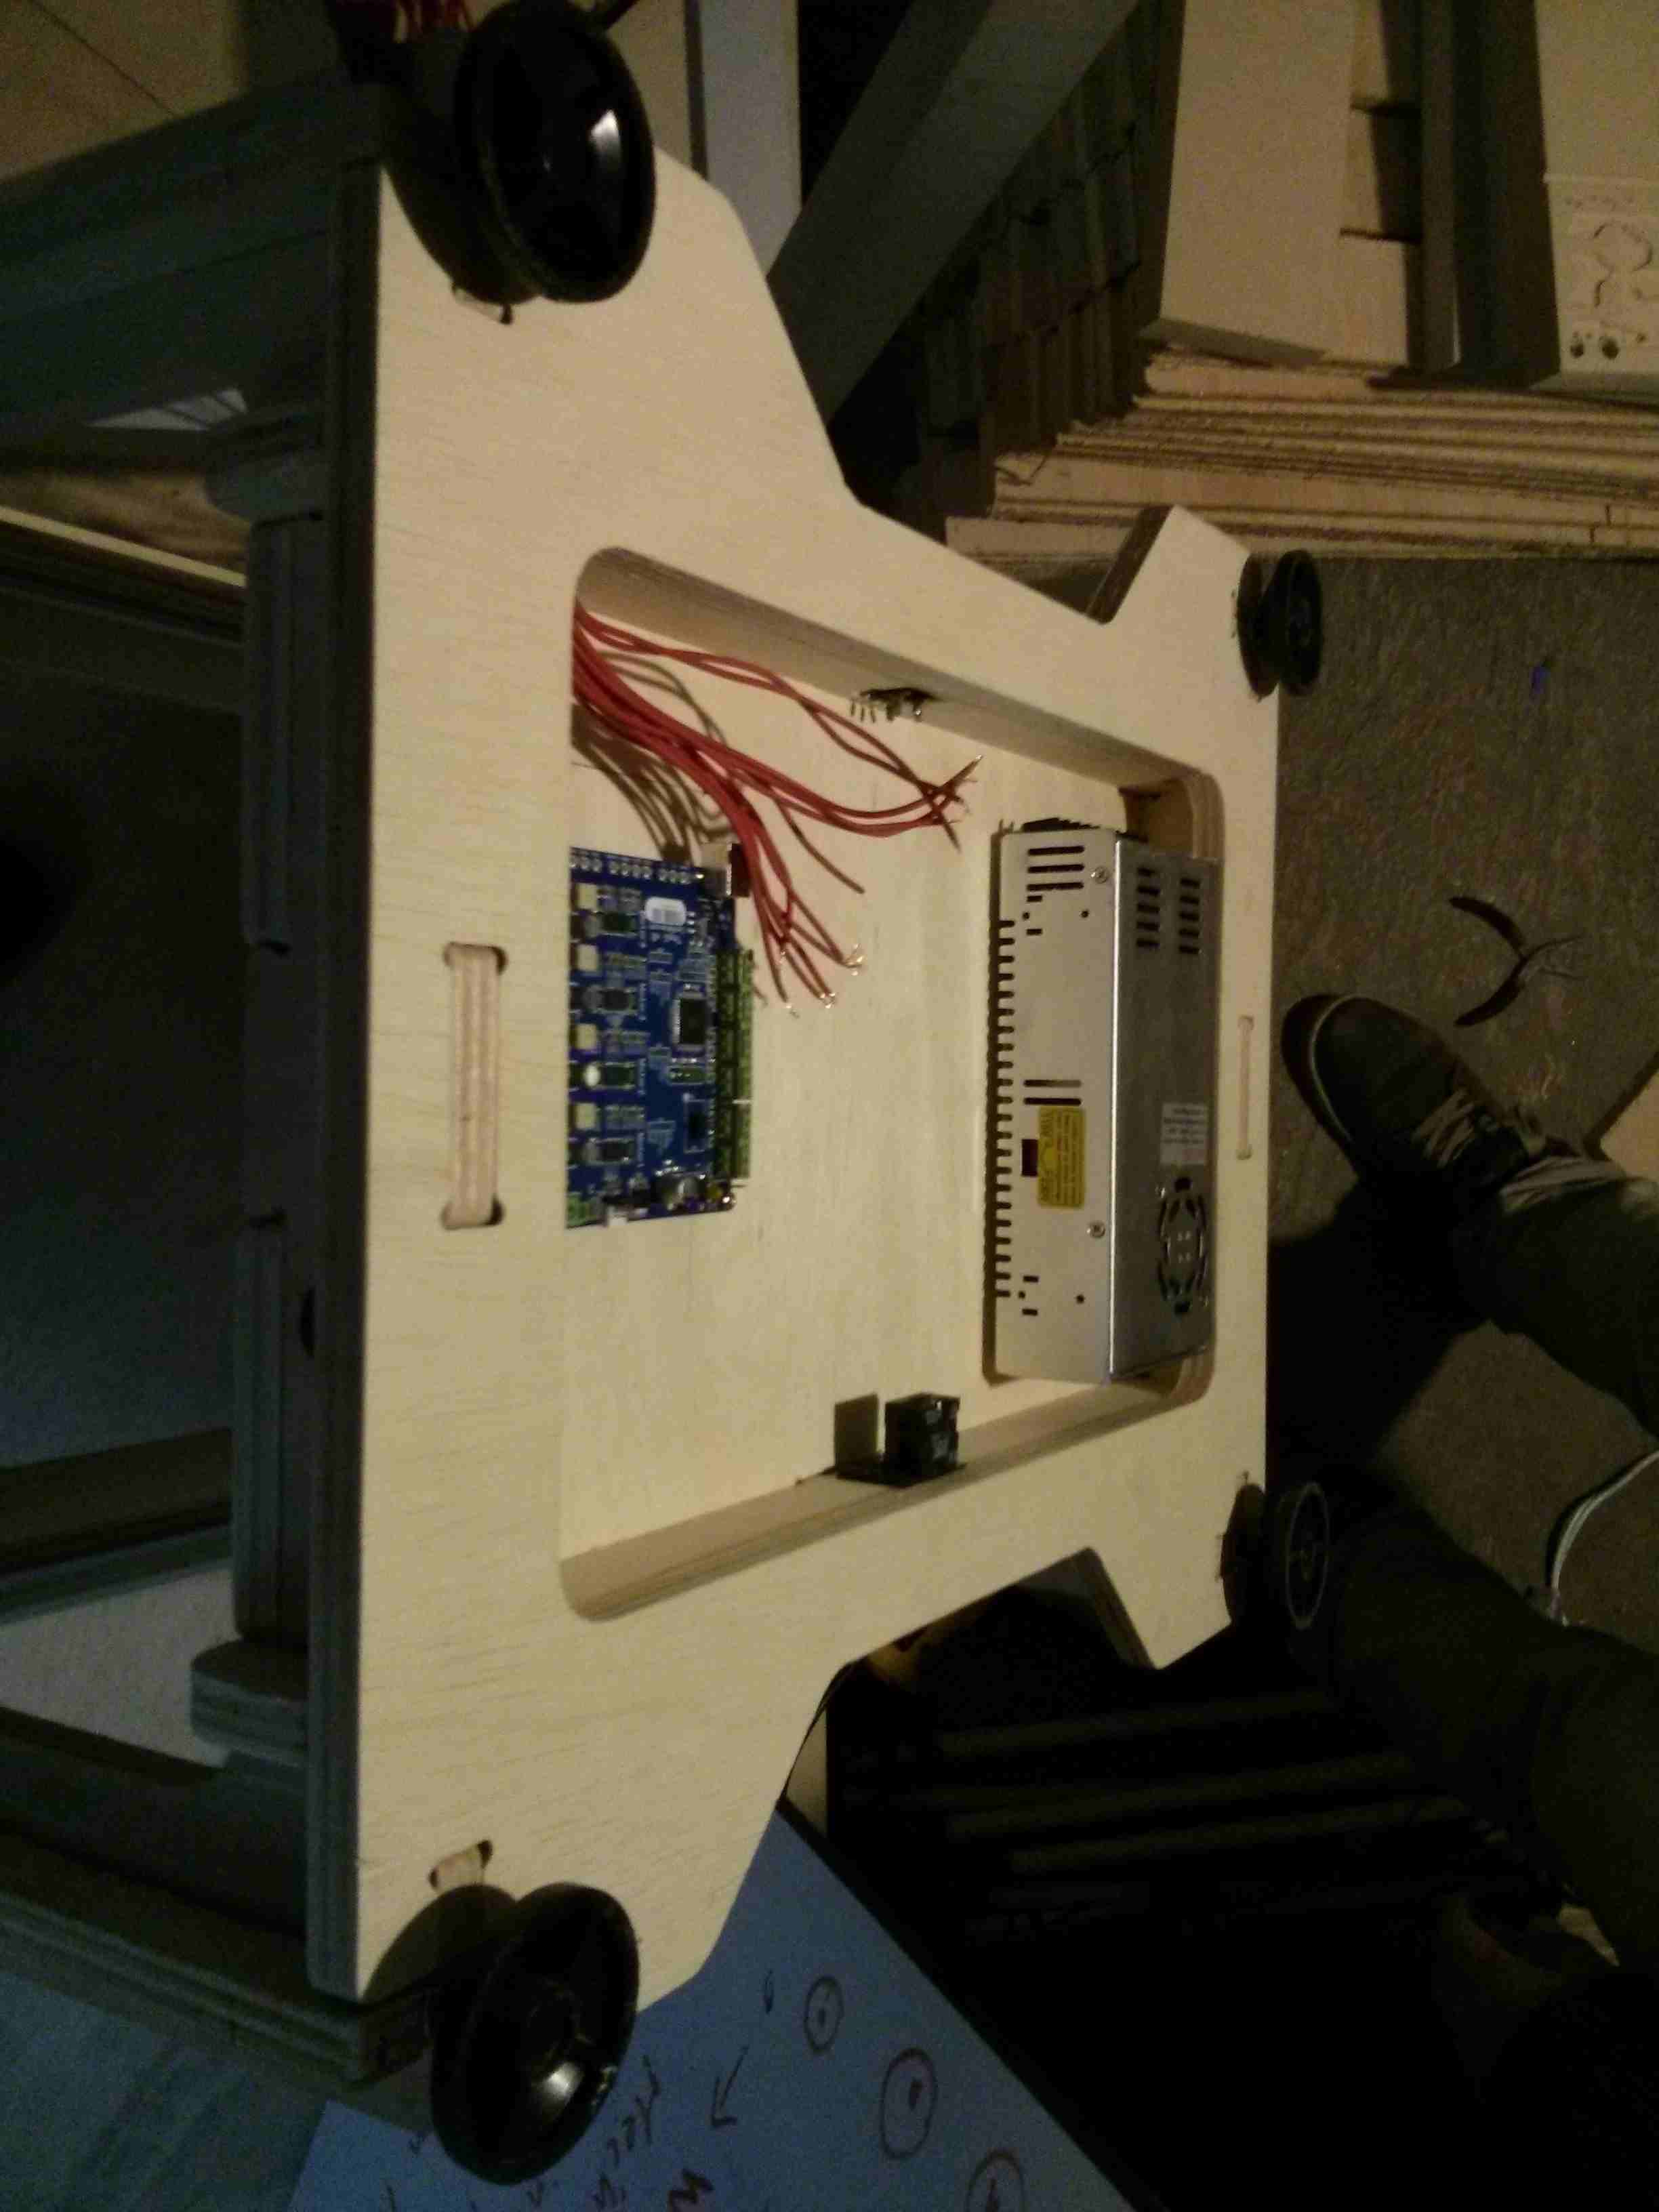
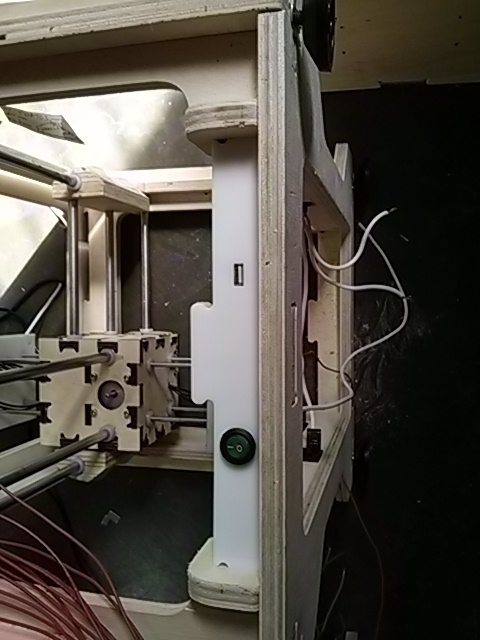
Connecting the power switch, the power connector and the power supply cables.
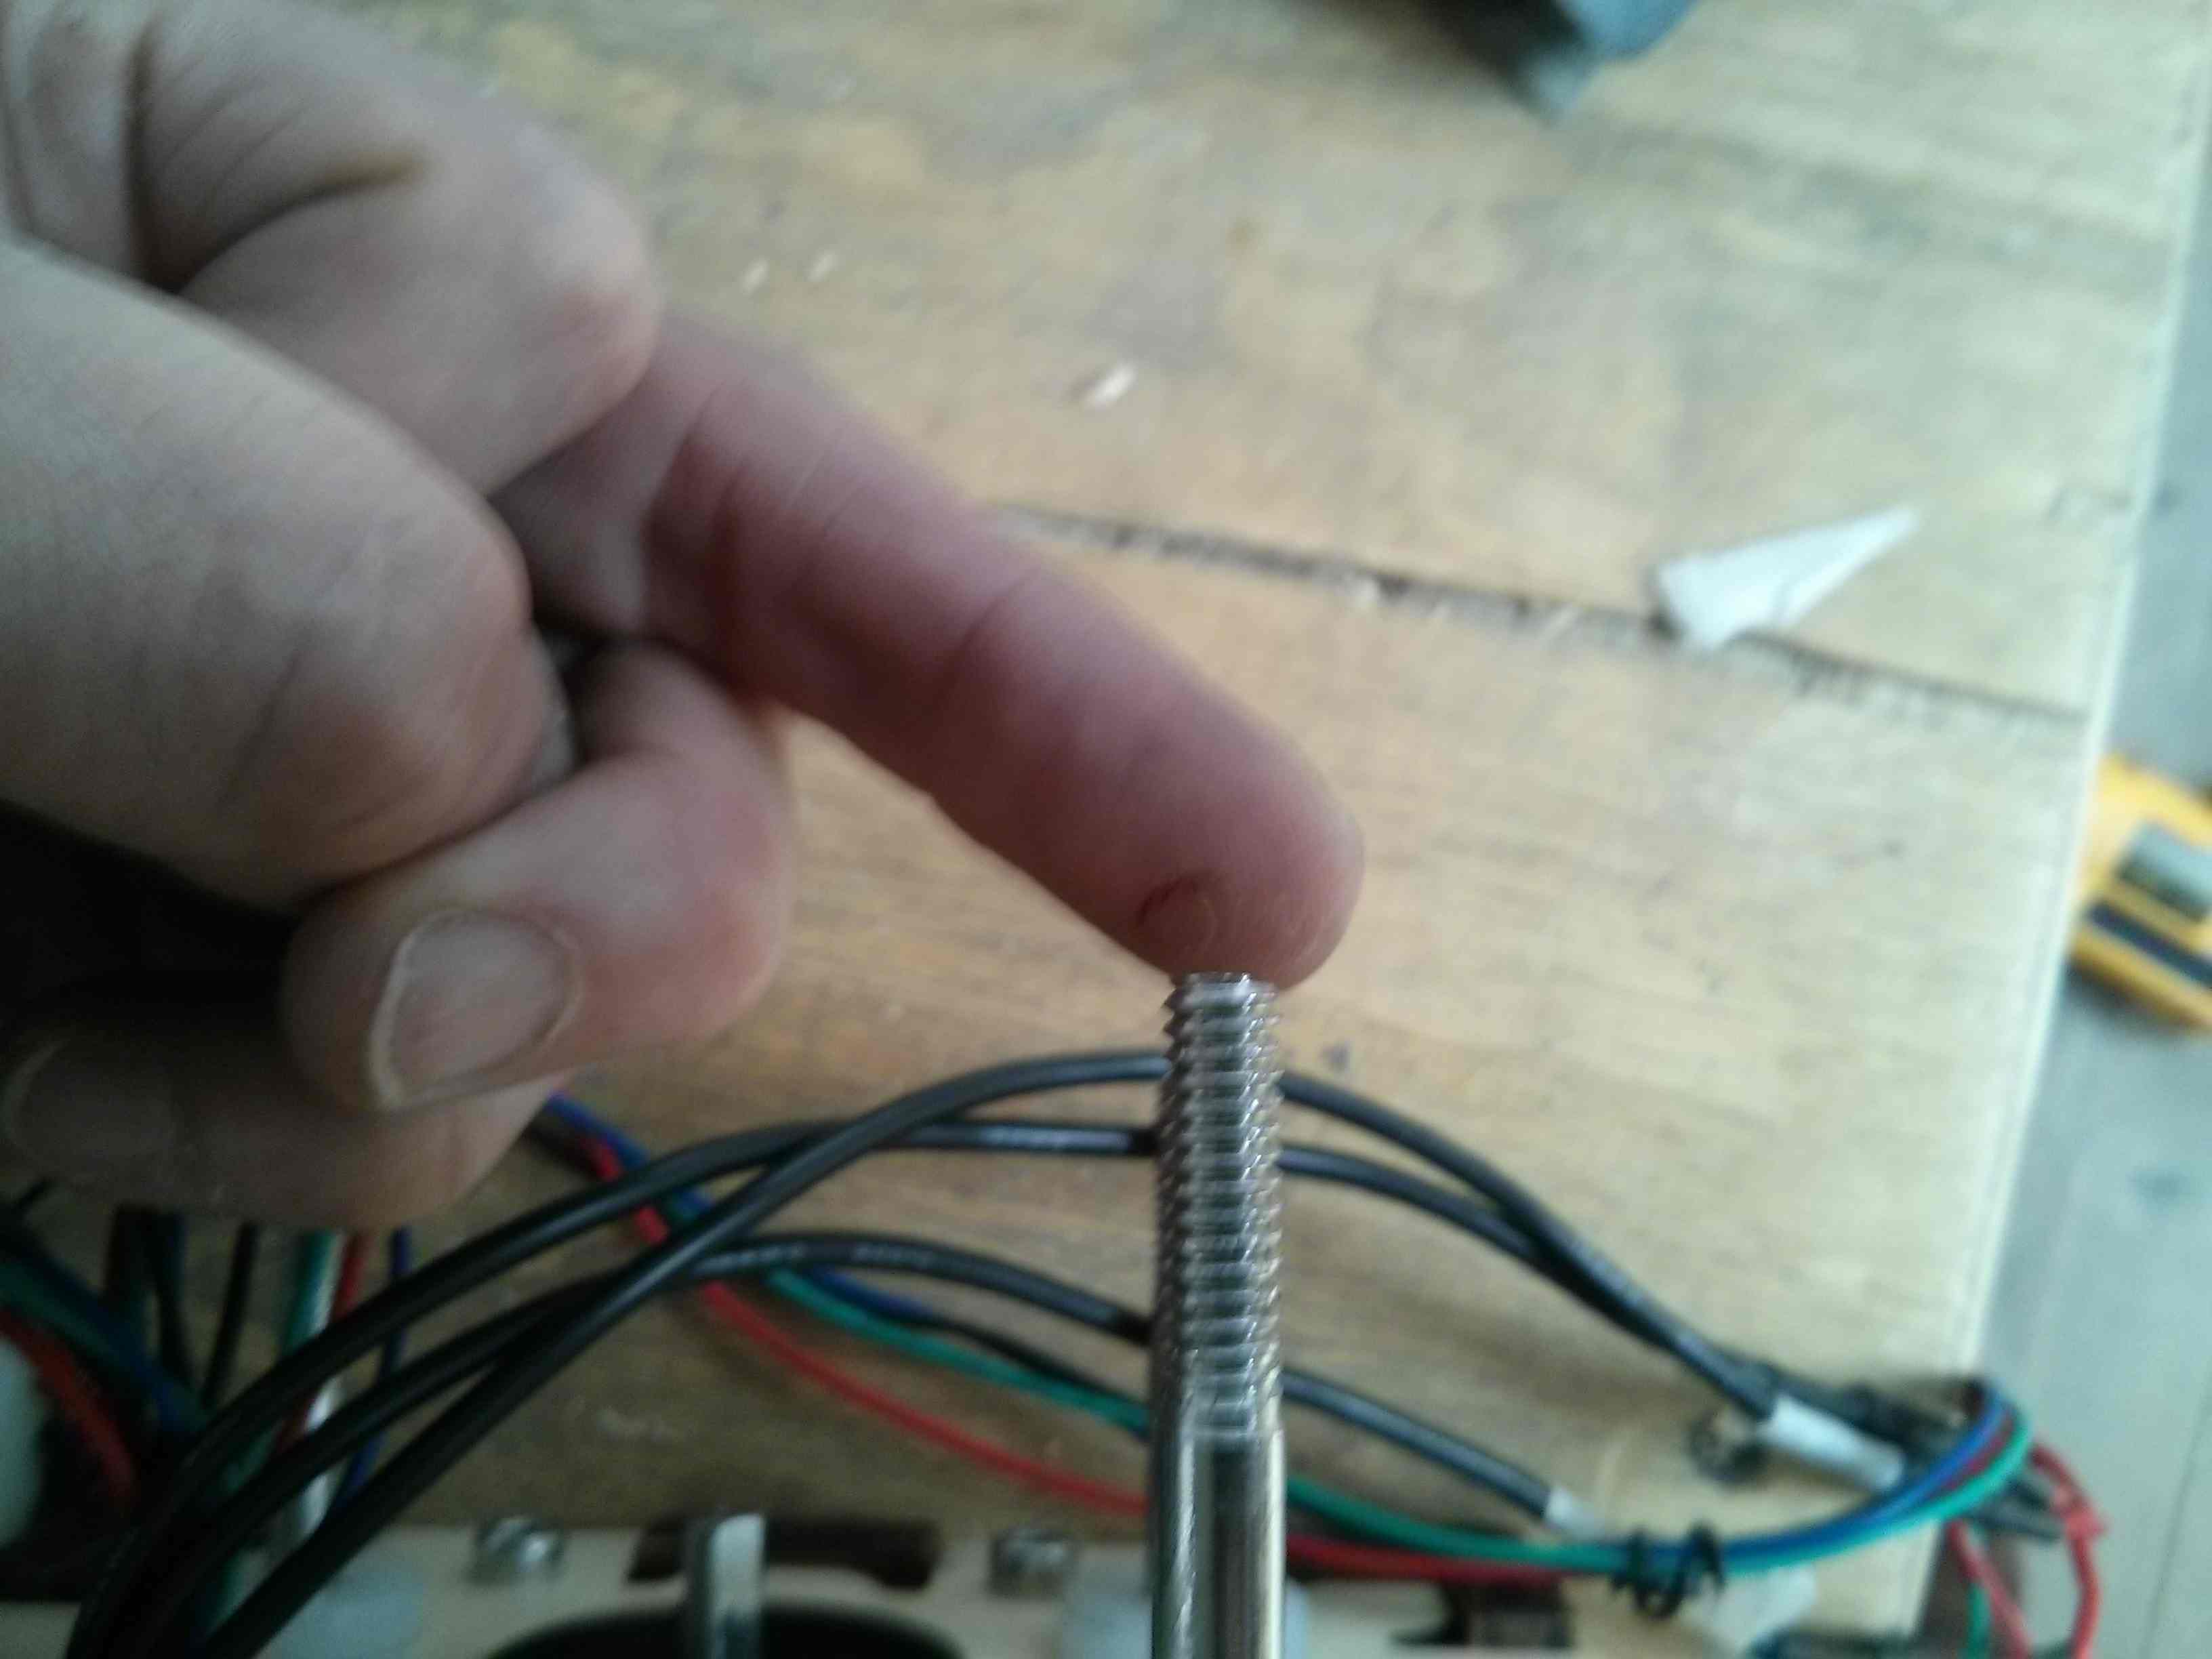
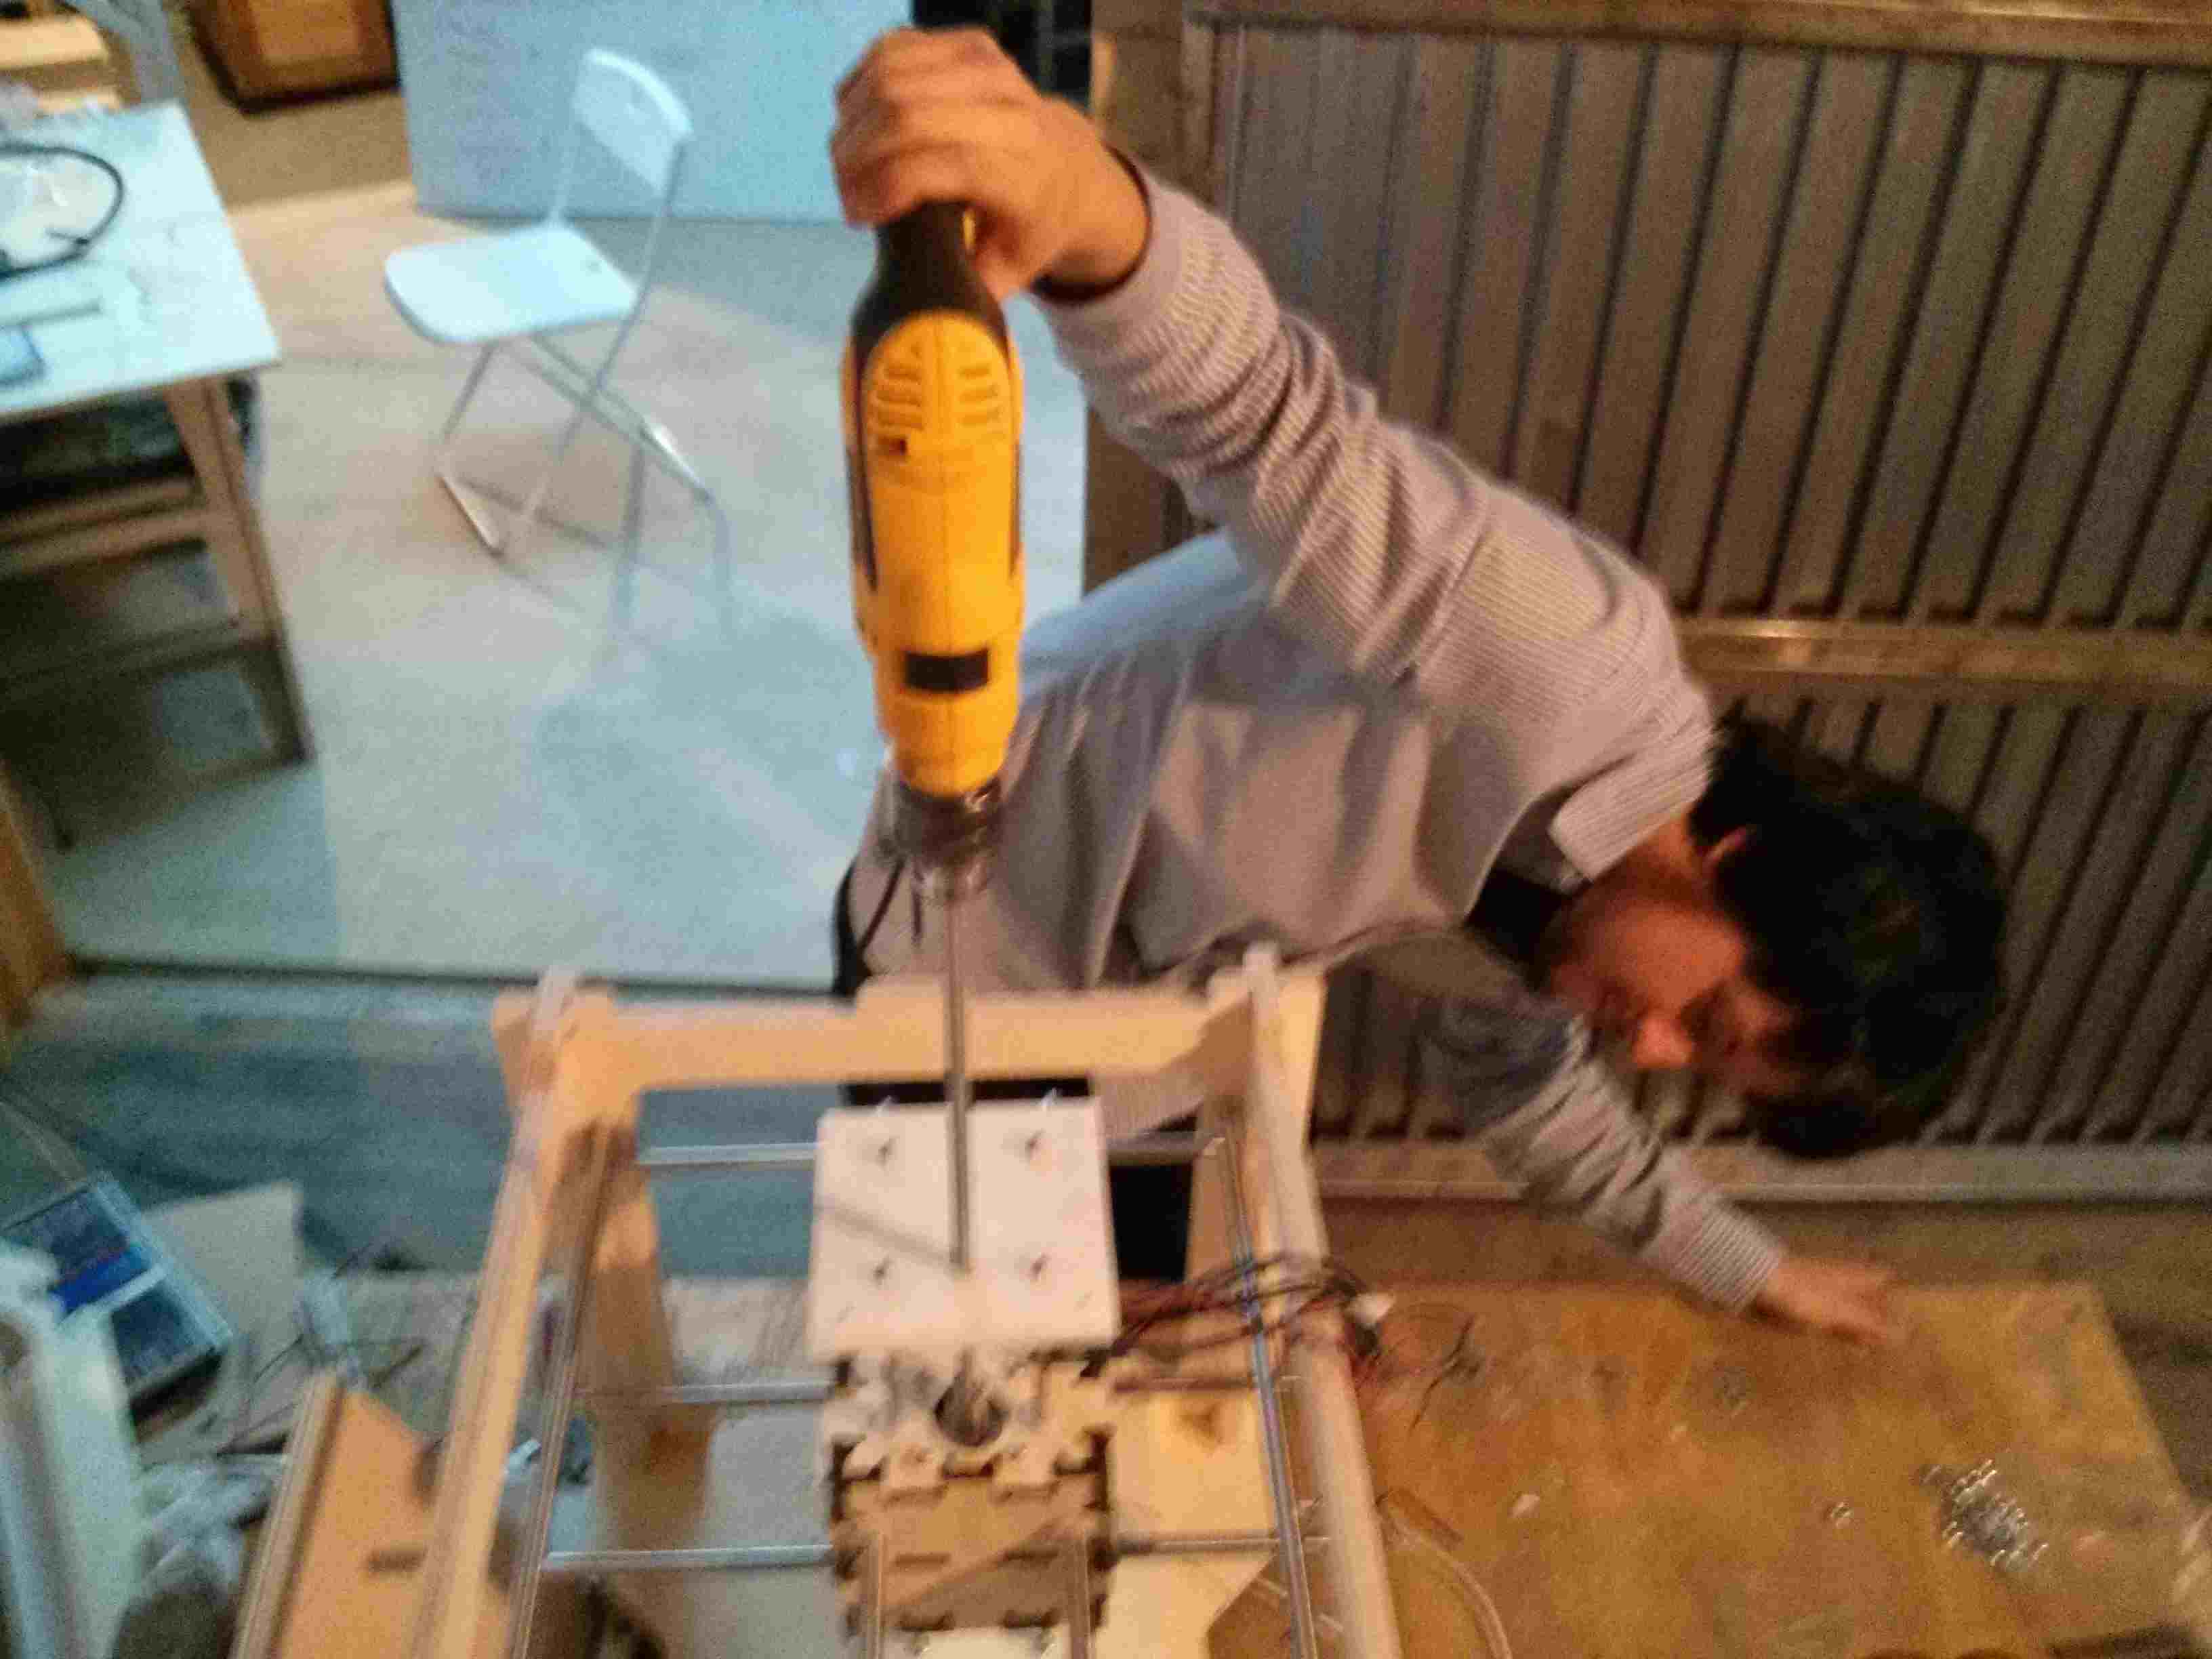
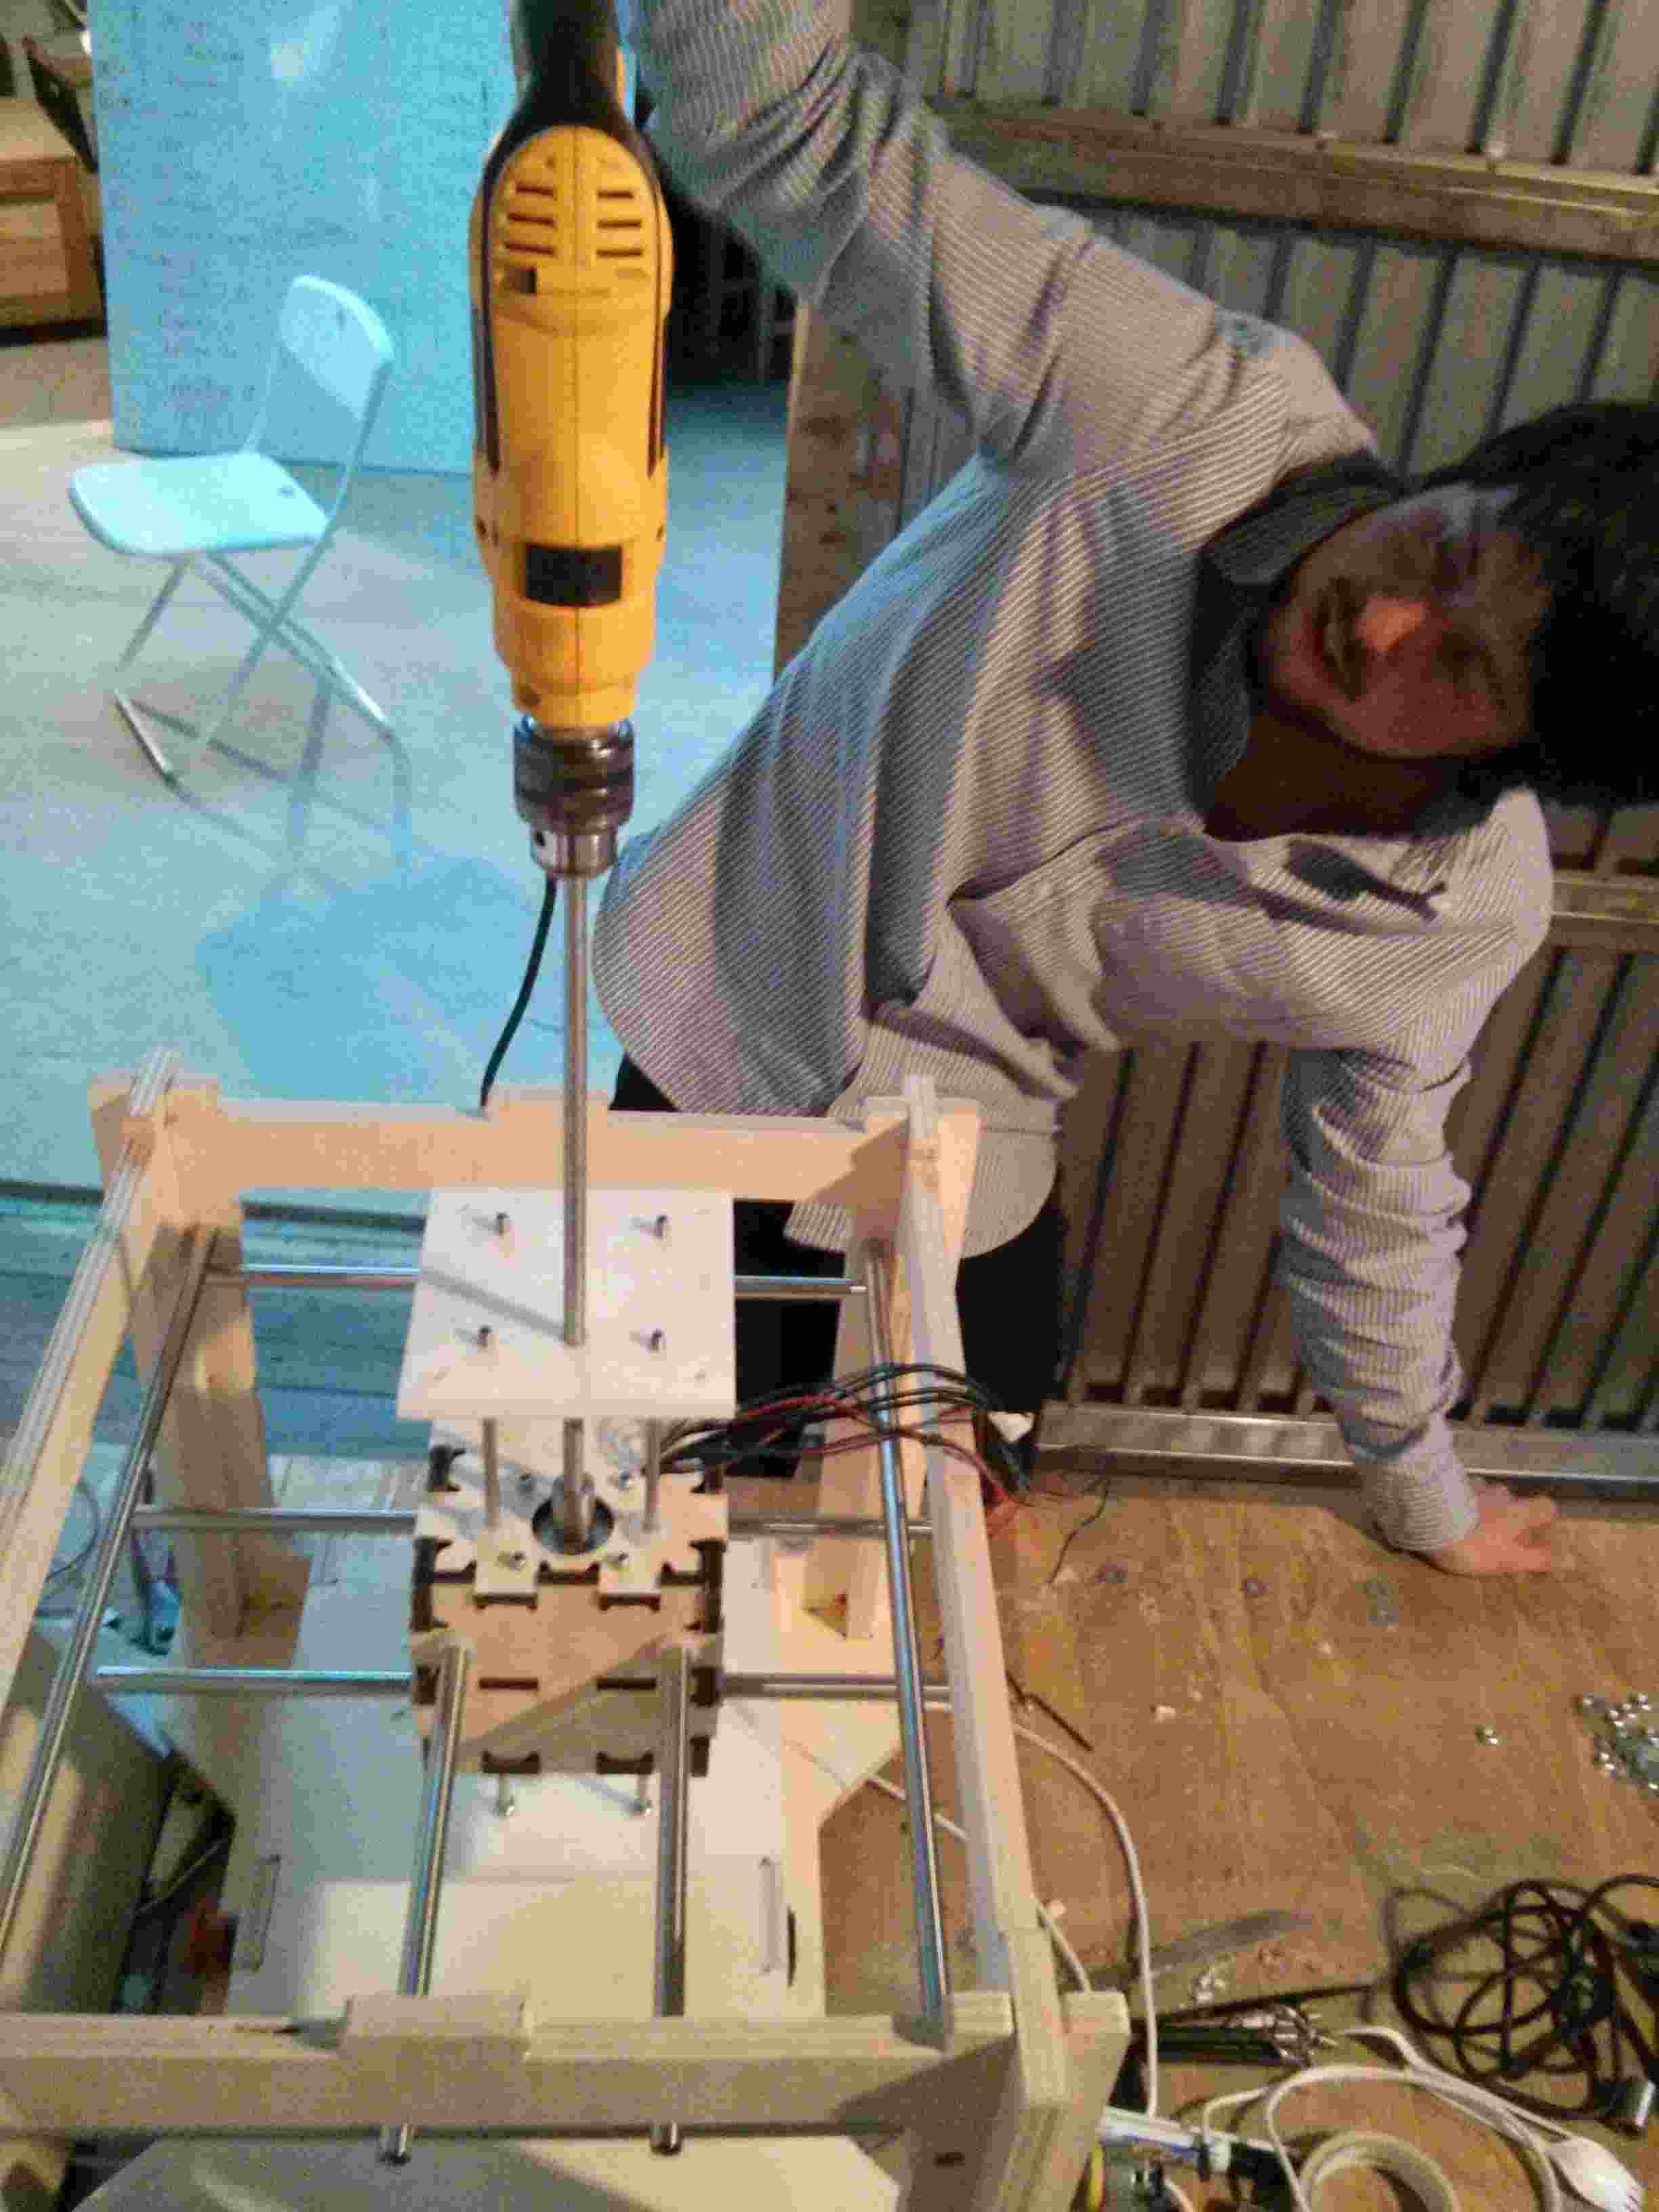
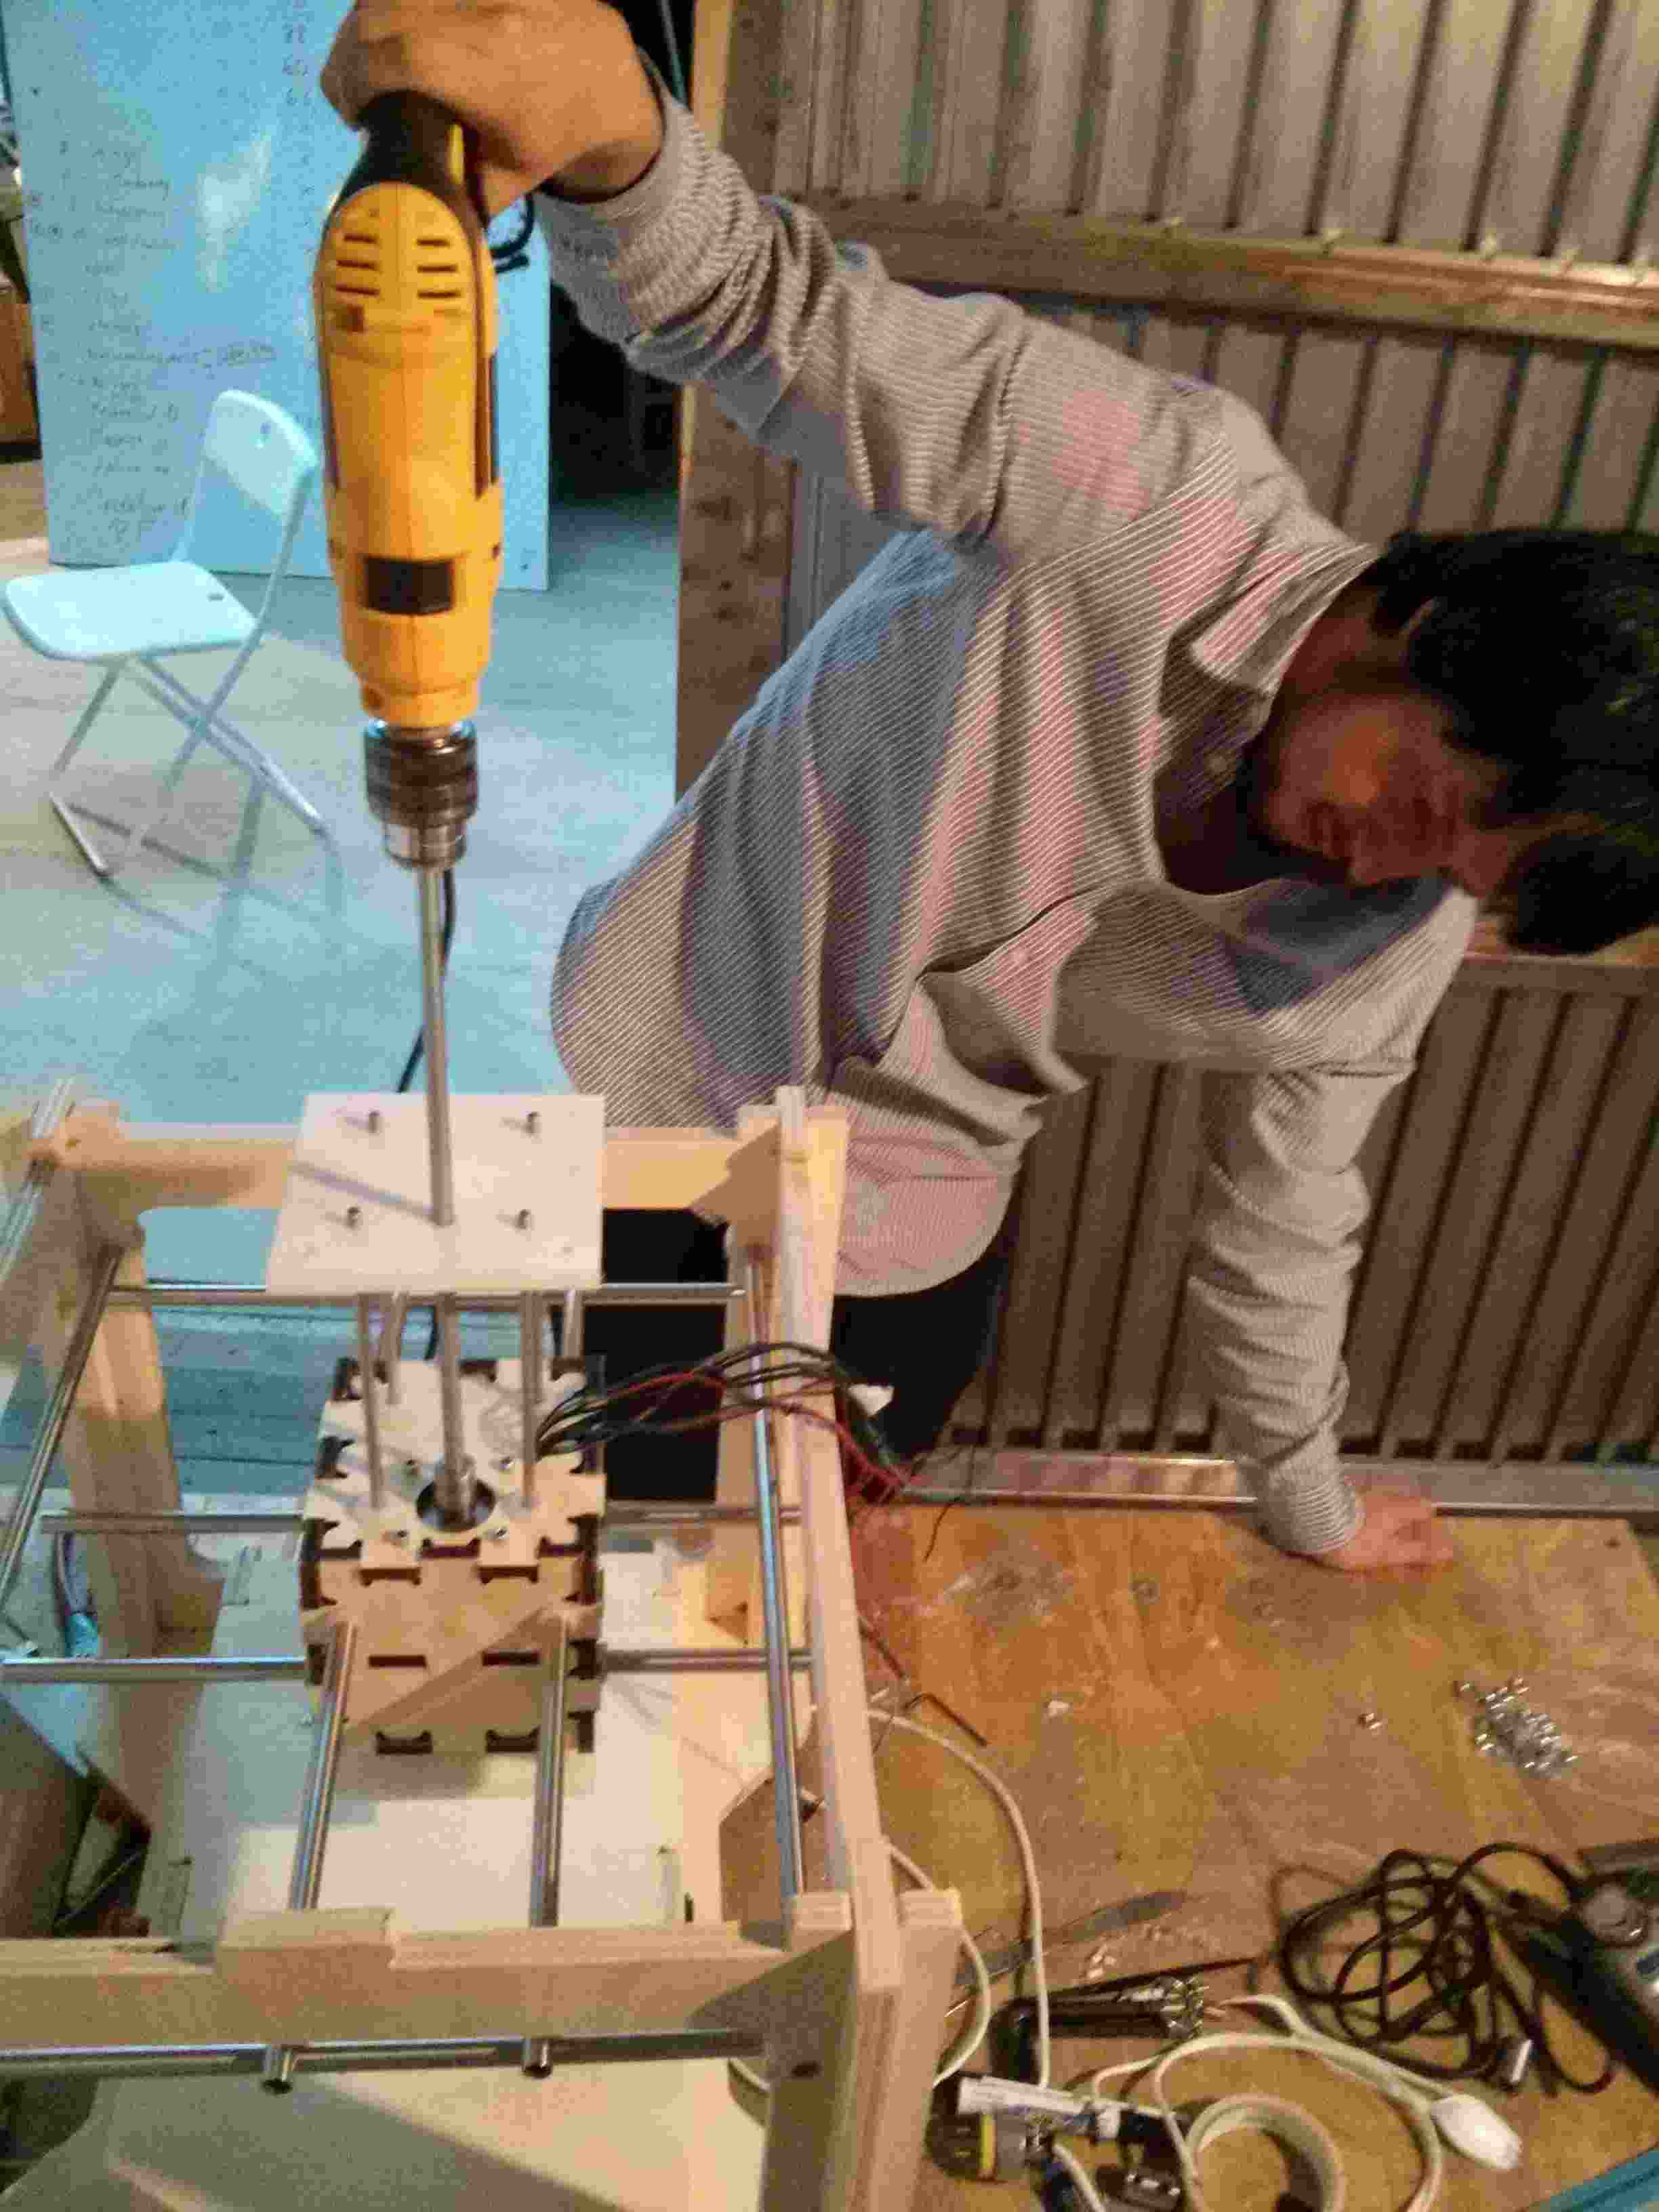
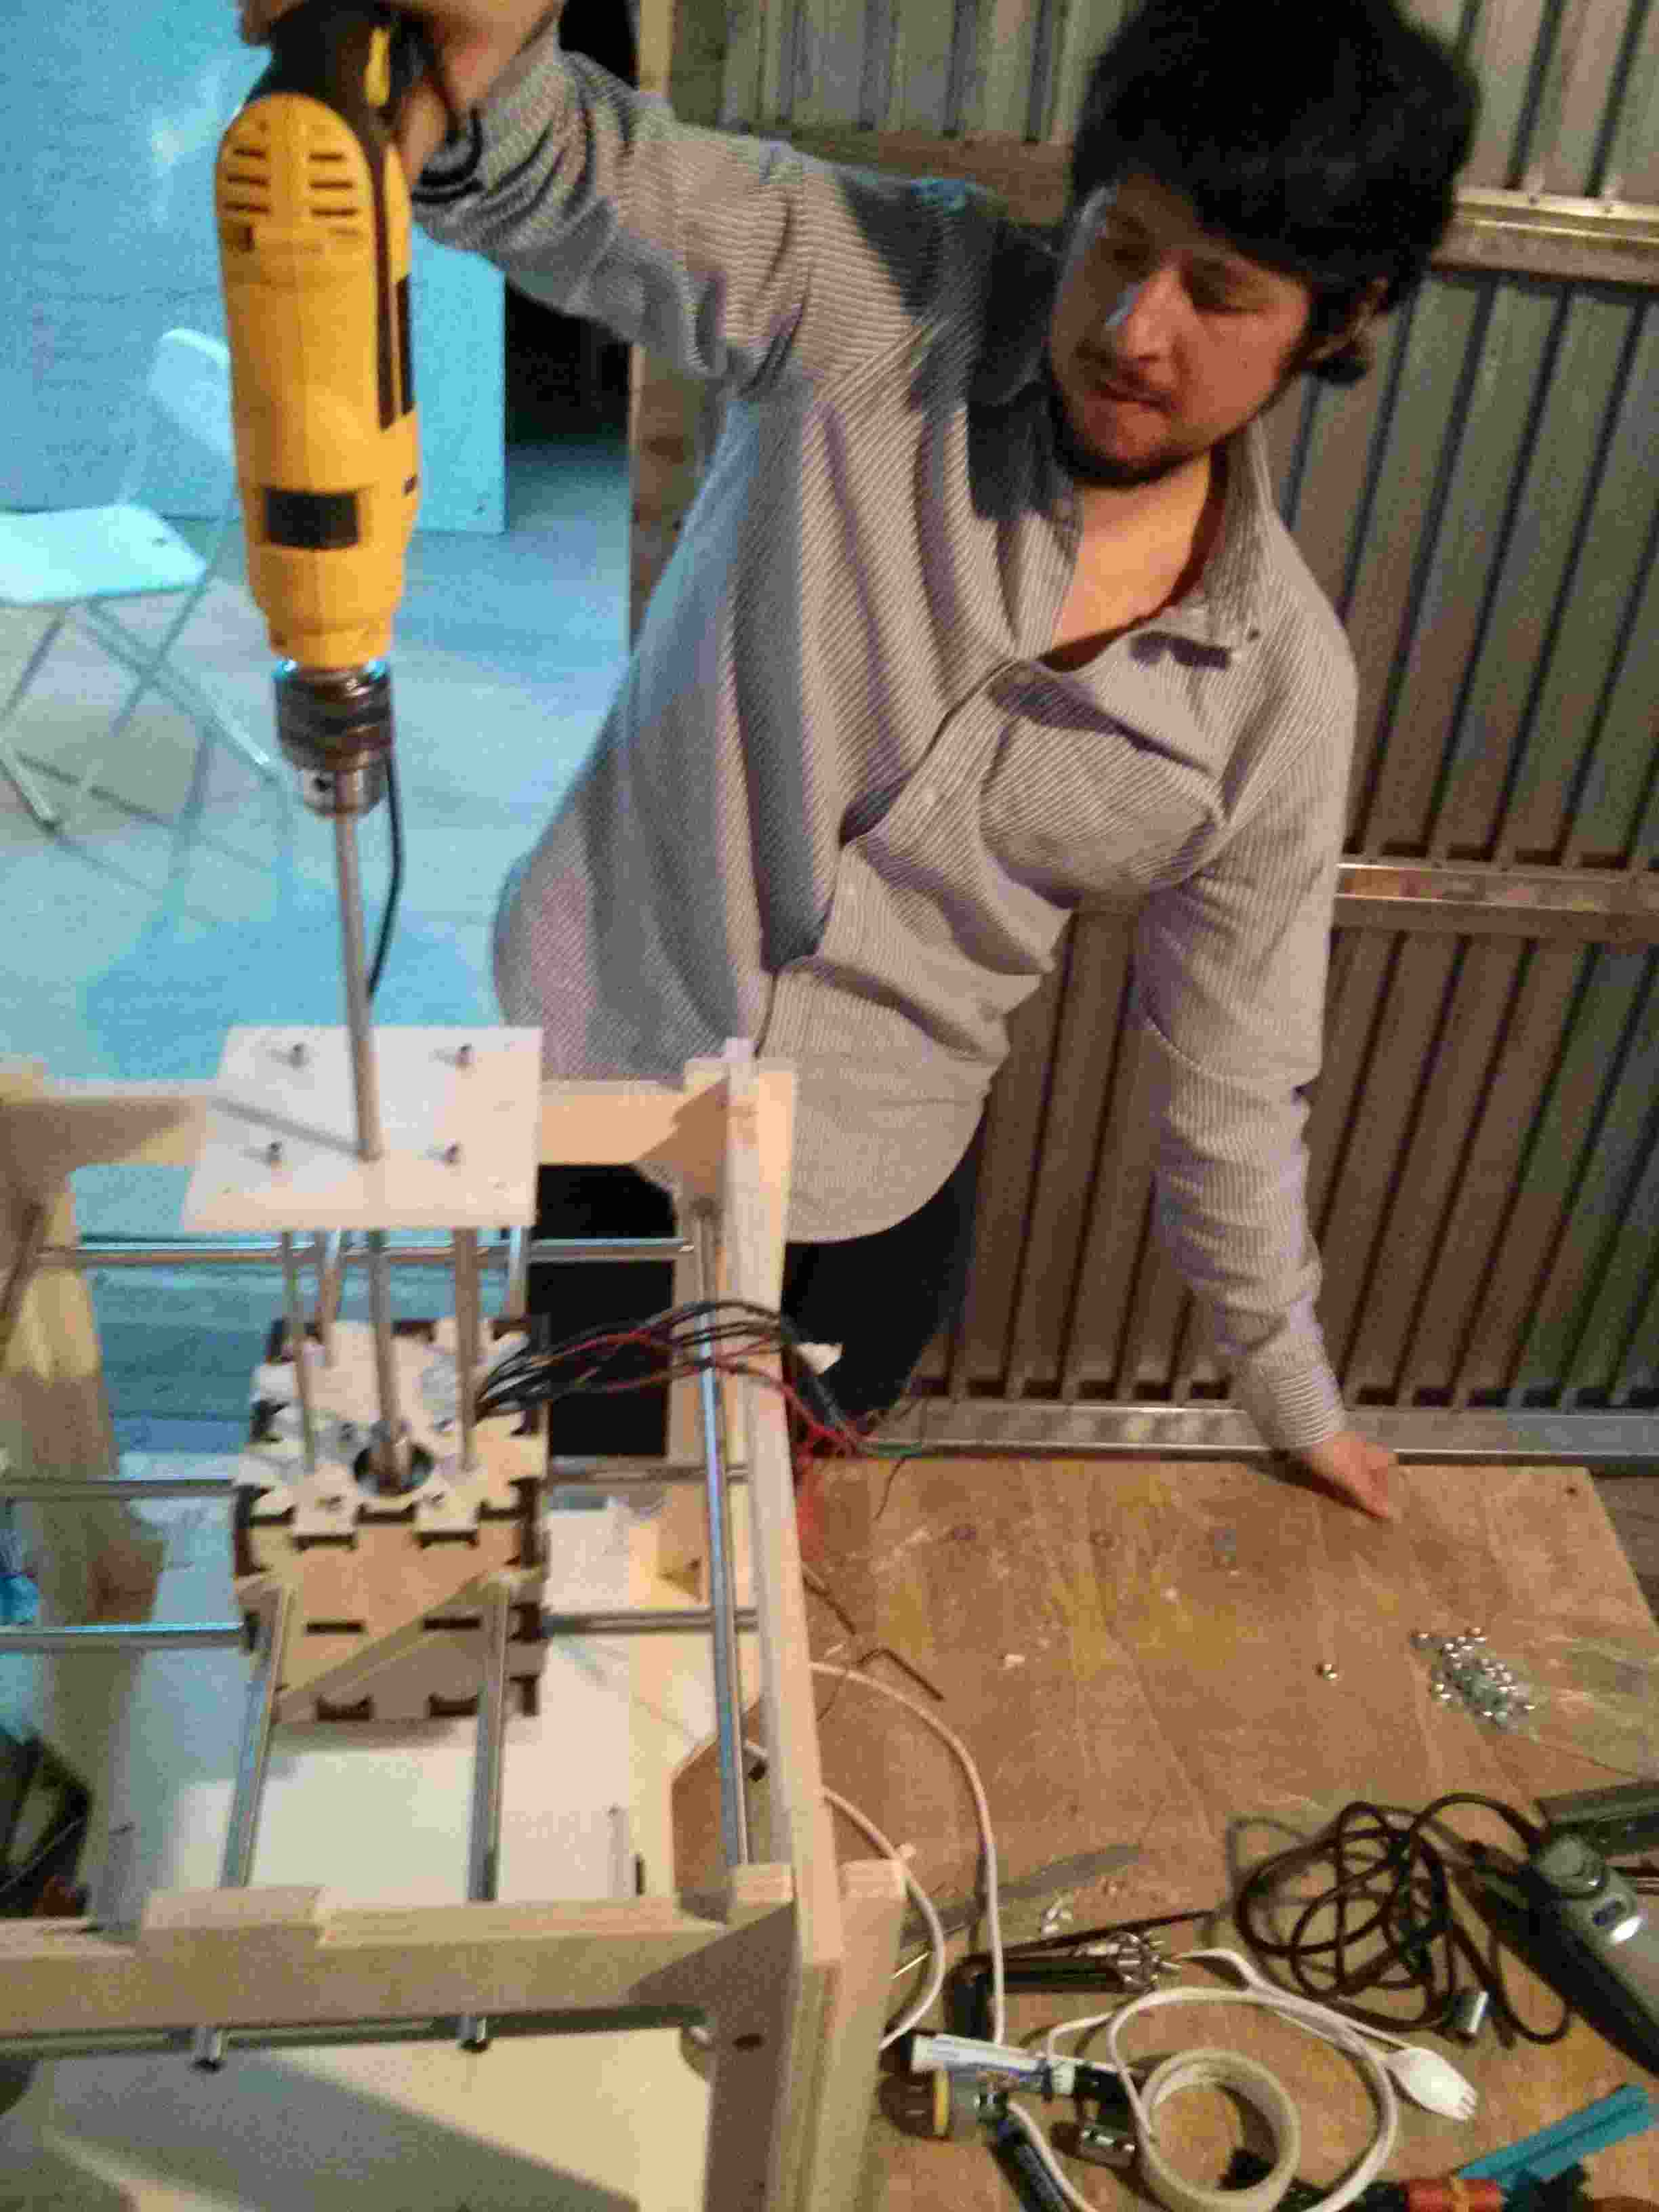
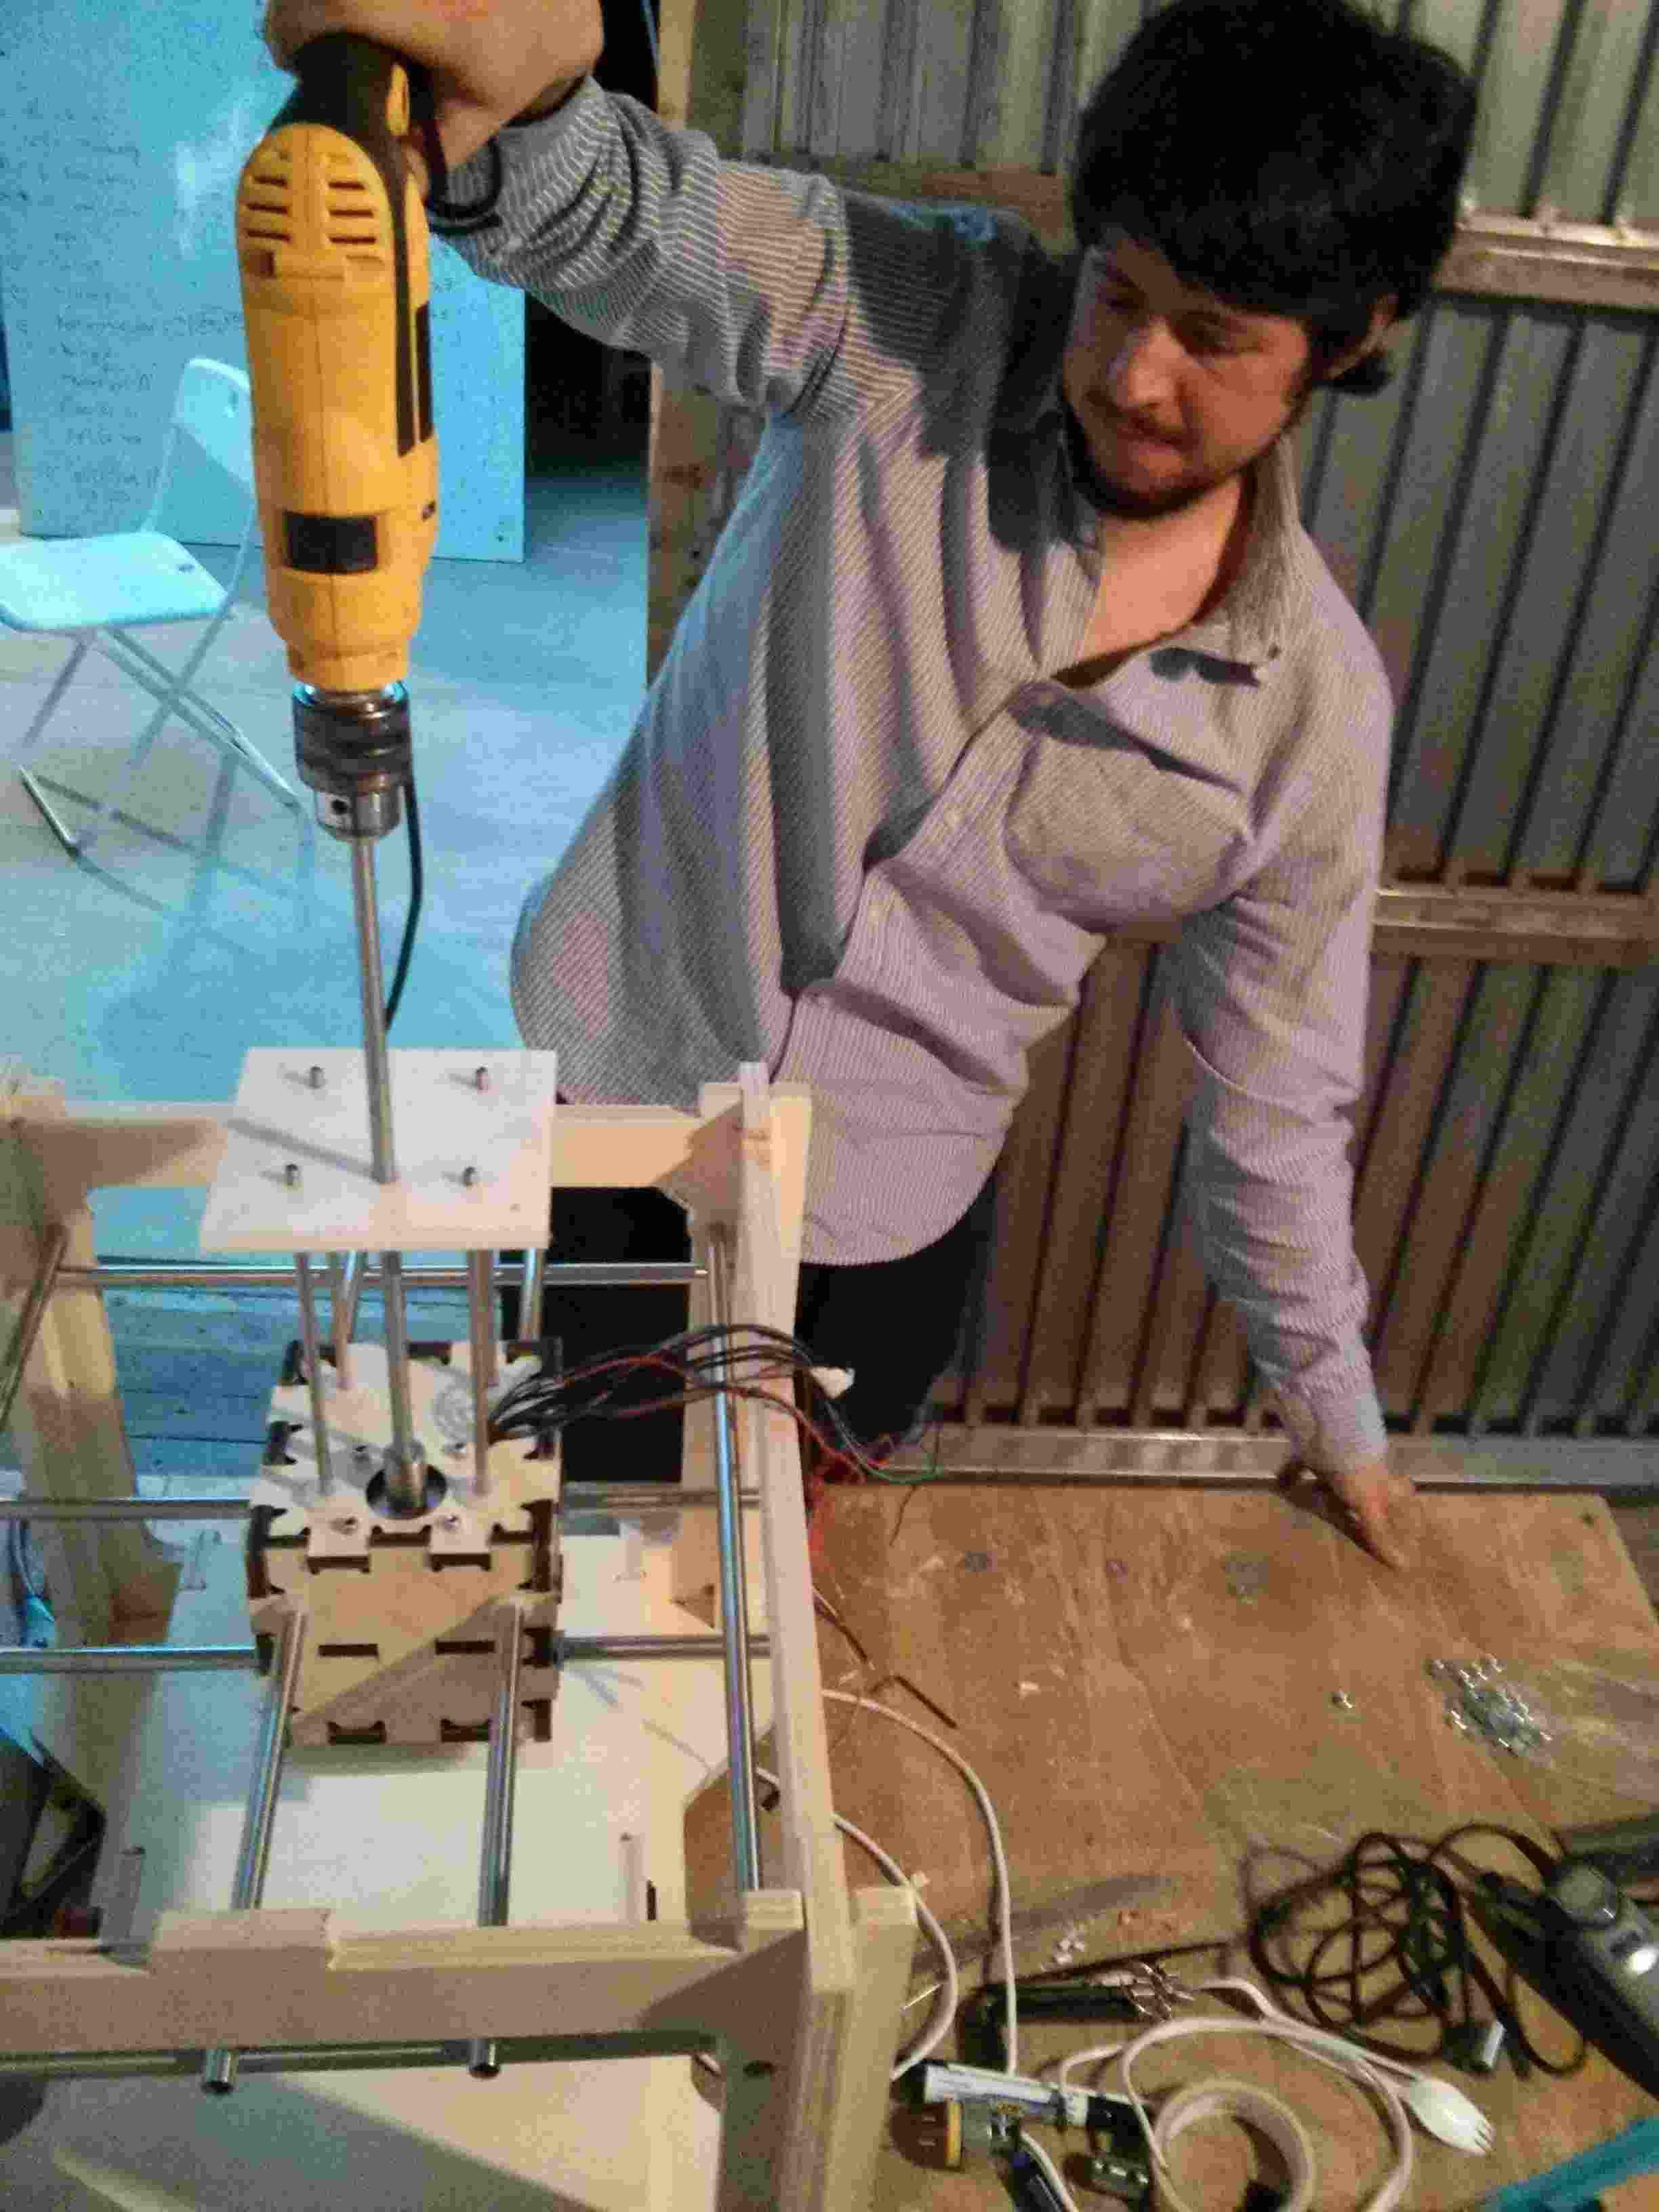
The slider rods are too stiff for the centerpiece to move the spindle mounting board. So I try to smooth them by connecting a drill to a rod and rotating at high speed. Nanosanding!
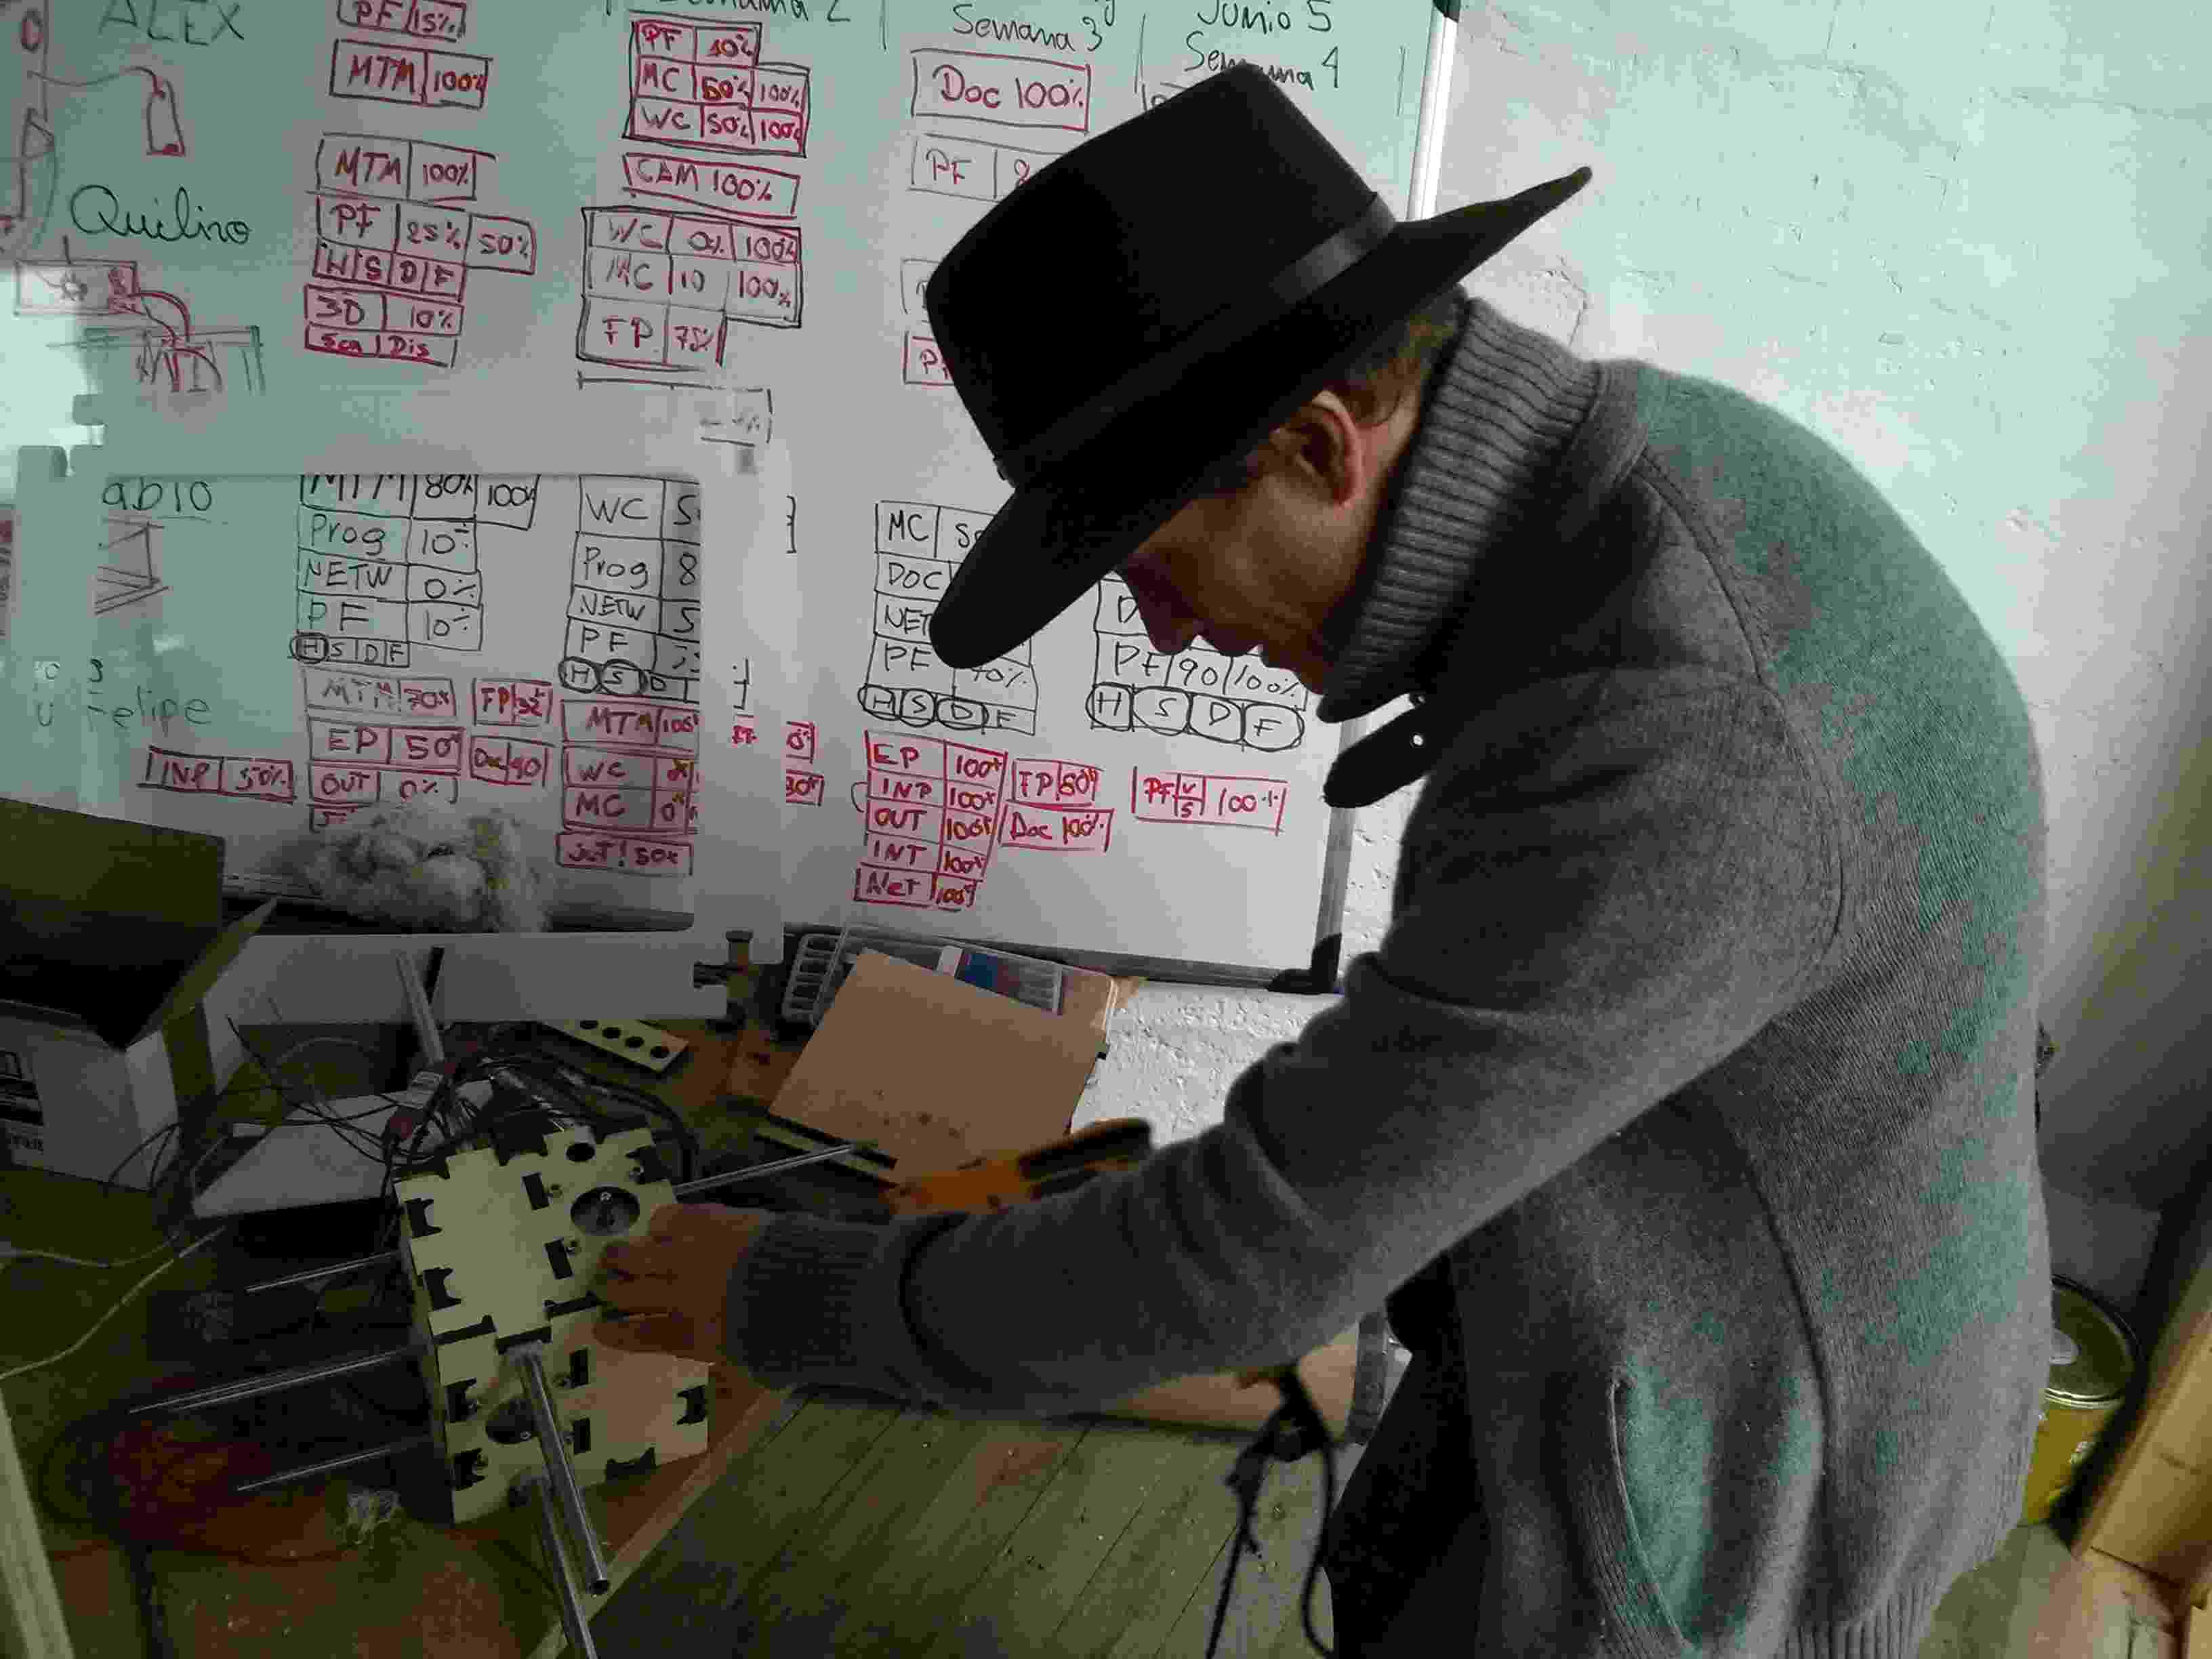
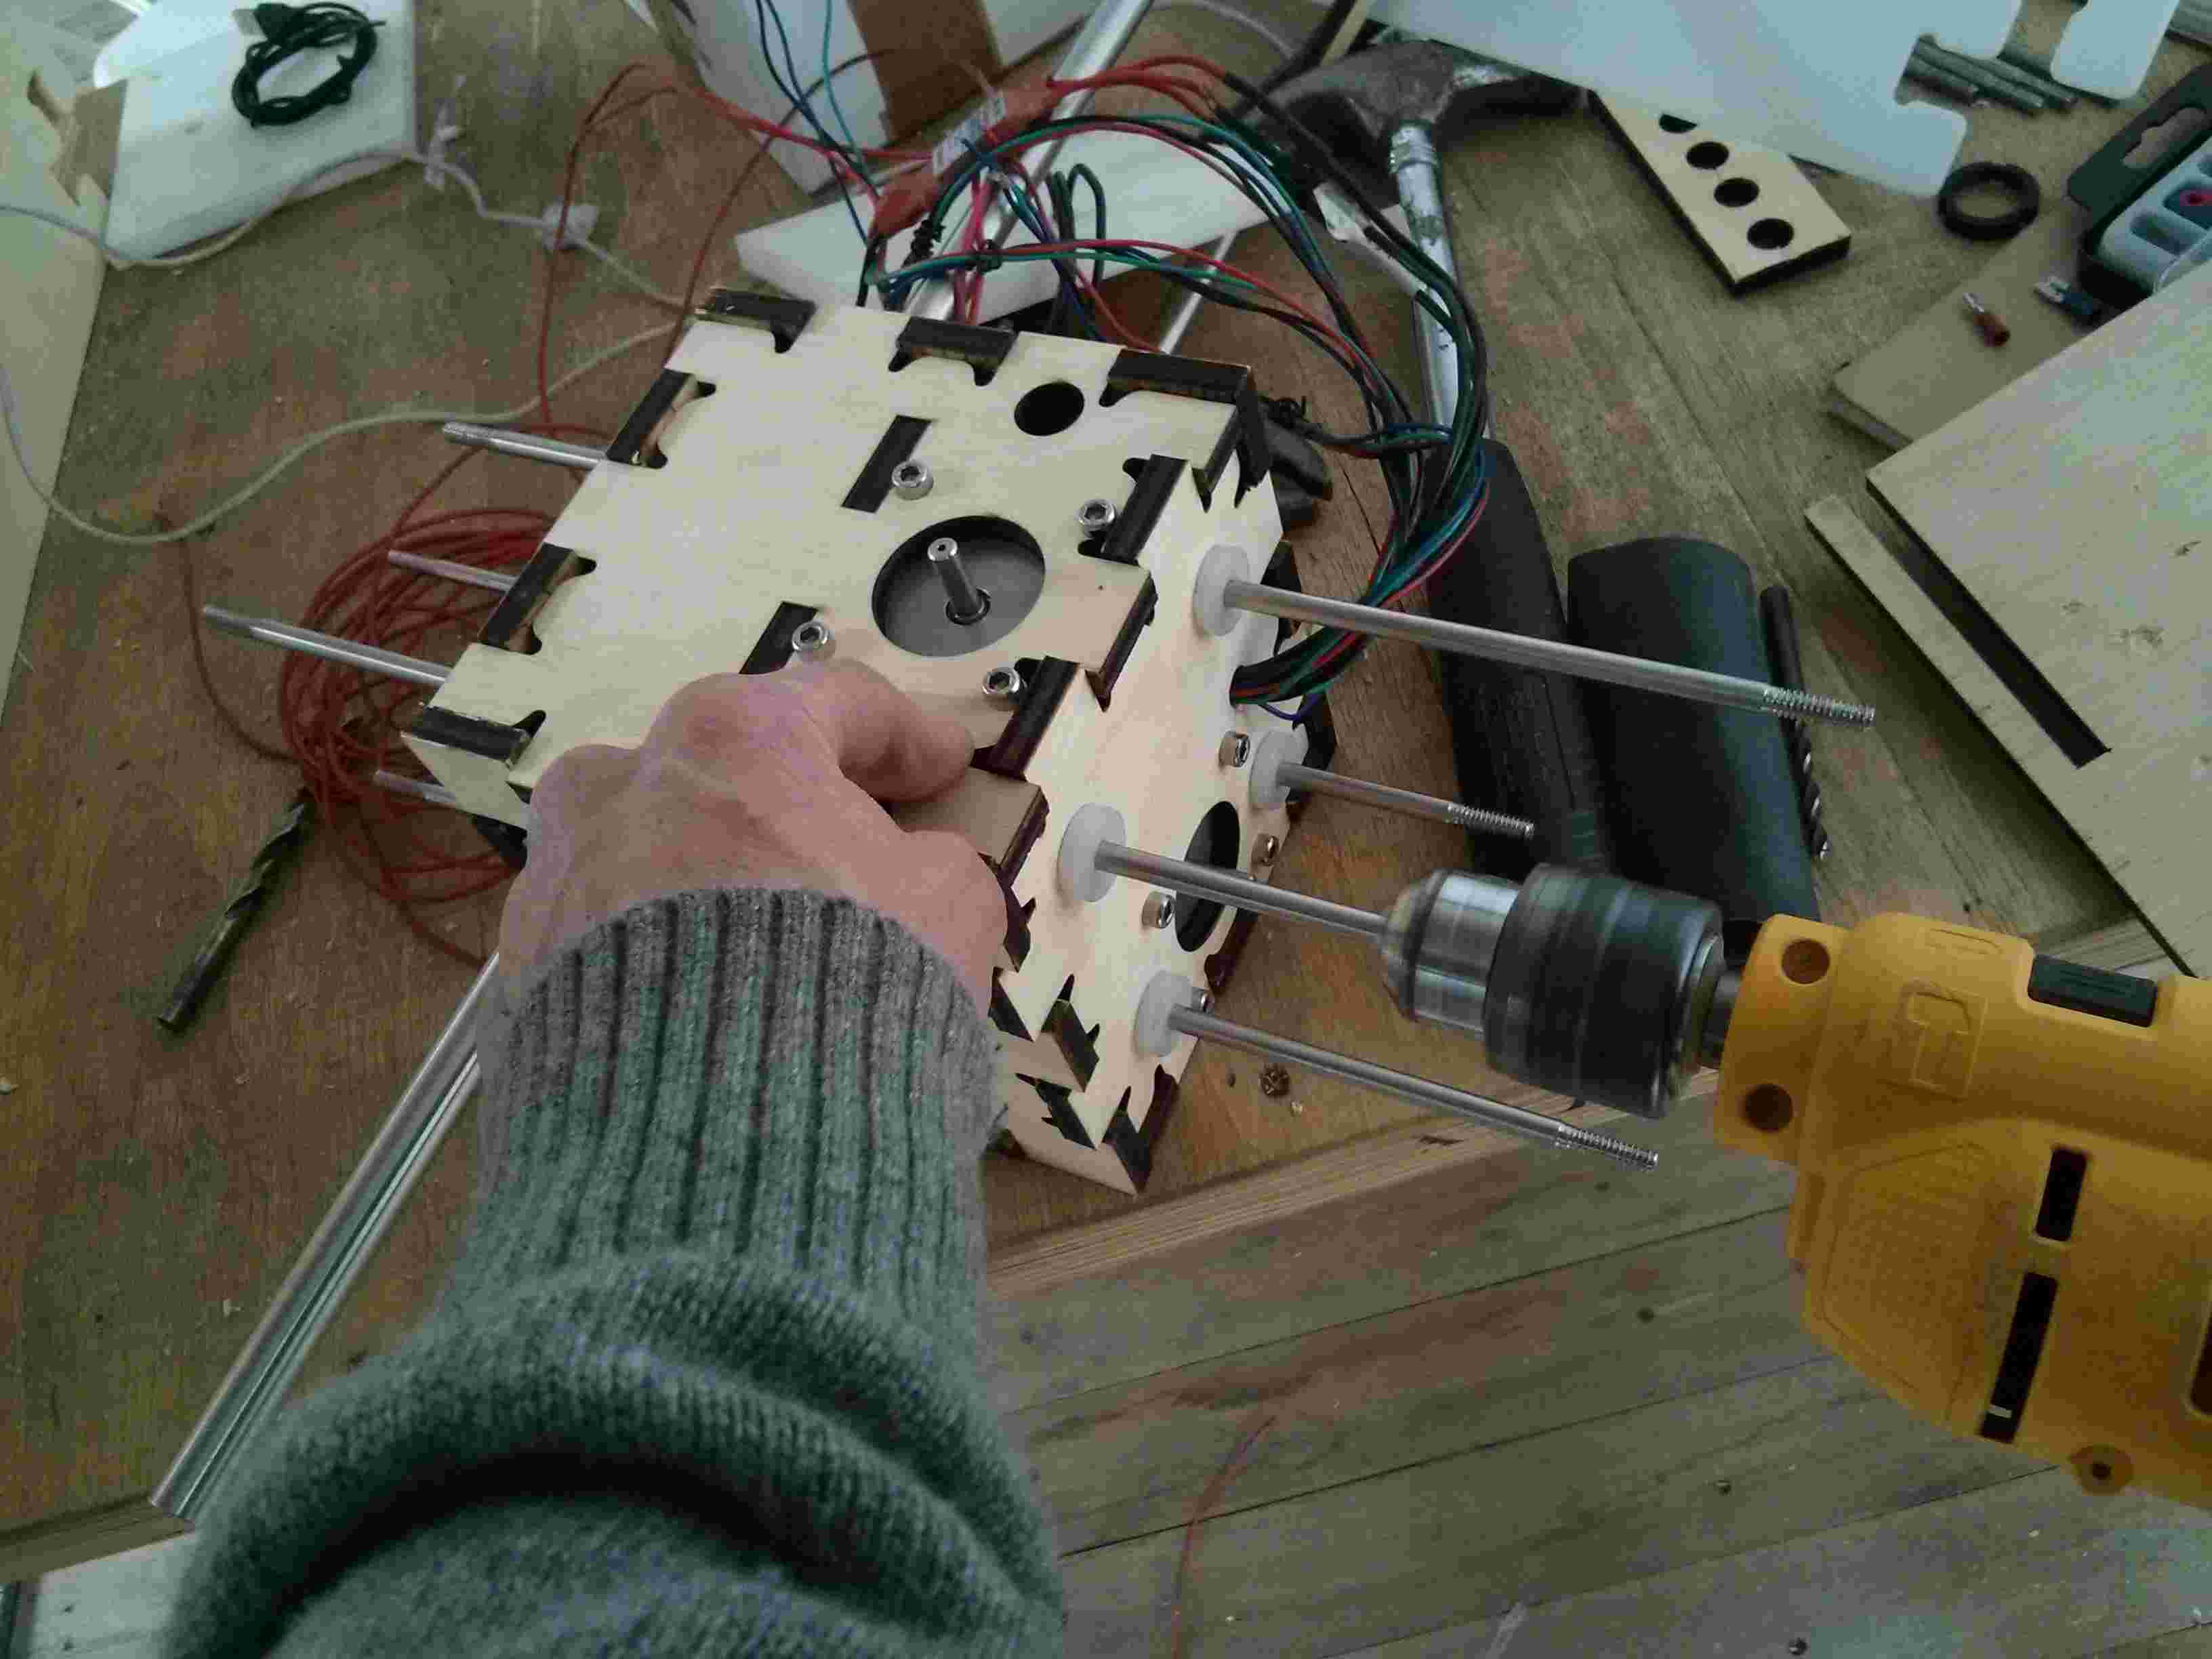

It is dangerous to use a drill and touch what is attached to it.
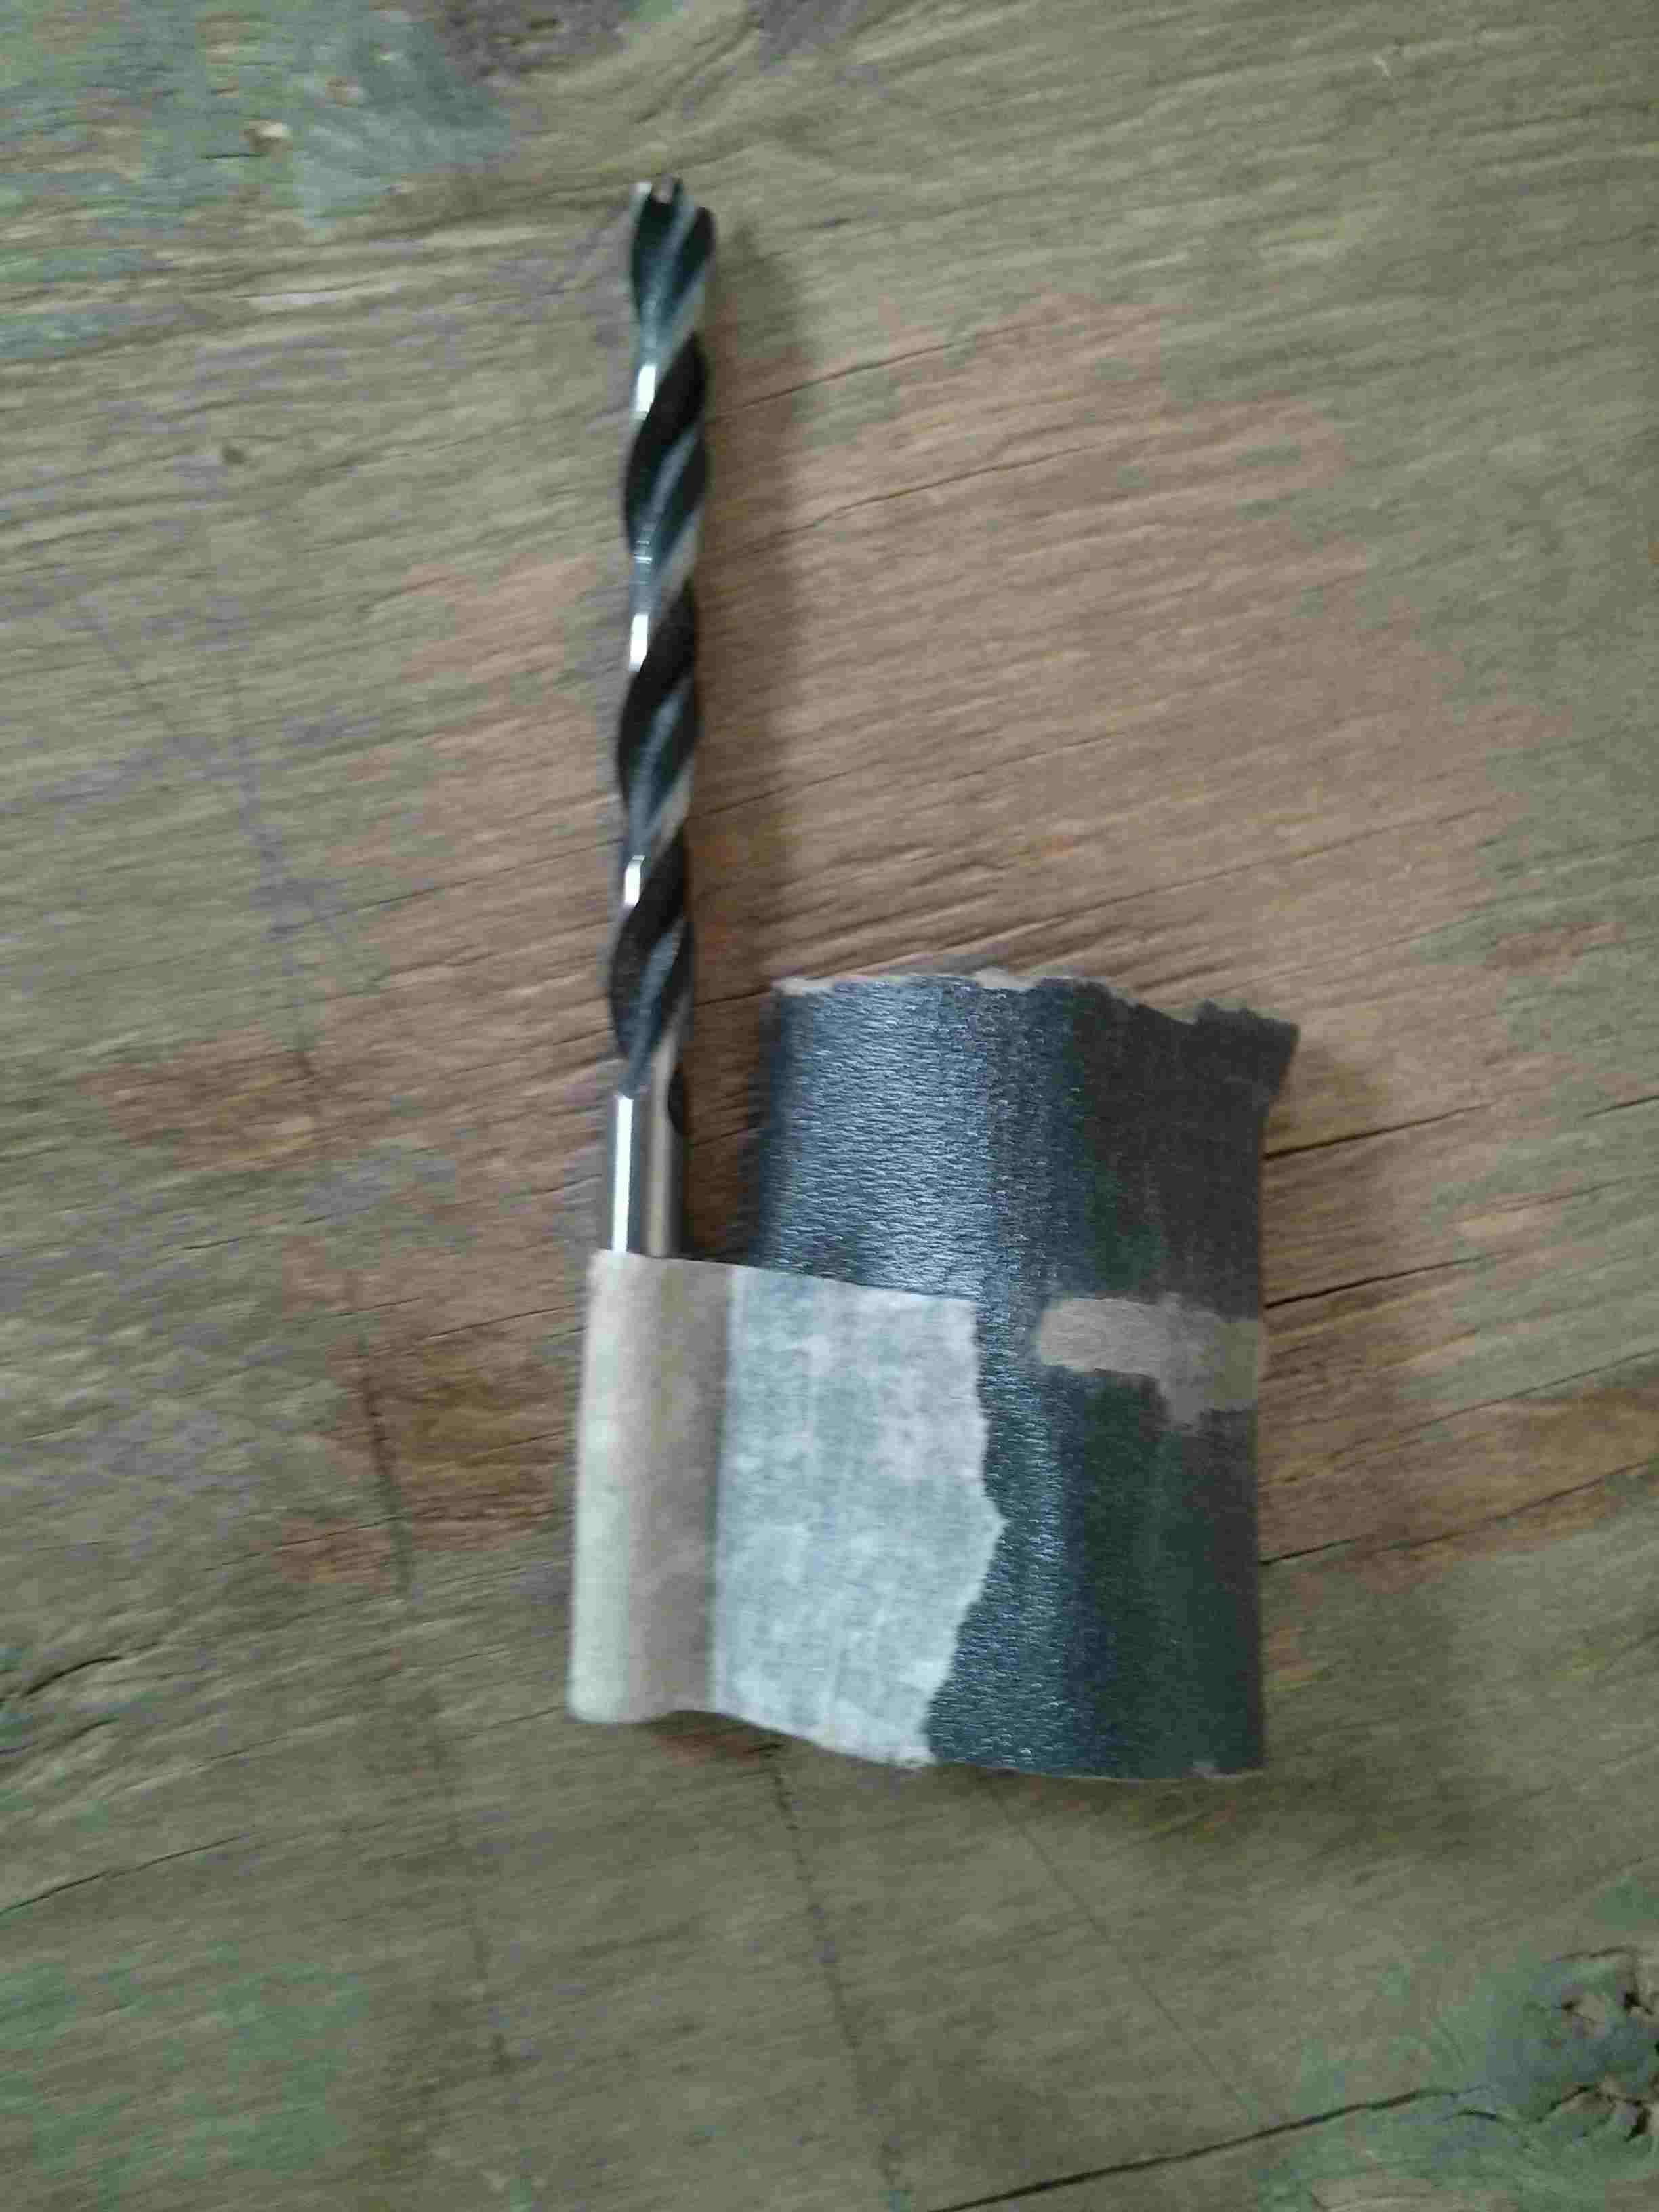
Nanosanding proves useless and dangerous. I mount sanding paper over a drill bit. (Still dangerous.)
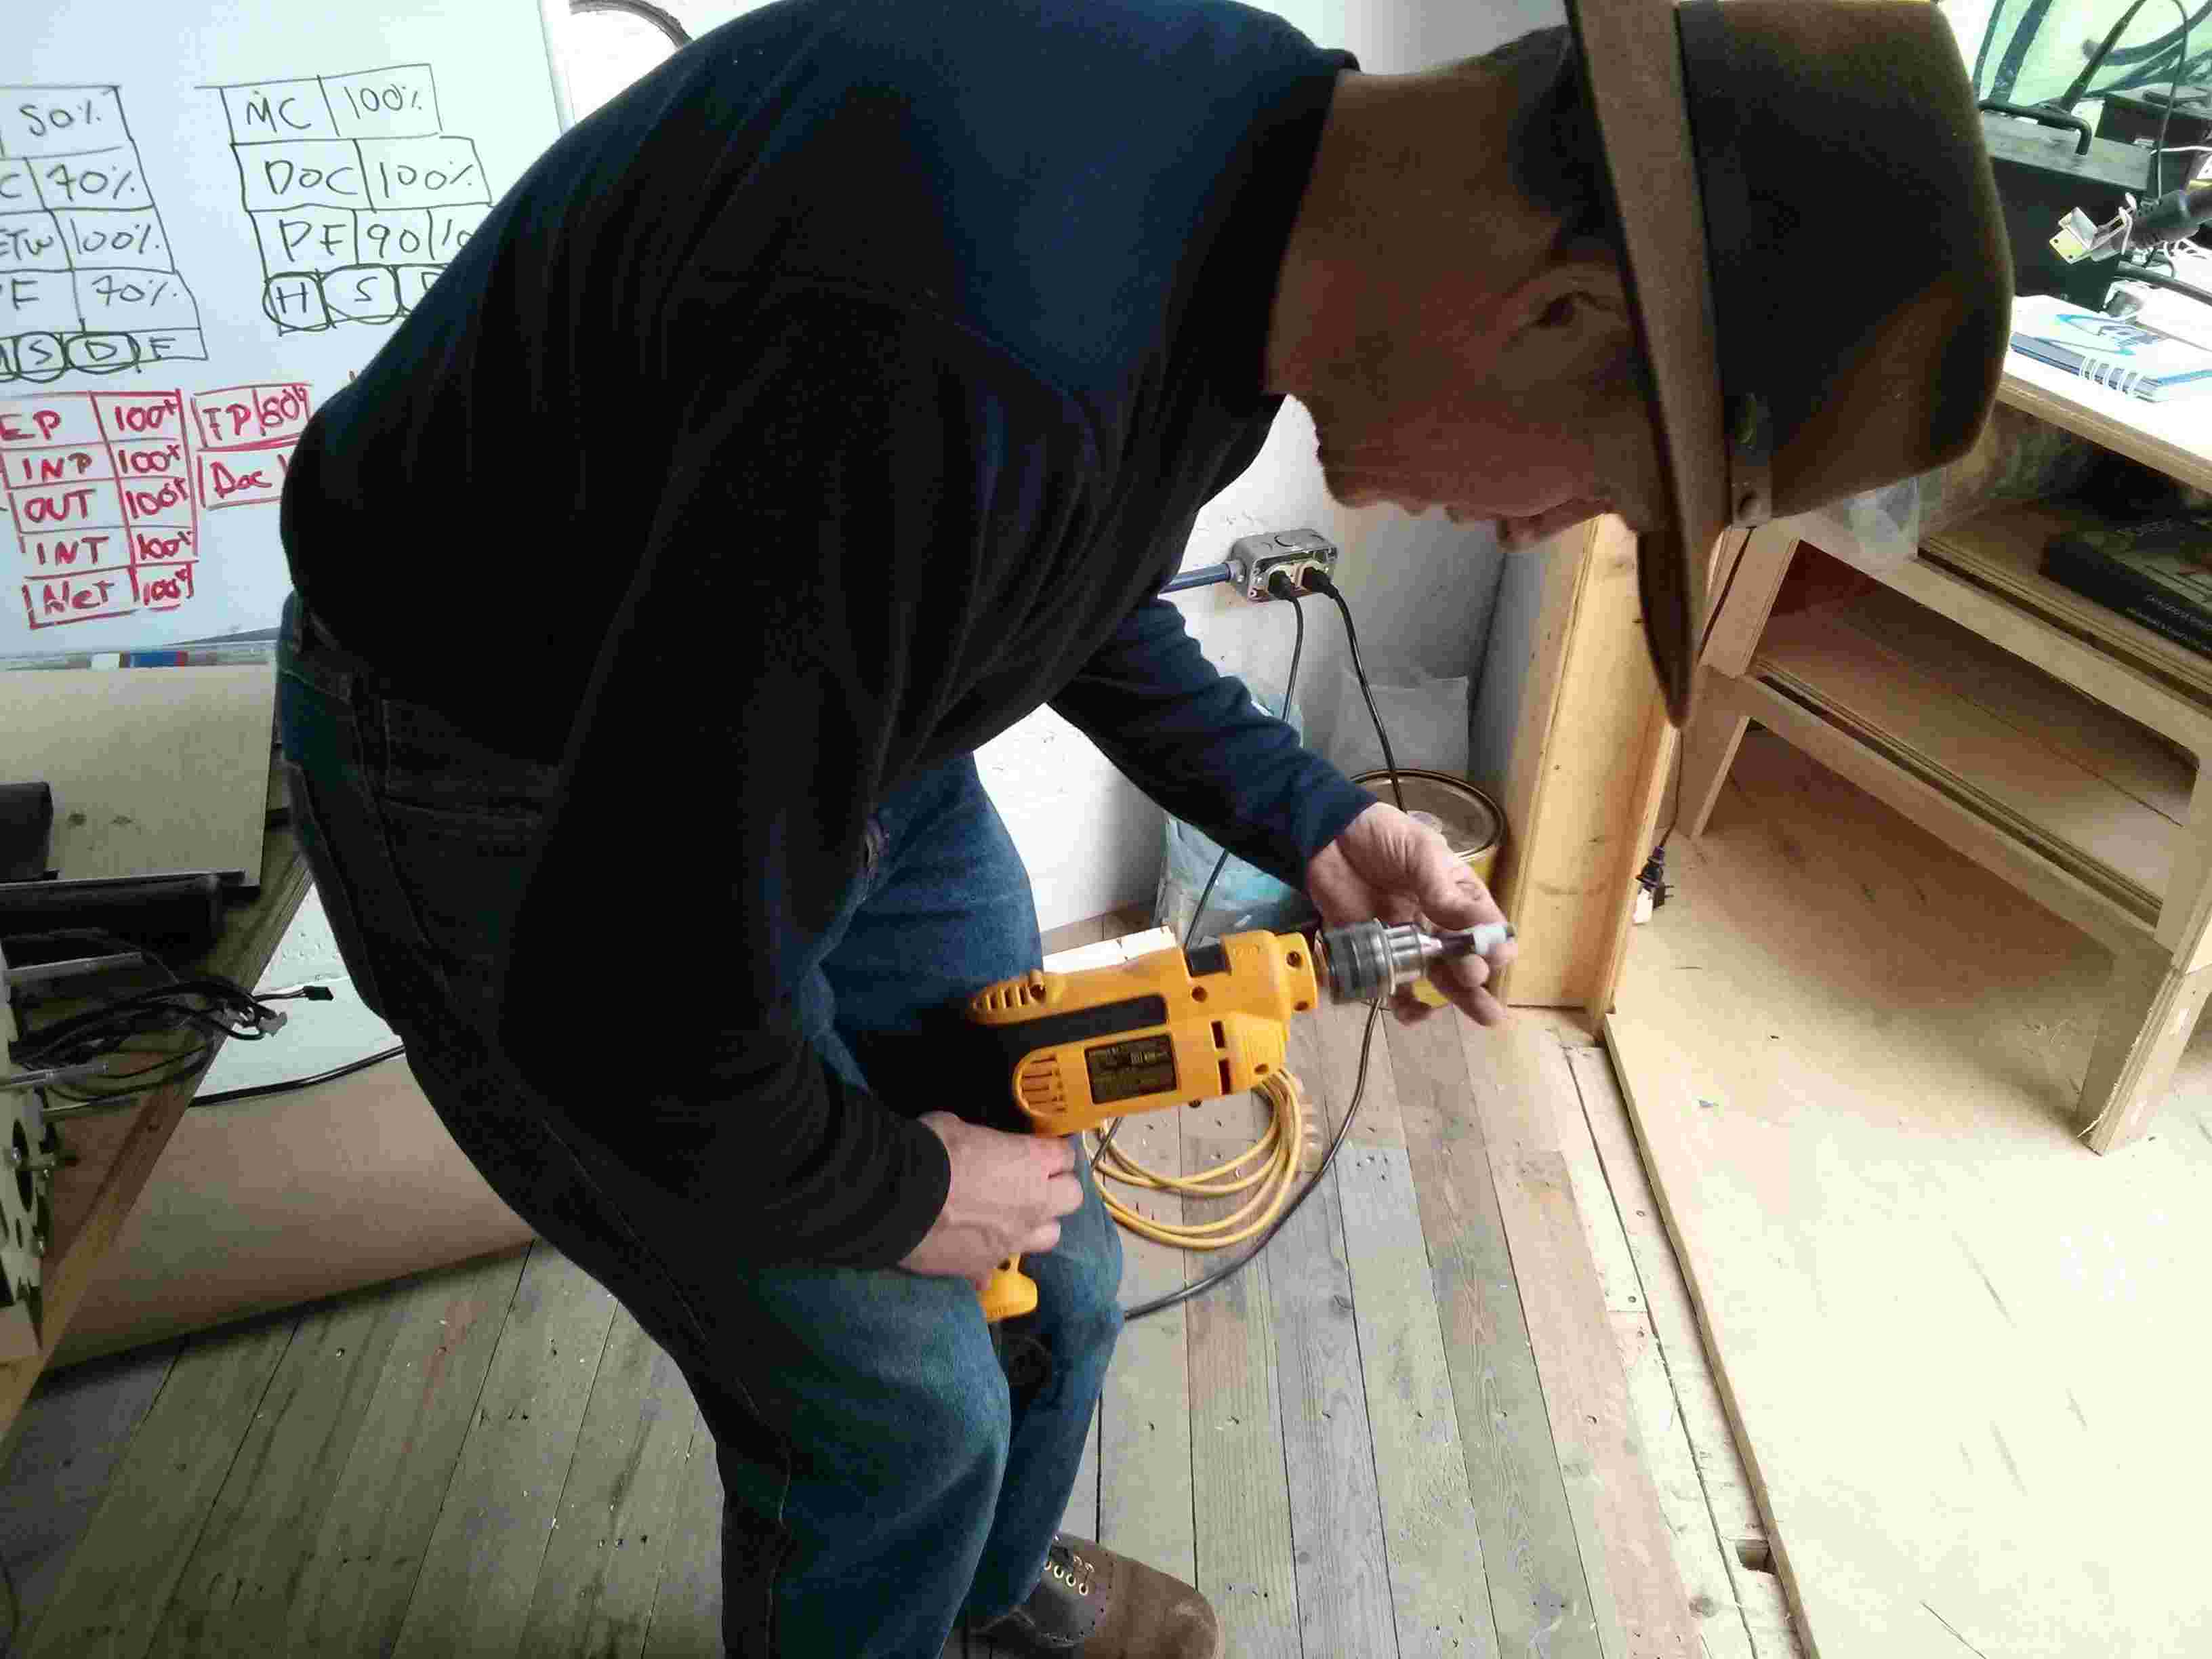
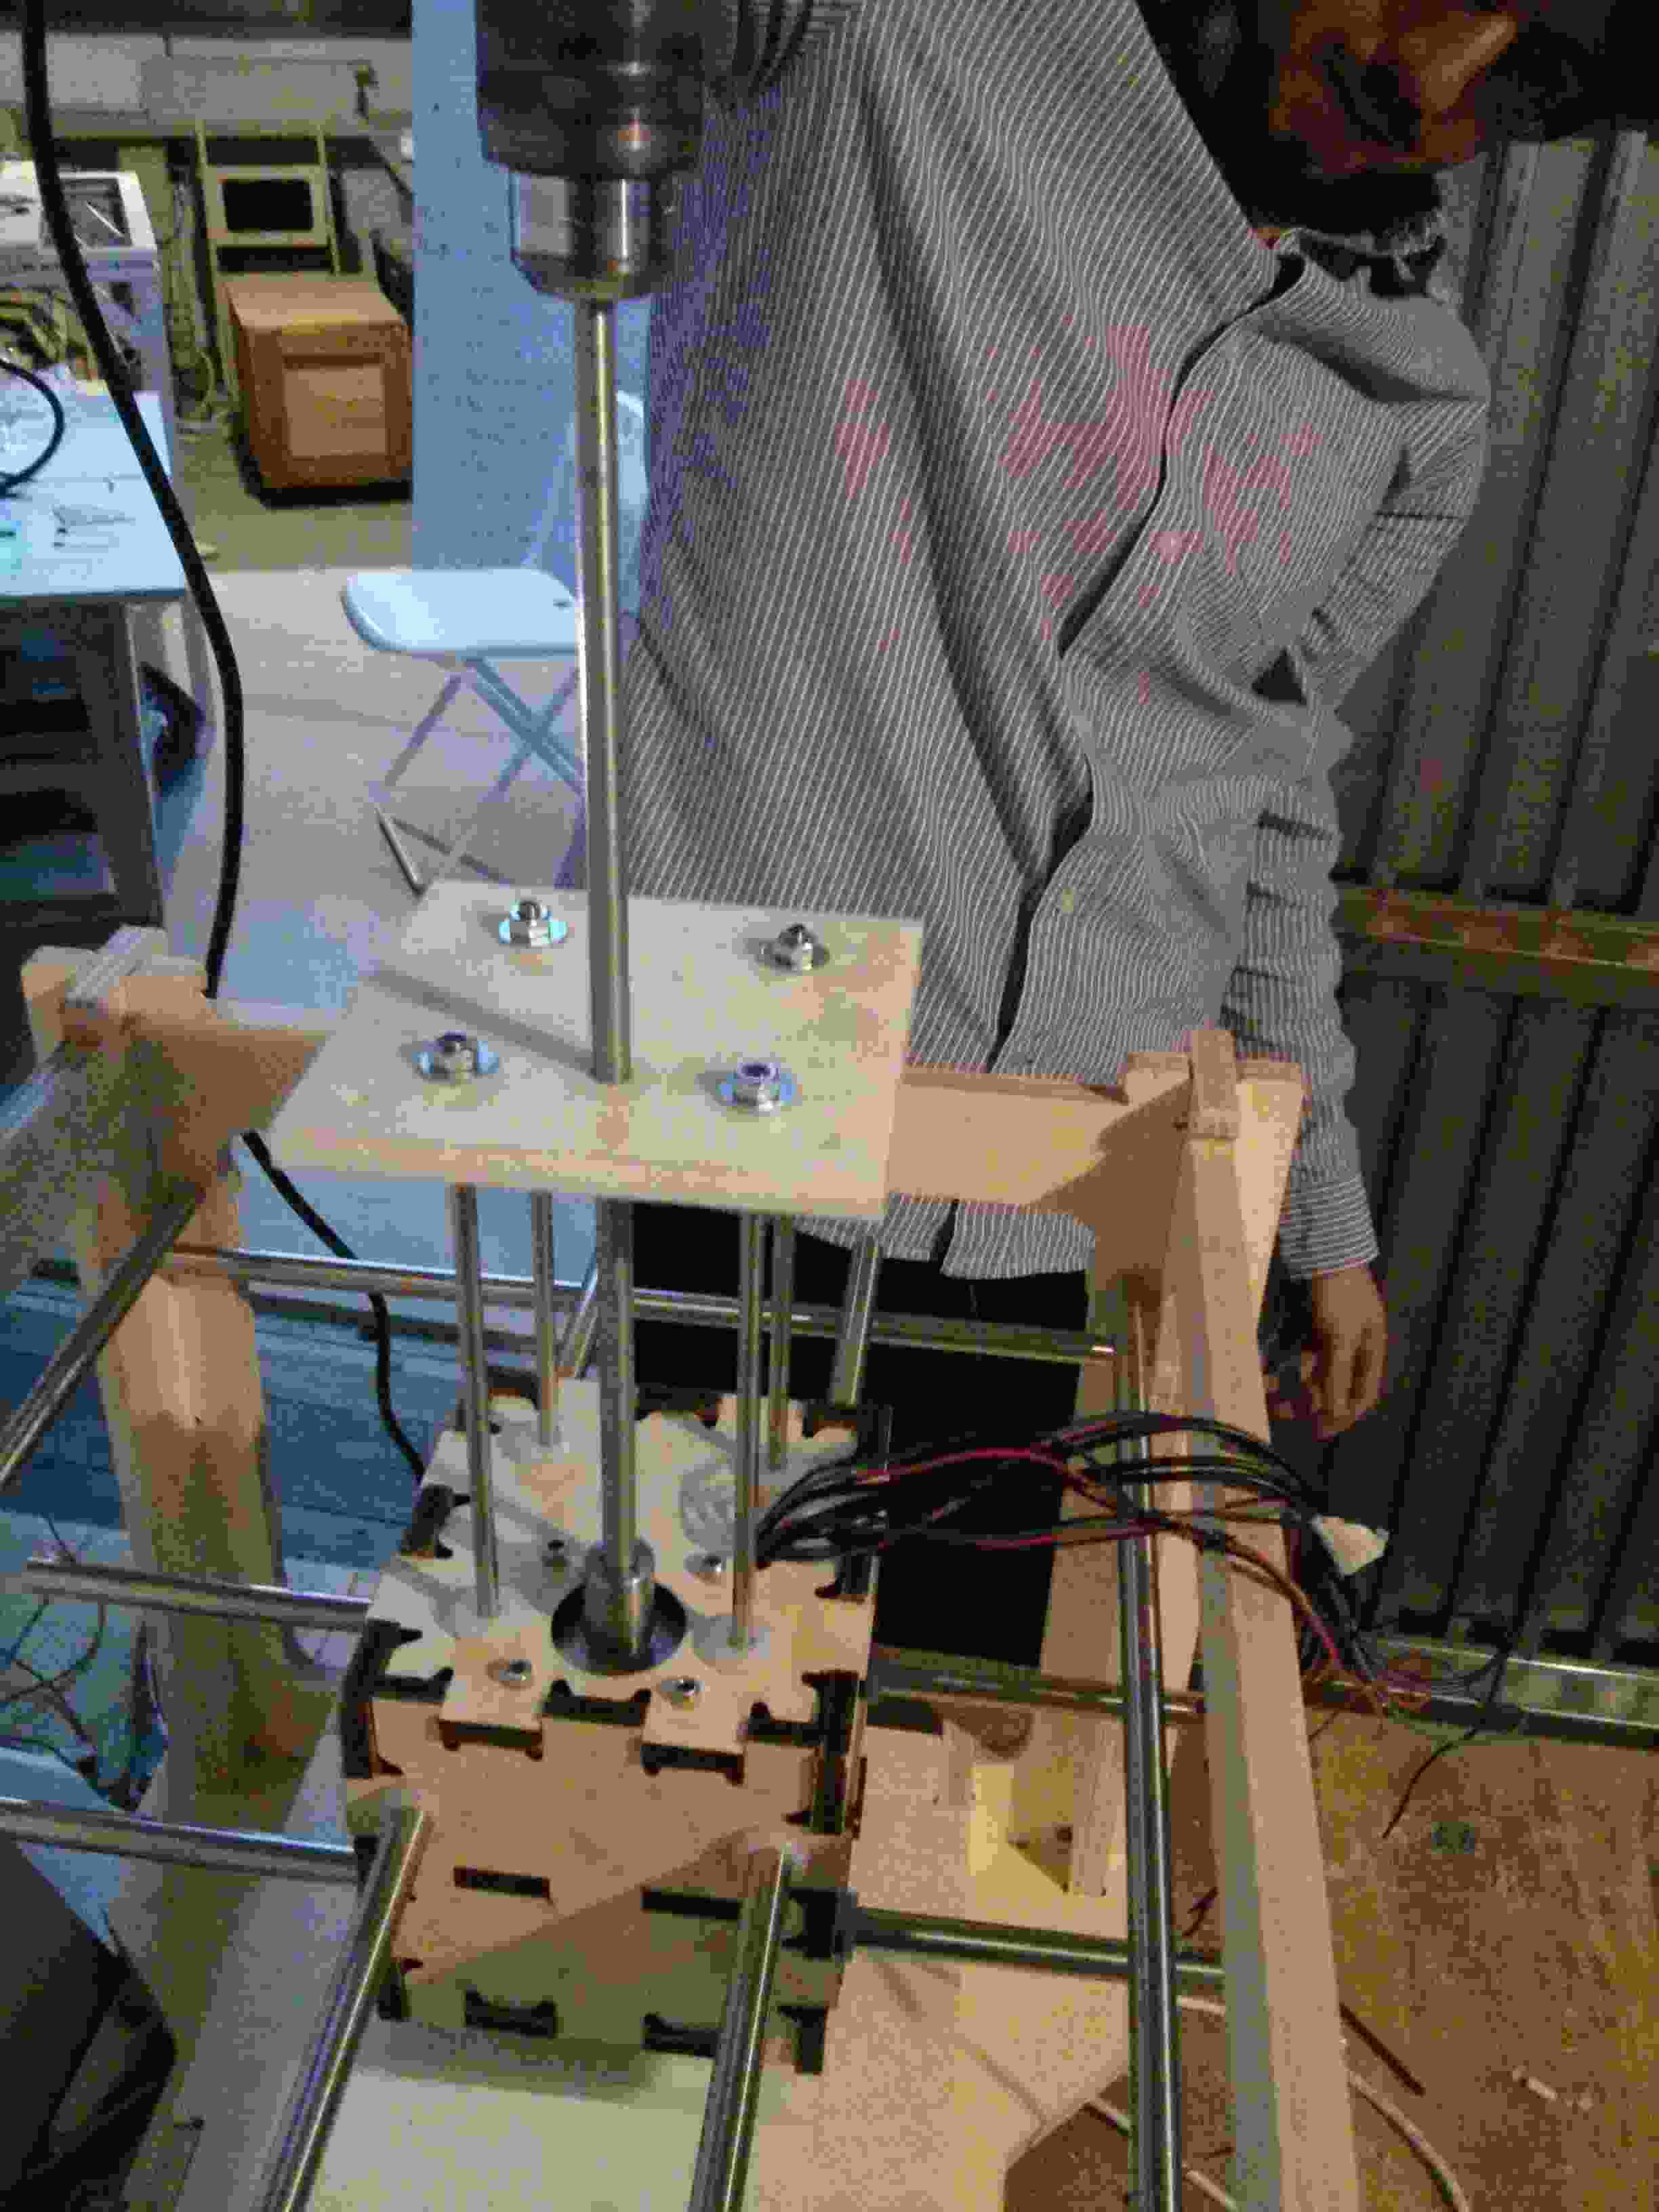
Testing the movement with screw advancement with the drill motor.

A wood dowel serves as a measuring stick for the distance between rail guides.
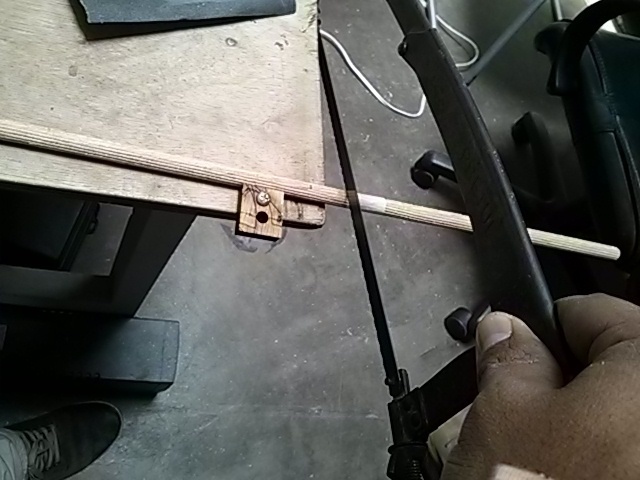
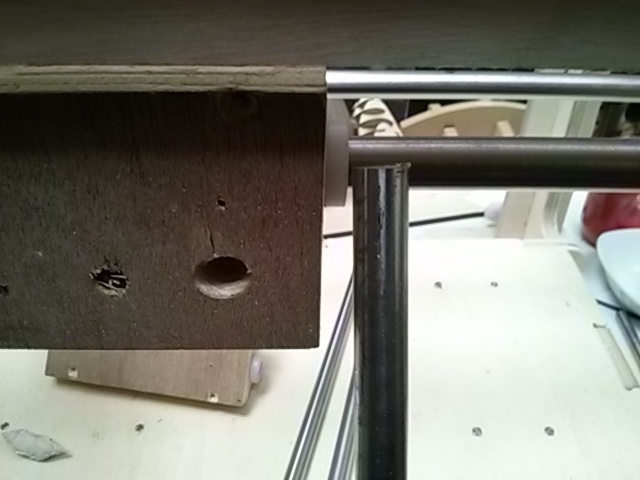
A less dangerous round sander is made with a wood dowel.

The steel rods replace the wood dowel measuring sticks. Success!
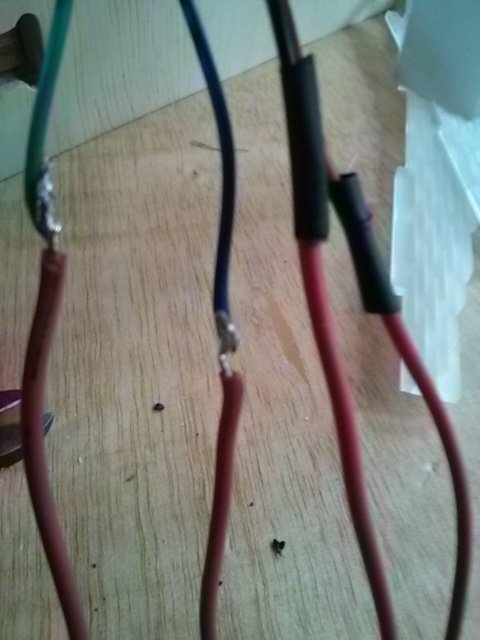
Soldering the stepper motor cables.
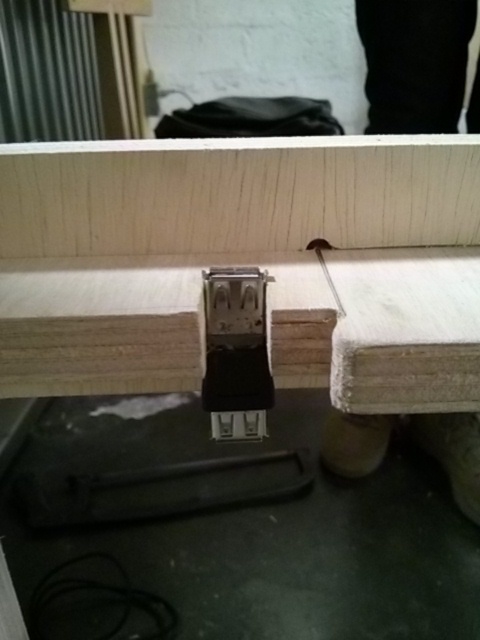
Mounting the USB cable connector.
Five people participated: